iOS Hardening Guide
Step 1
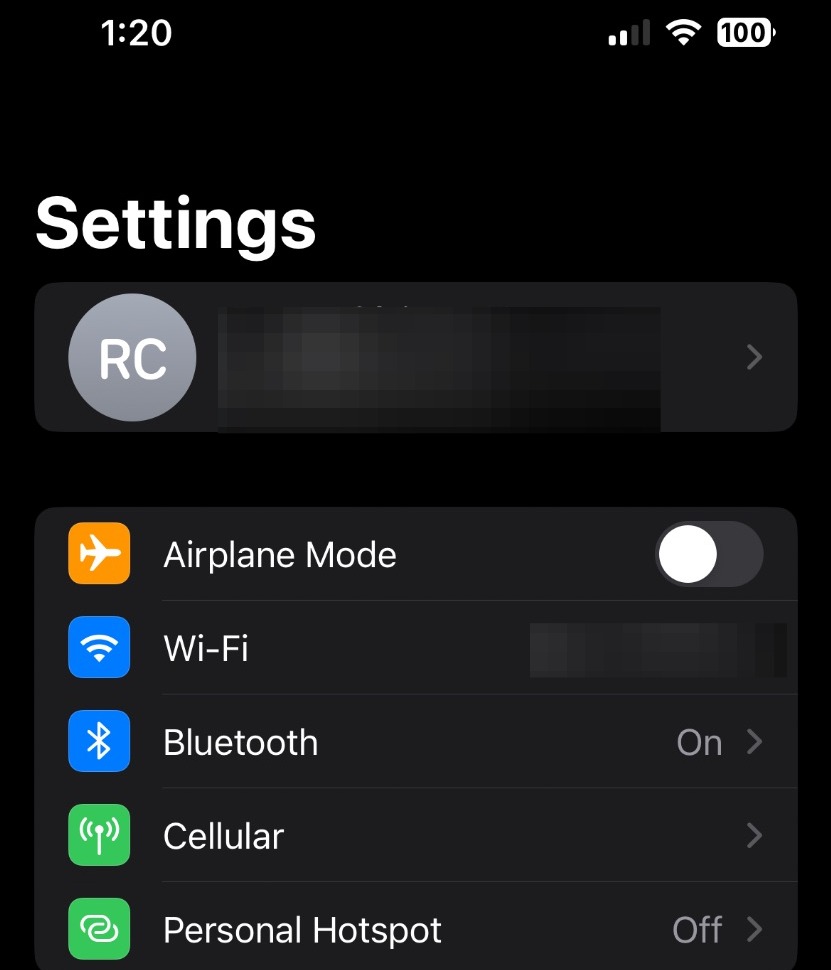
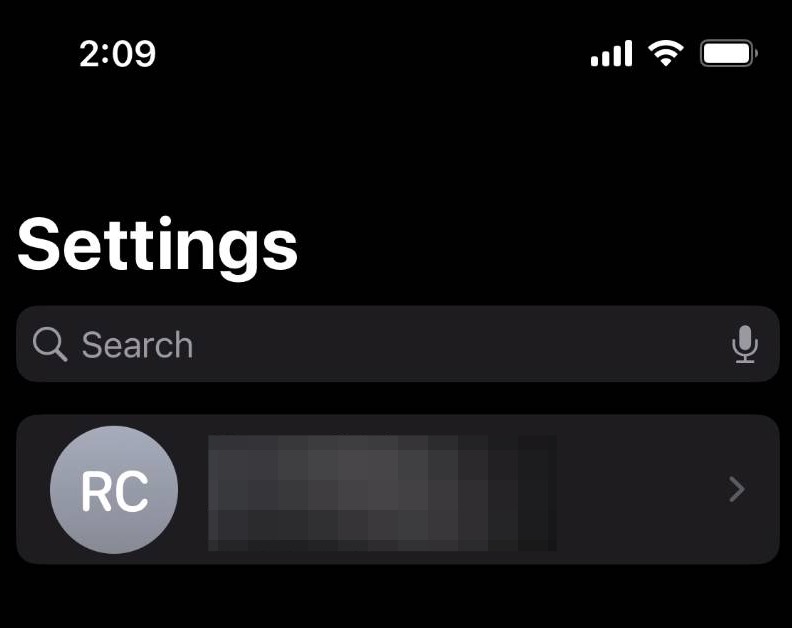
In your settings app, click on your profile
Step 2
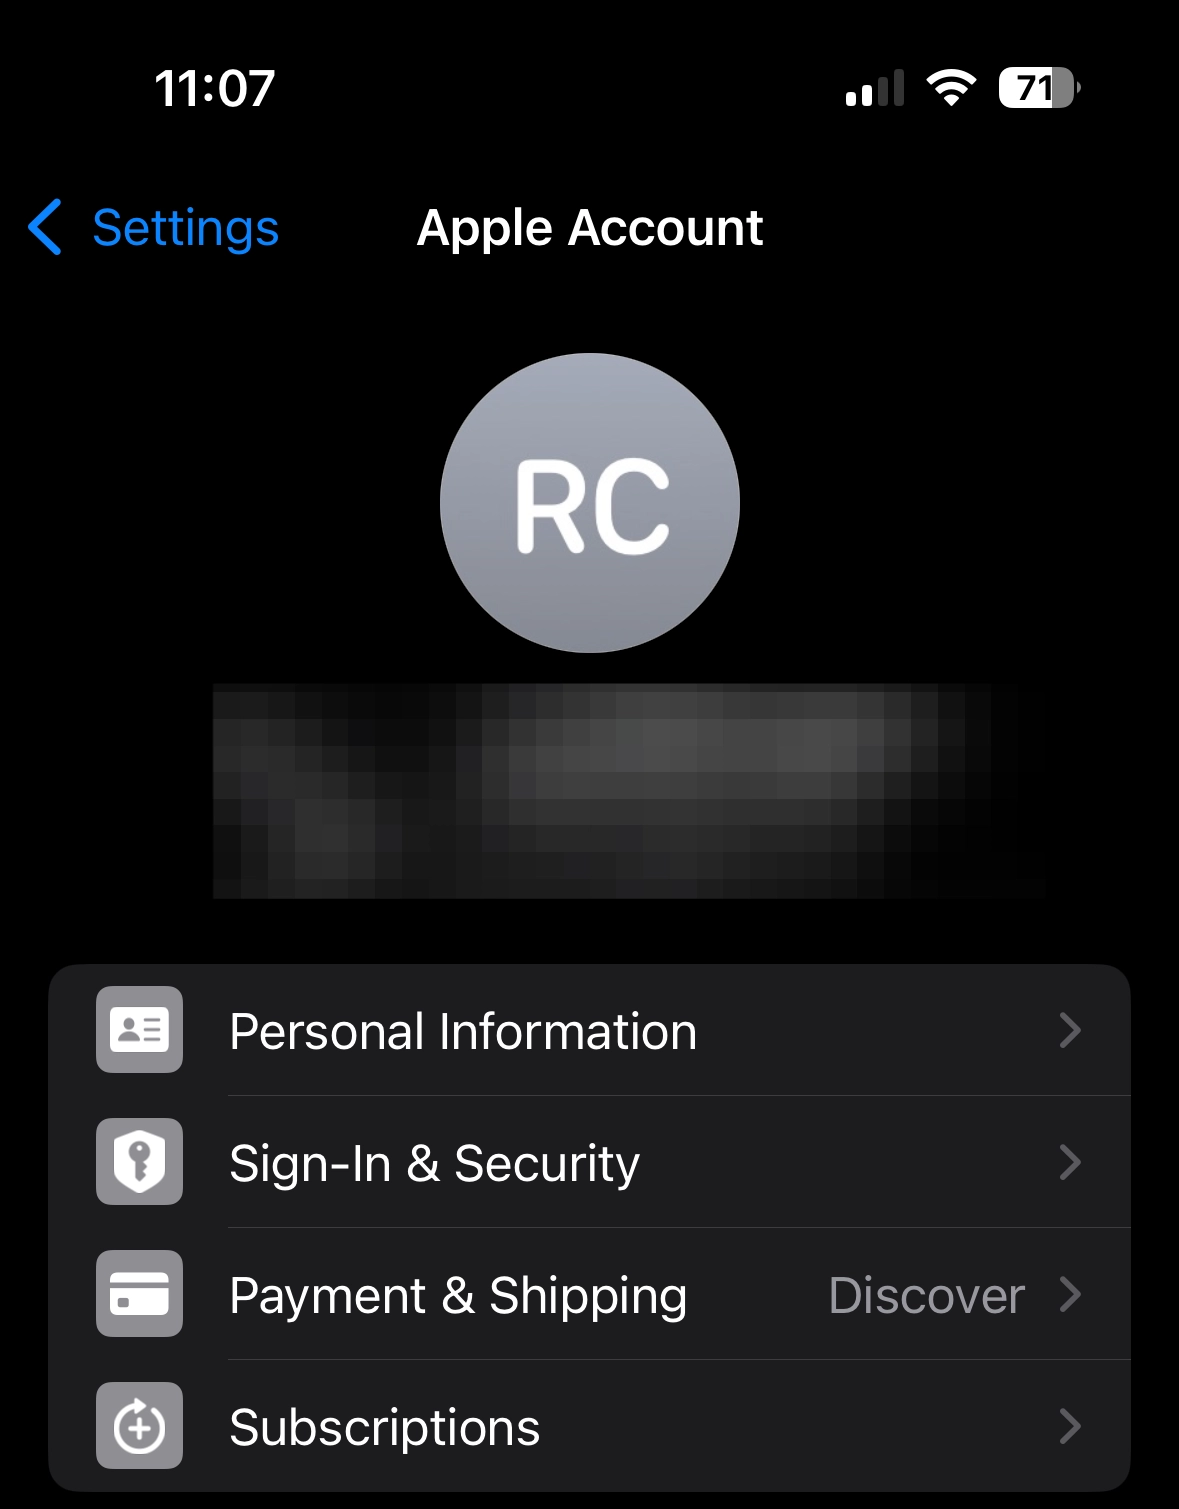
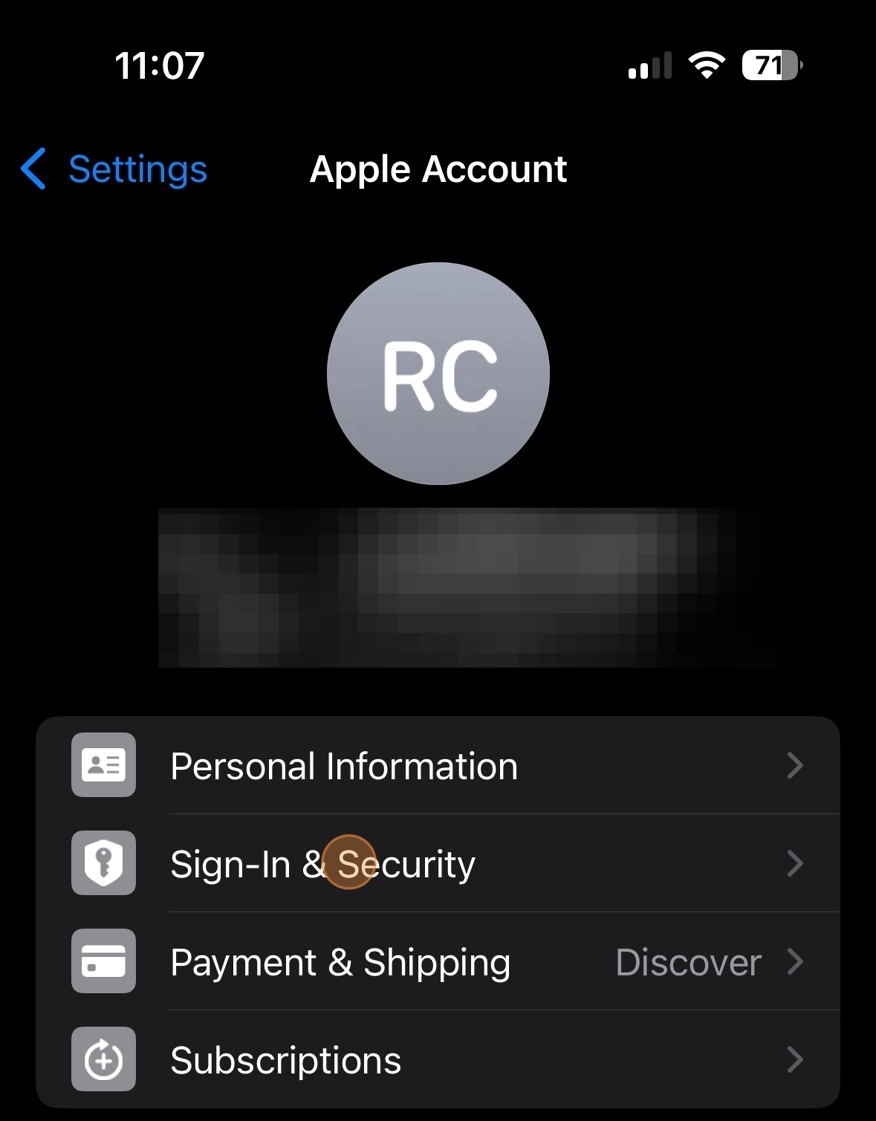
Click Sign-In & Security
Changing Password
Step 3
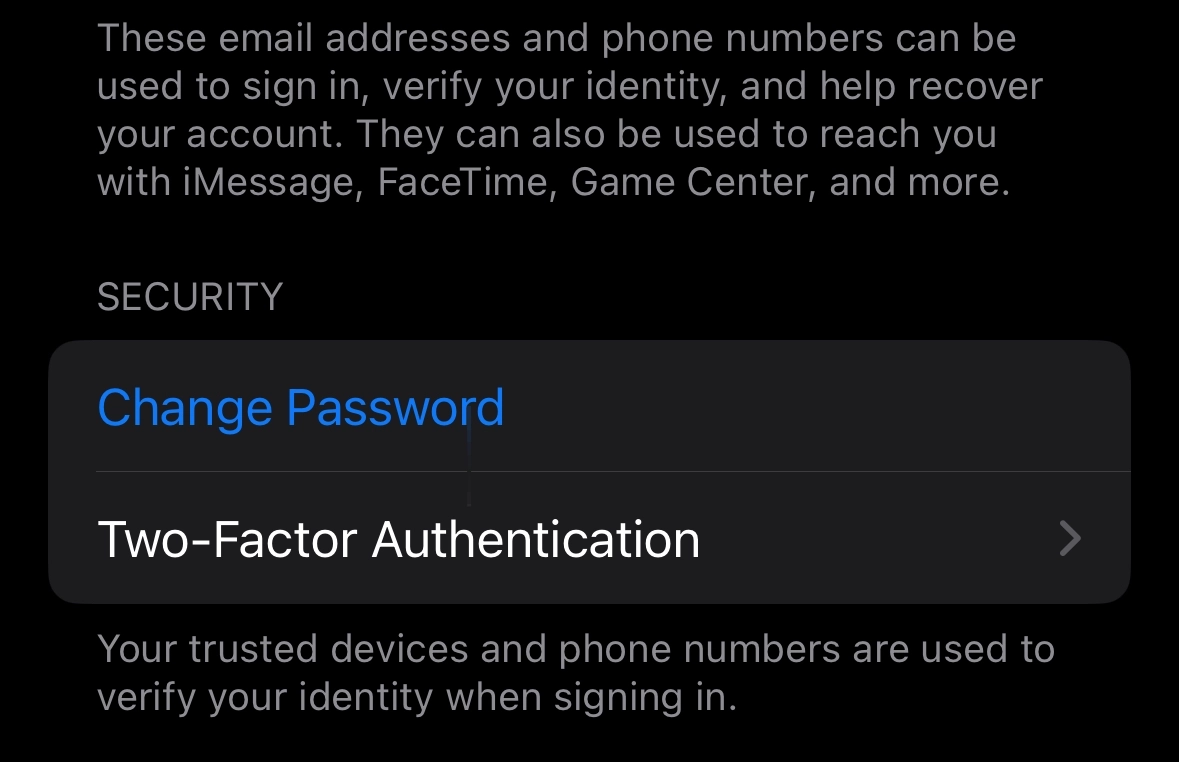
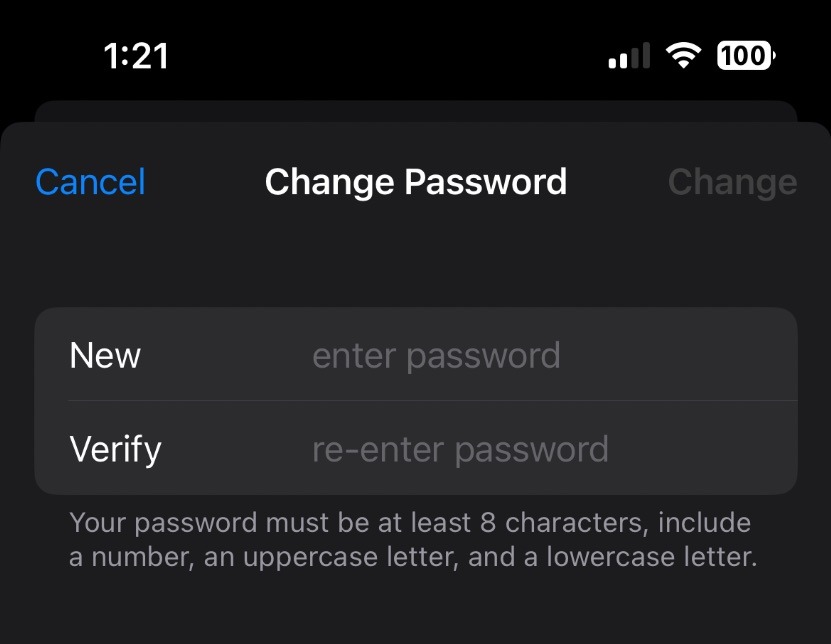
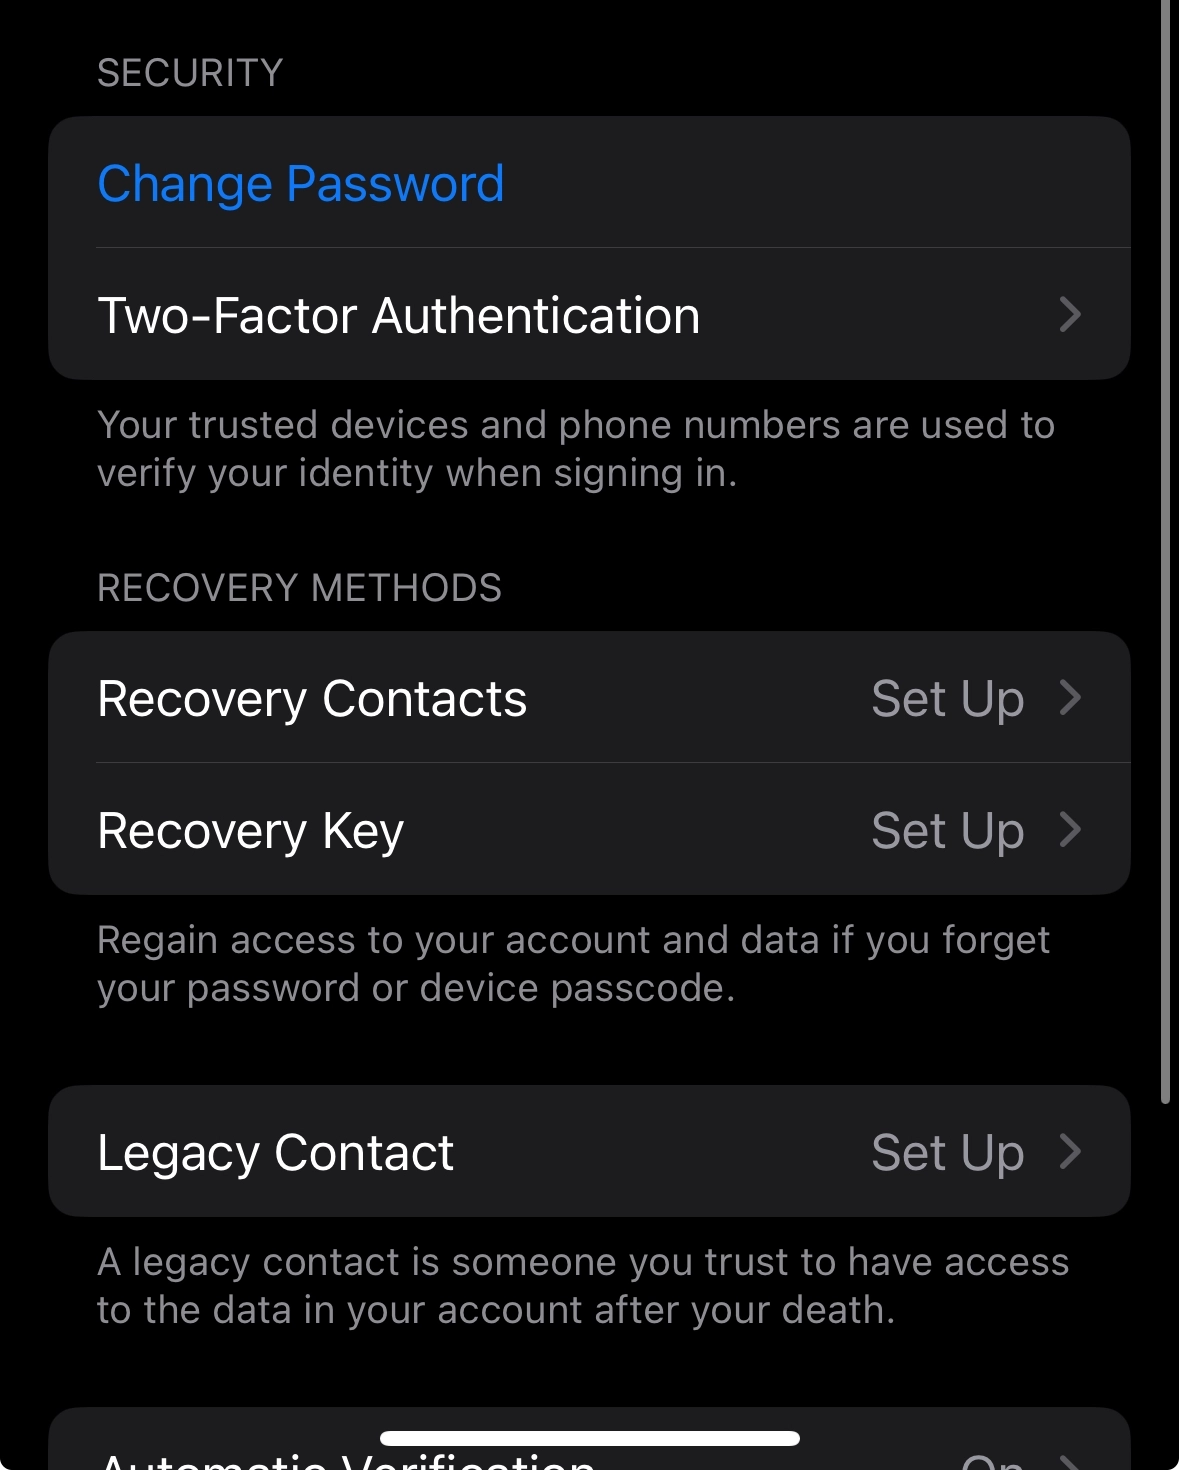
In the Sign-In & Security page, scroll down and click Change Password
Step 4
Enter and verify your new password or passphrase, then hit change to complete the process
Adding Security Keys
Step 5
Click your profile
Step 6
Click Sign-In and Security
Step 7
Click Two-Factor Authentication

Step 8
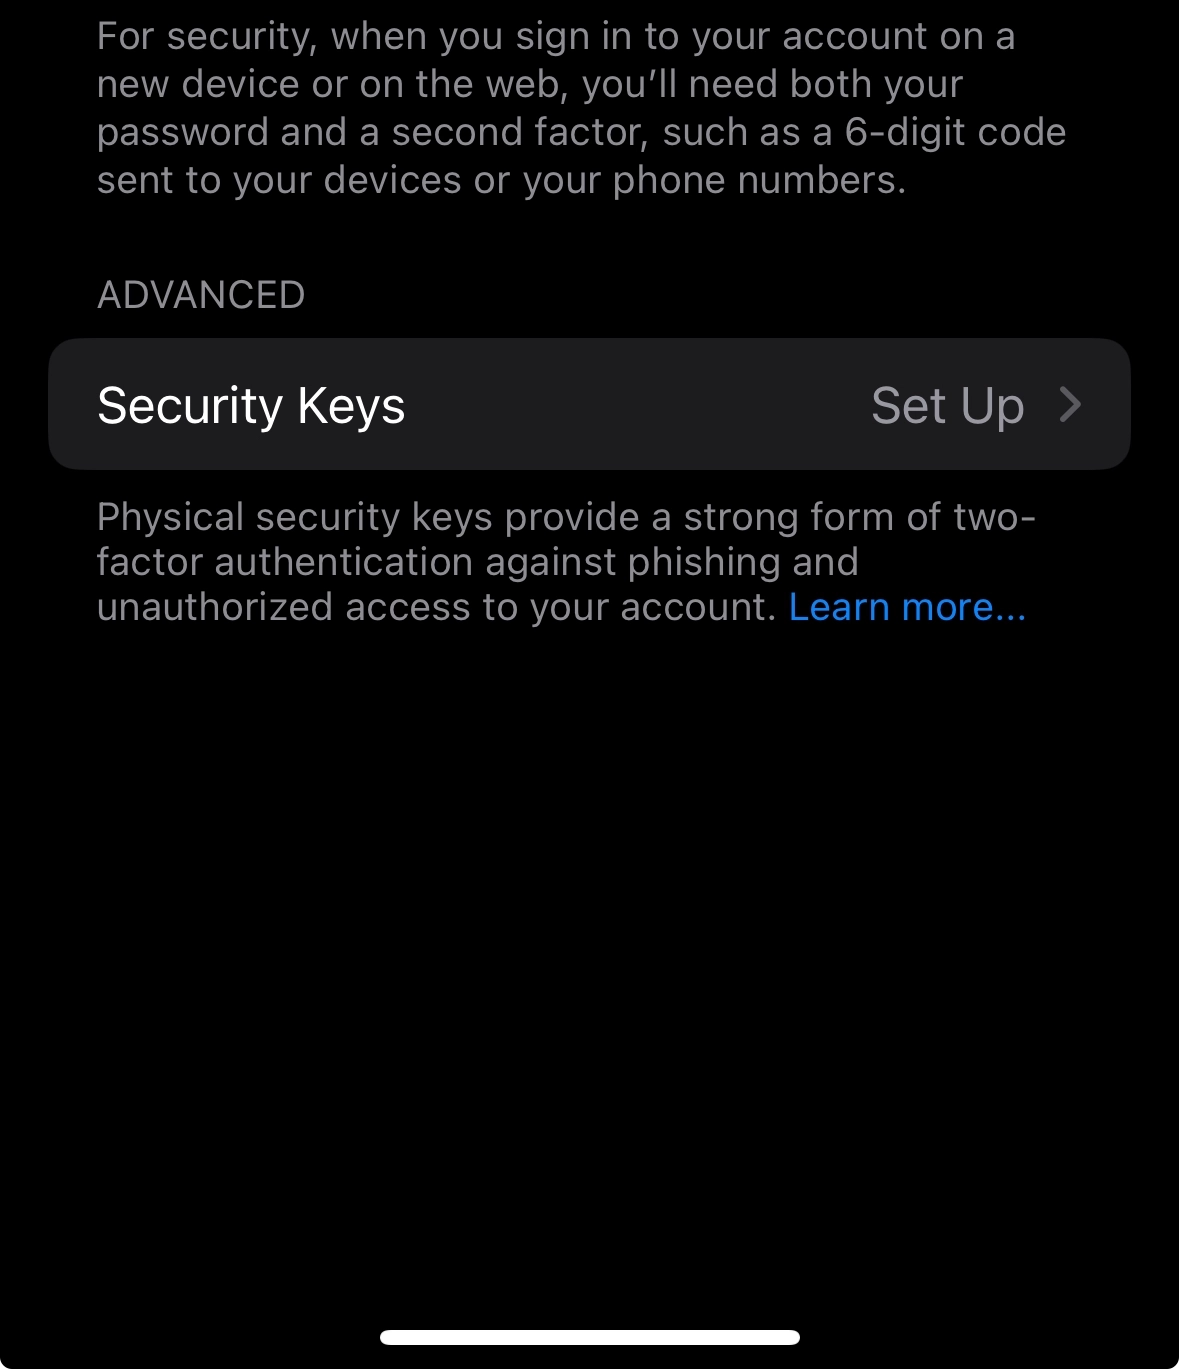
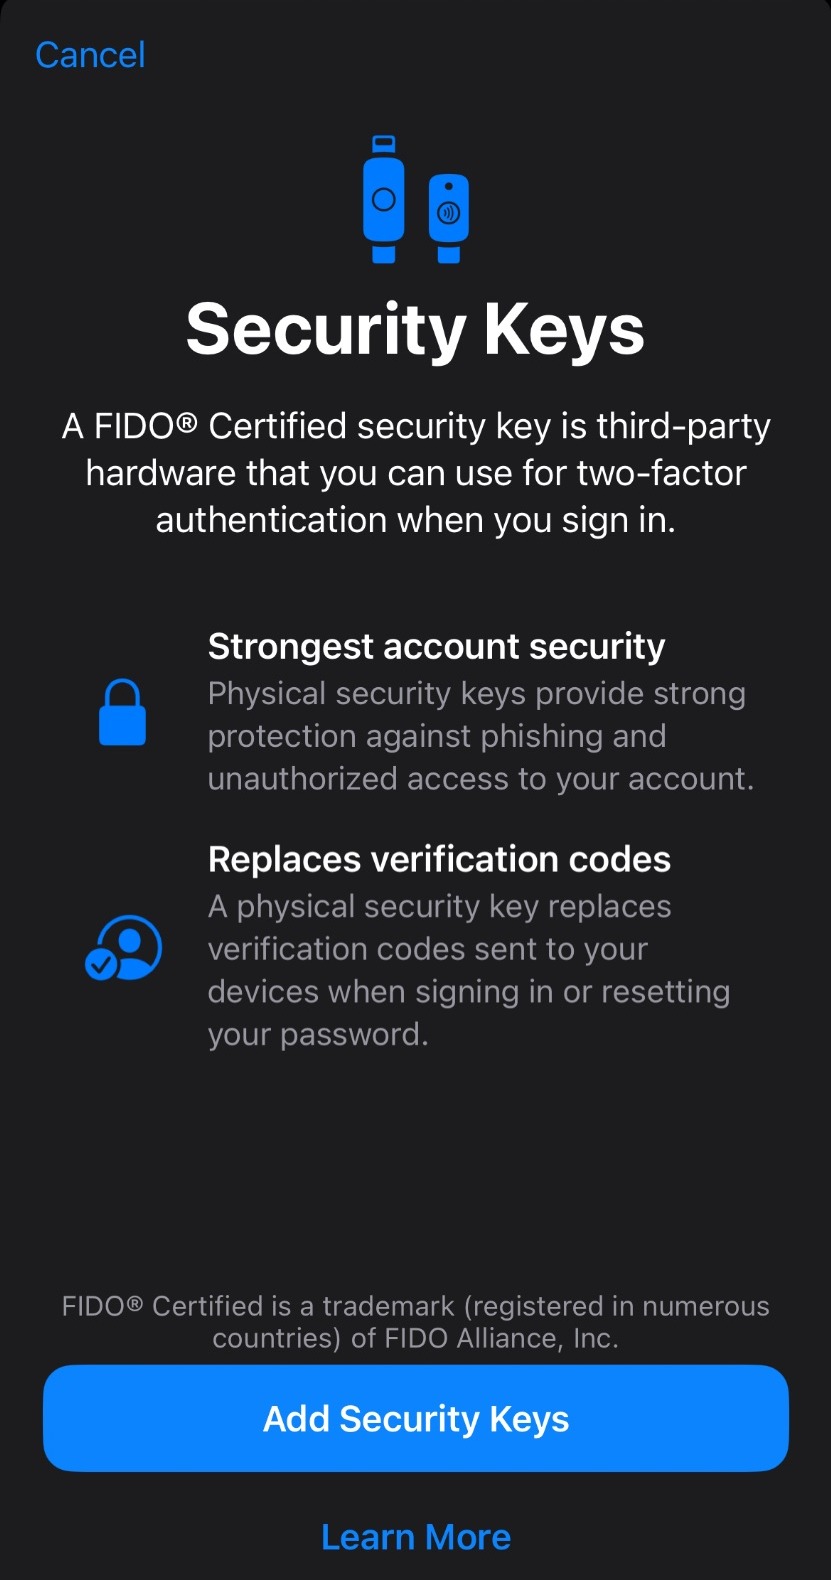
Under Advanced, click Security Keys
Step 9
Click Add Security Keys
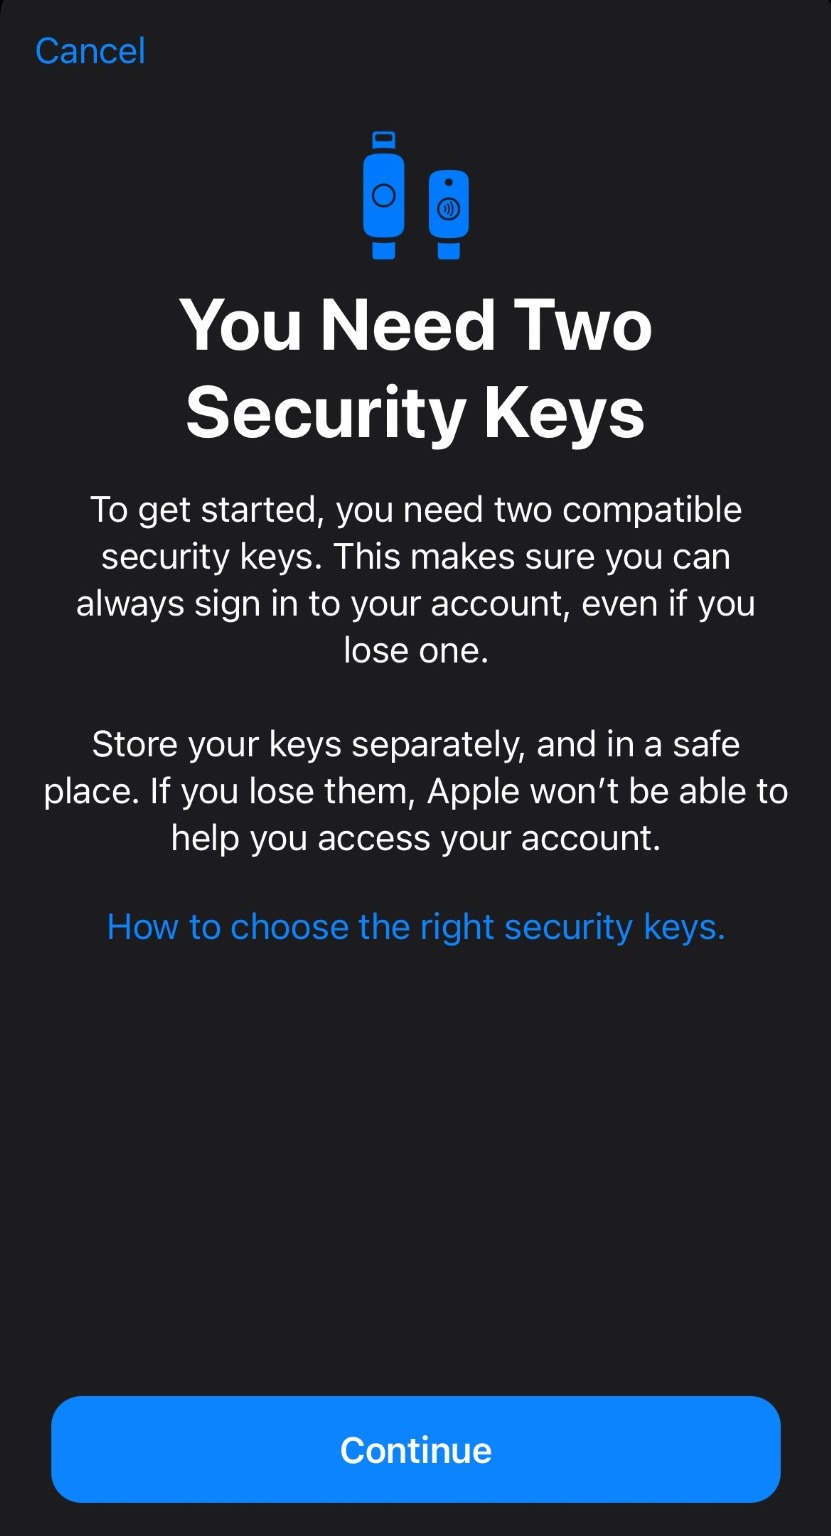
Step 10
Click Continue
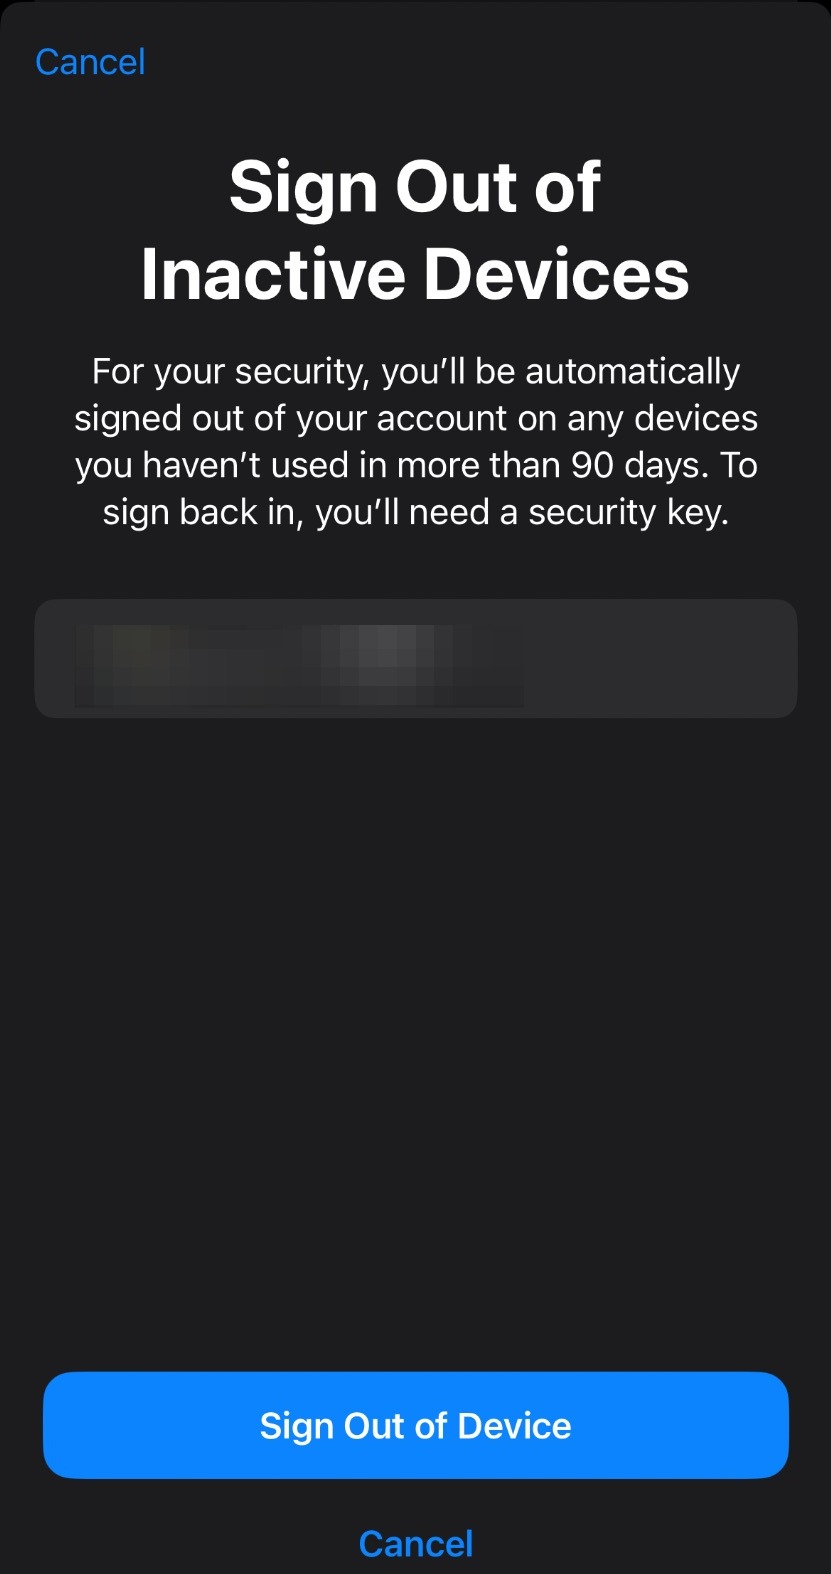
Step 11
Next, you'll see a screen of devices you haven't signed into for more than 90 days. You should click Sign Out of Devices for any device you no longer use
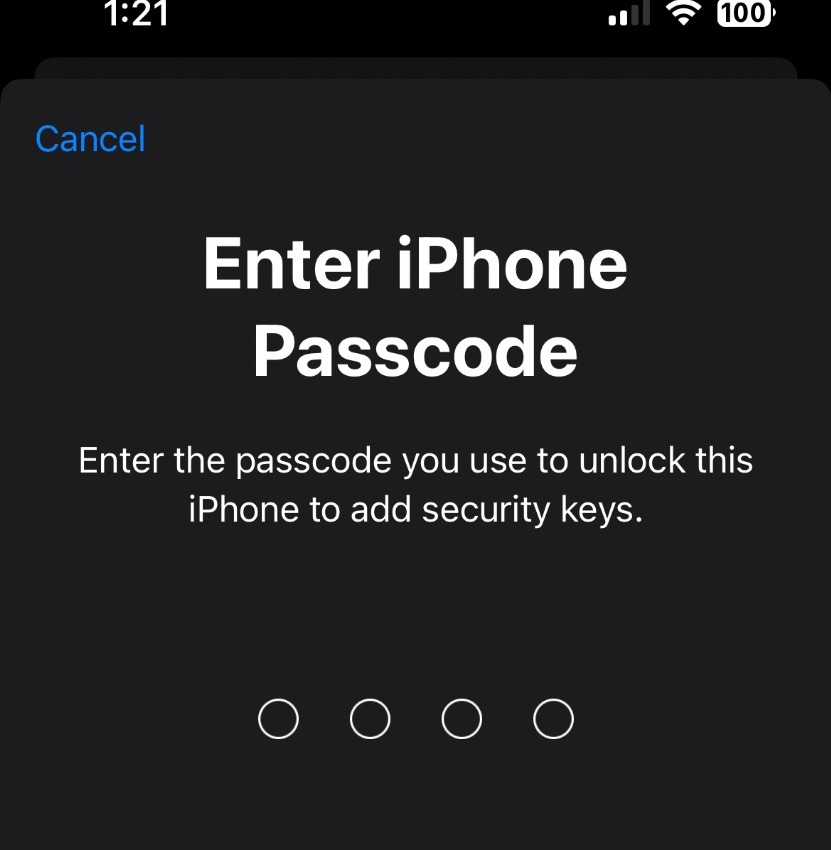
Step 12
Enter your iPhone passcode
Step 13
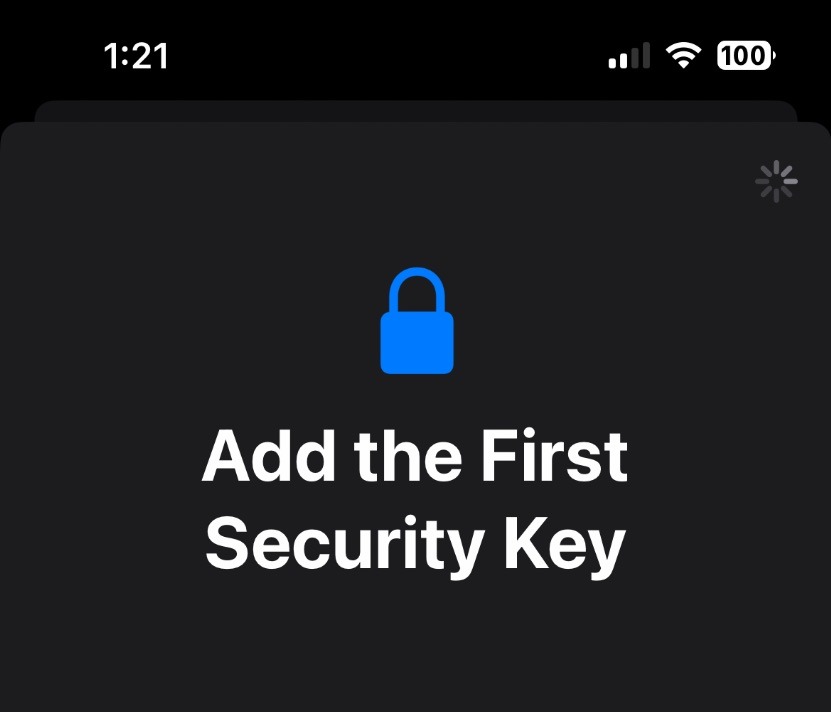
Now, follow the steps Apple lays out to add your security keys. NOTE: Apple requires you to add two security keys to complete the process
Add Recovery Key
Step 14
Go back to the Sign-in and Security page. Scroll down and click Recovery Key
Step 15
Enter your device passcode
Step 16
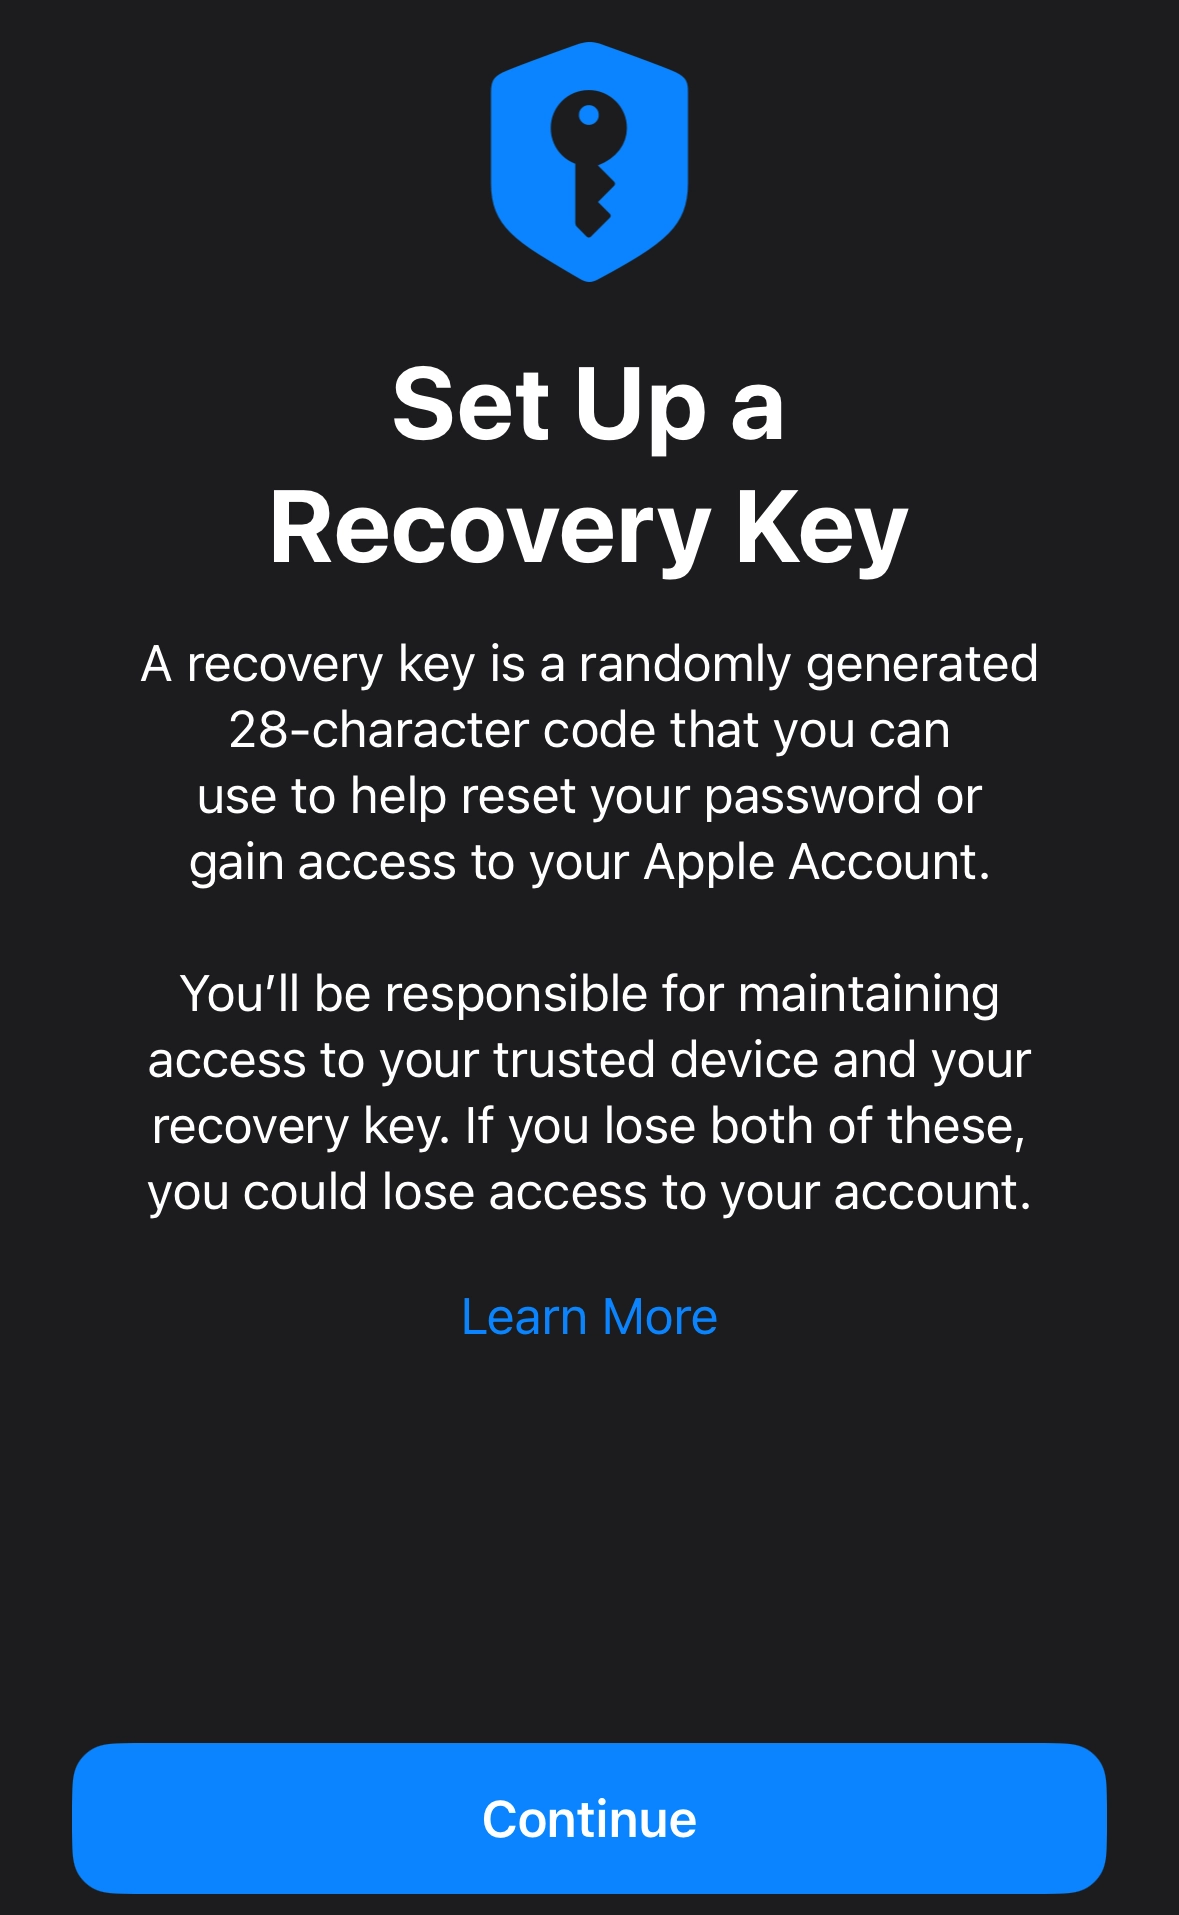
On the next screen, click Continue
Step 17
Here, you will see your recovery key. Write it down, or print a copy, and store it in a safe space. Then click continue

Step 18
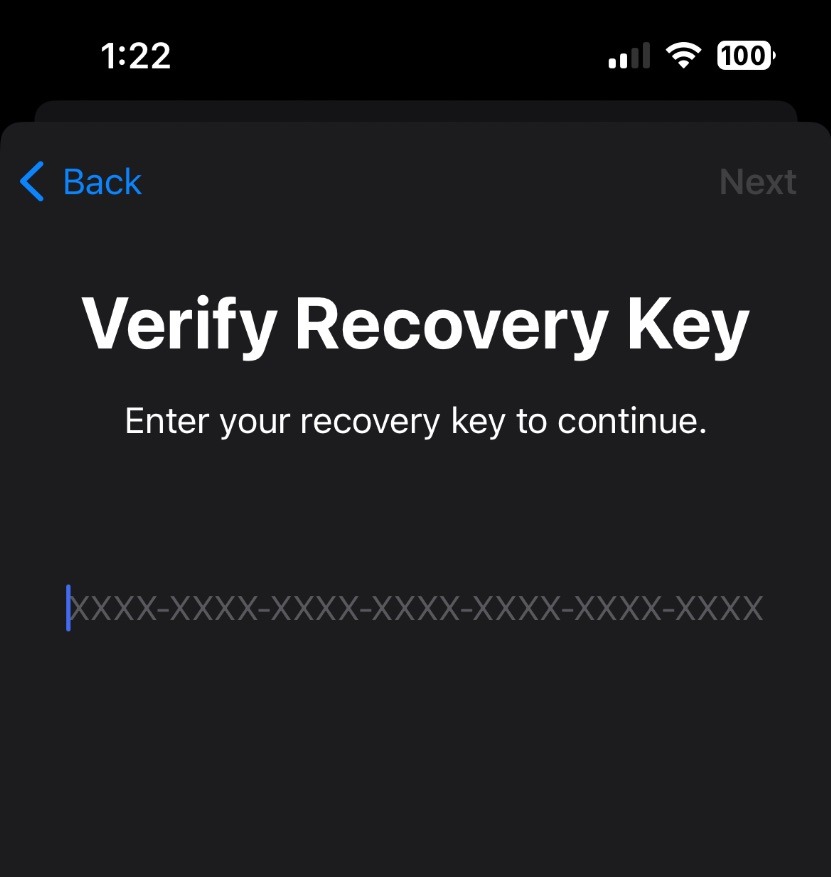
Enter the recovery key and click next to complete the process
Adjusting Location Settings
Step 19
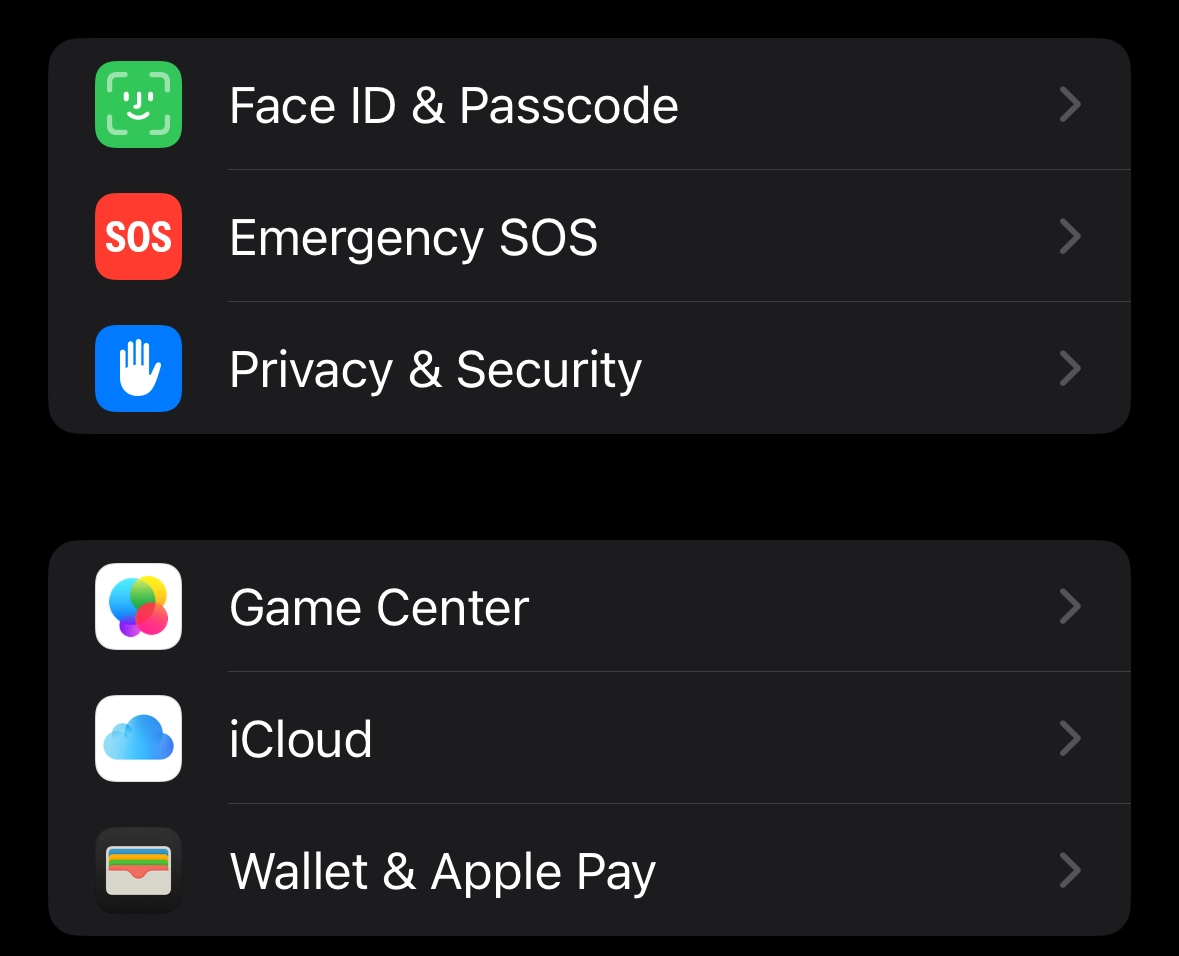
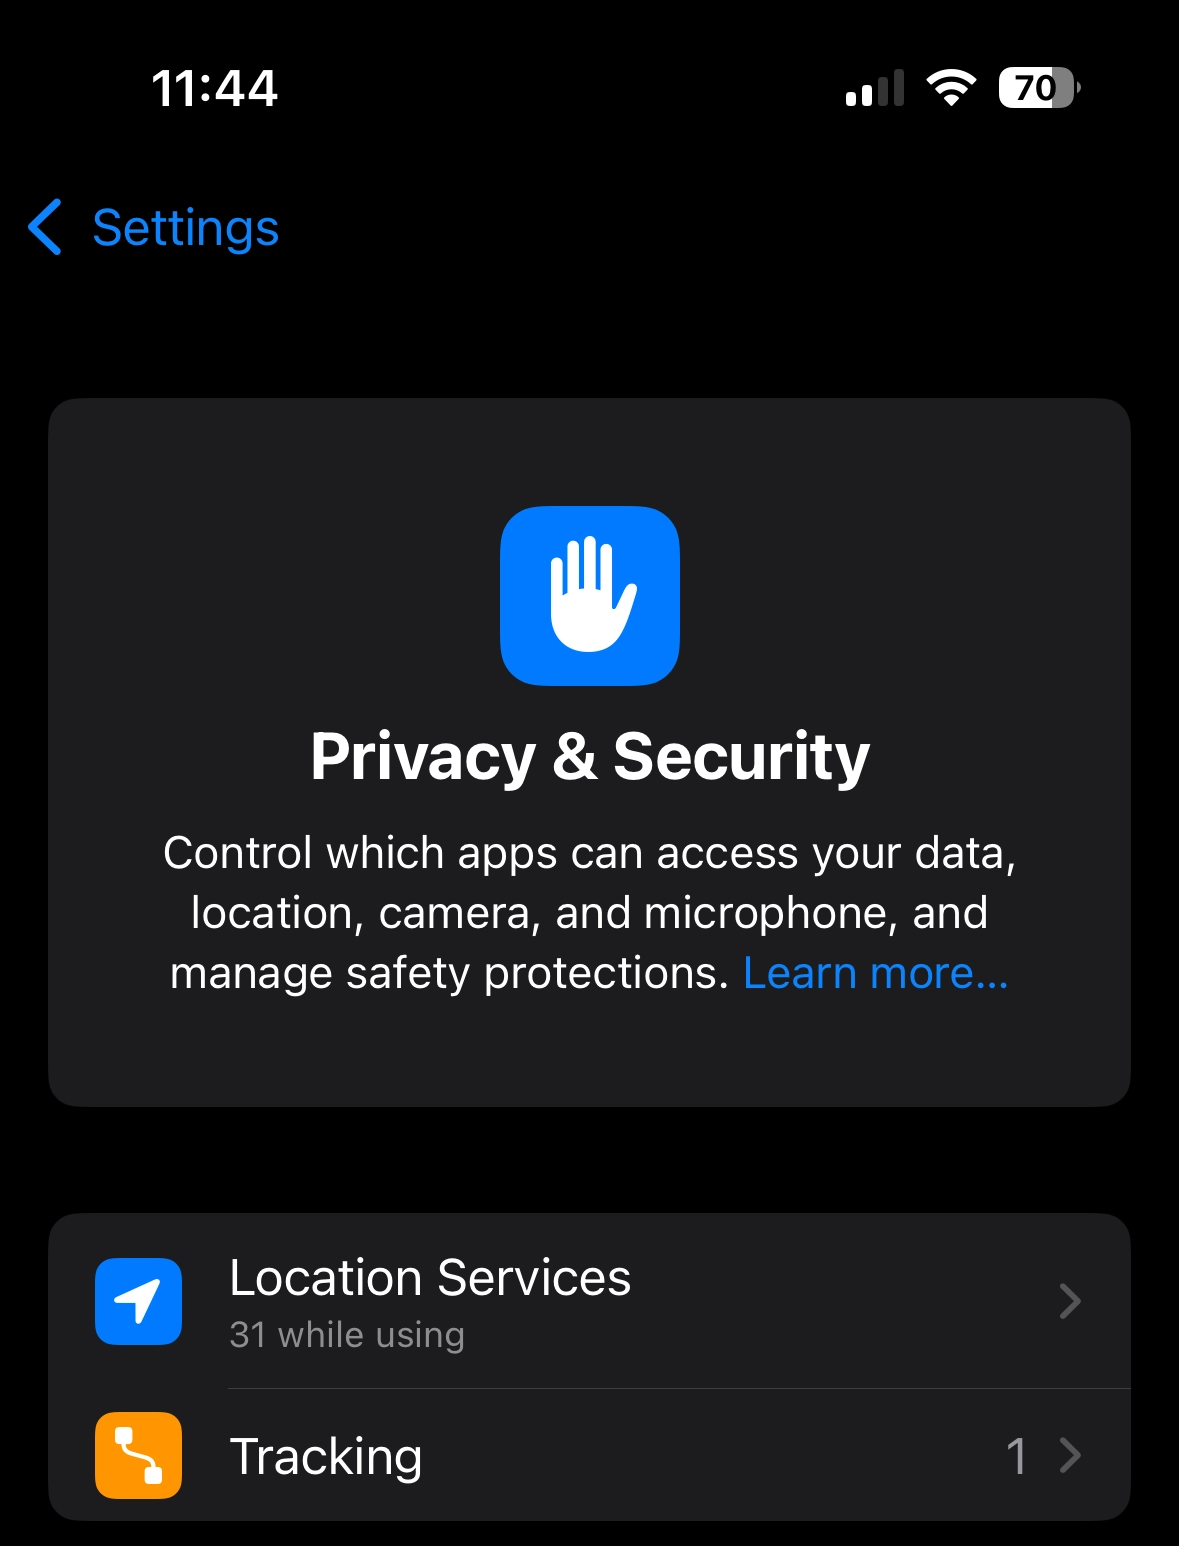
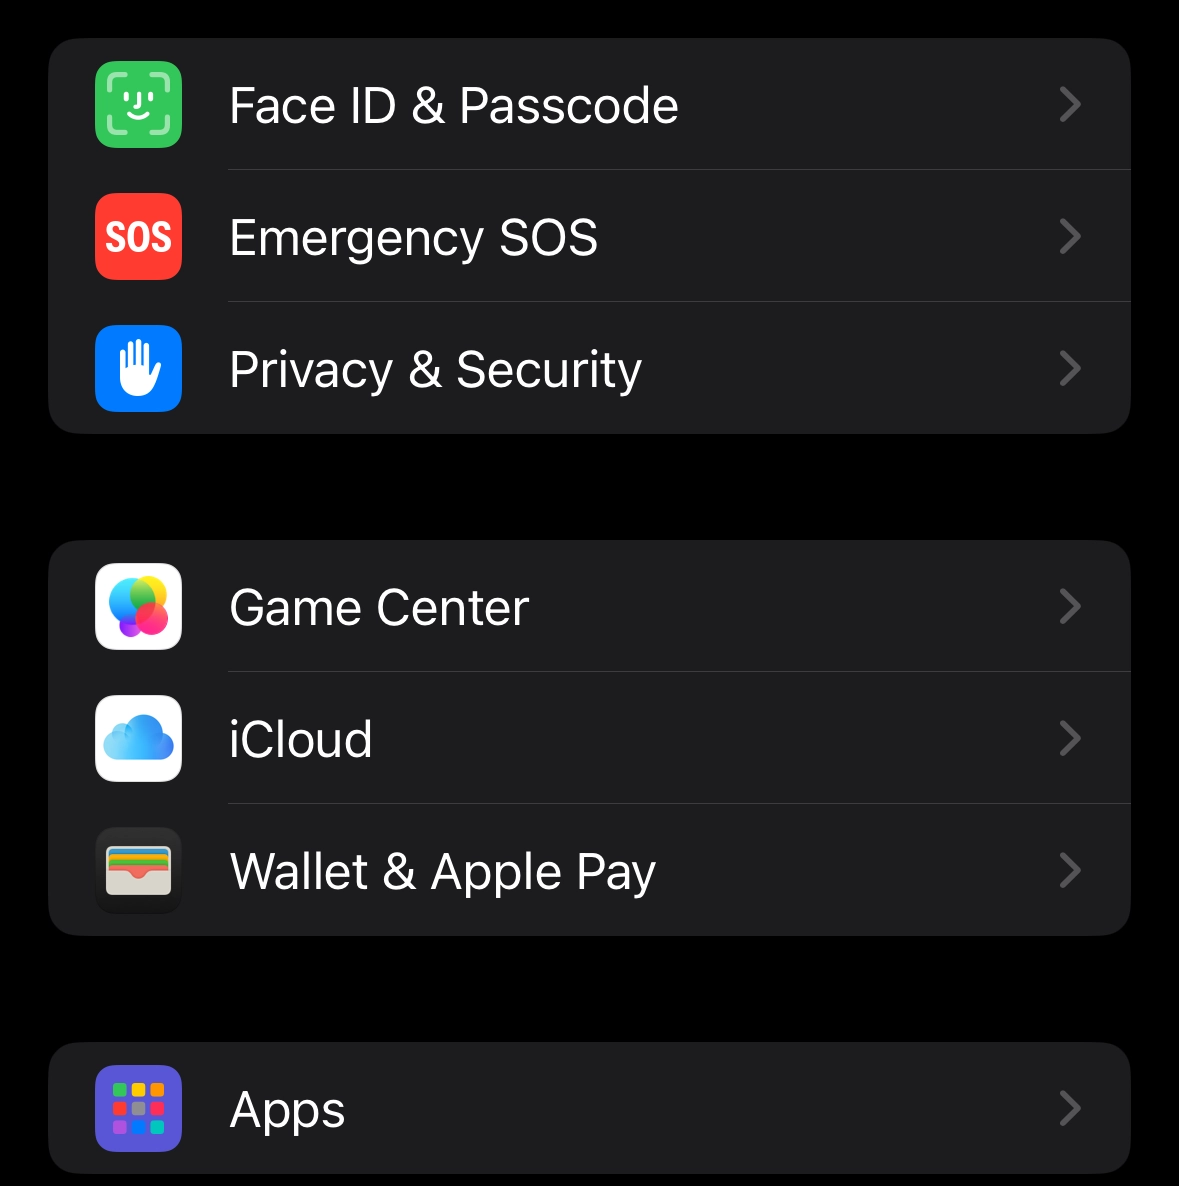
Back on the main Settings screen, scroll down and click Privacy & Security
Step 20
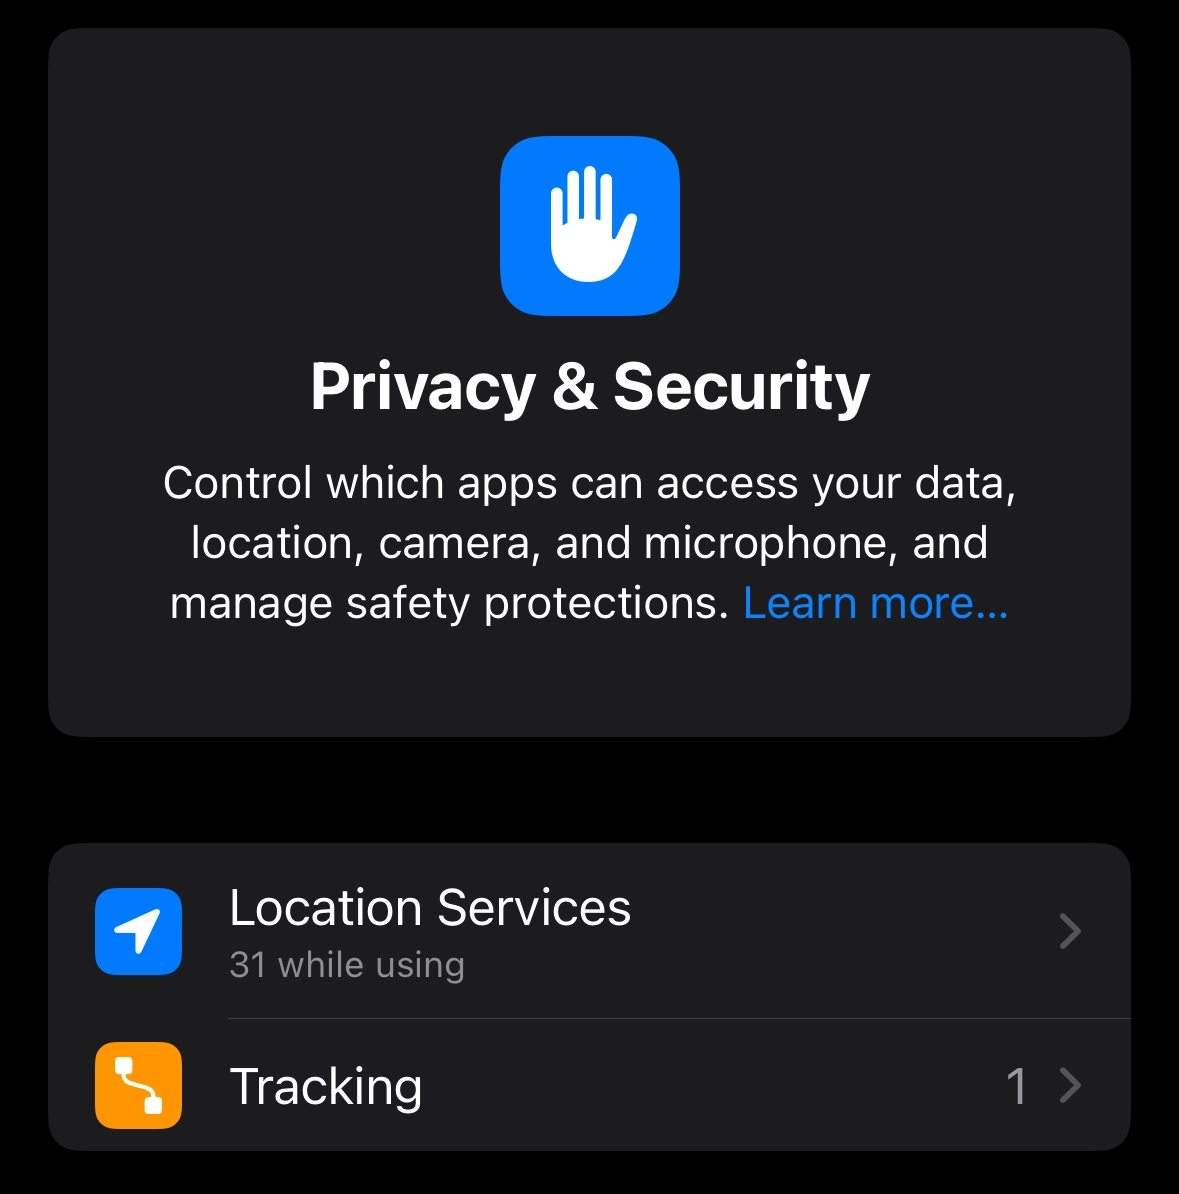
Click Location Services
Step 21
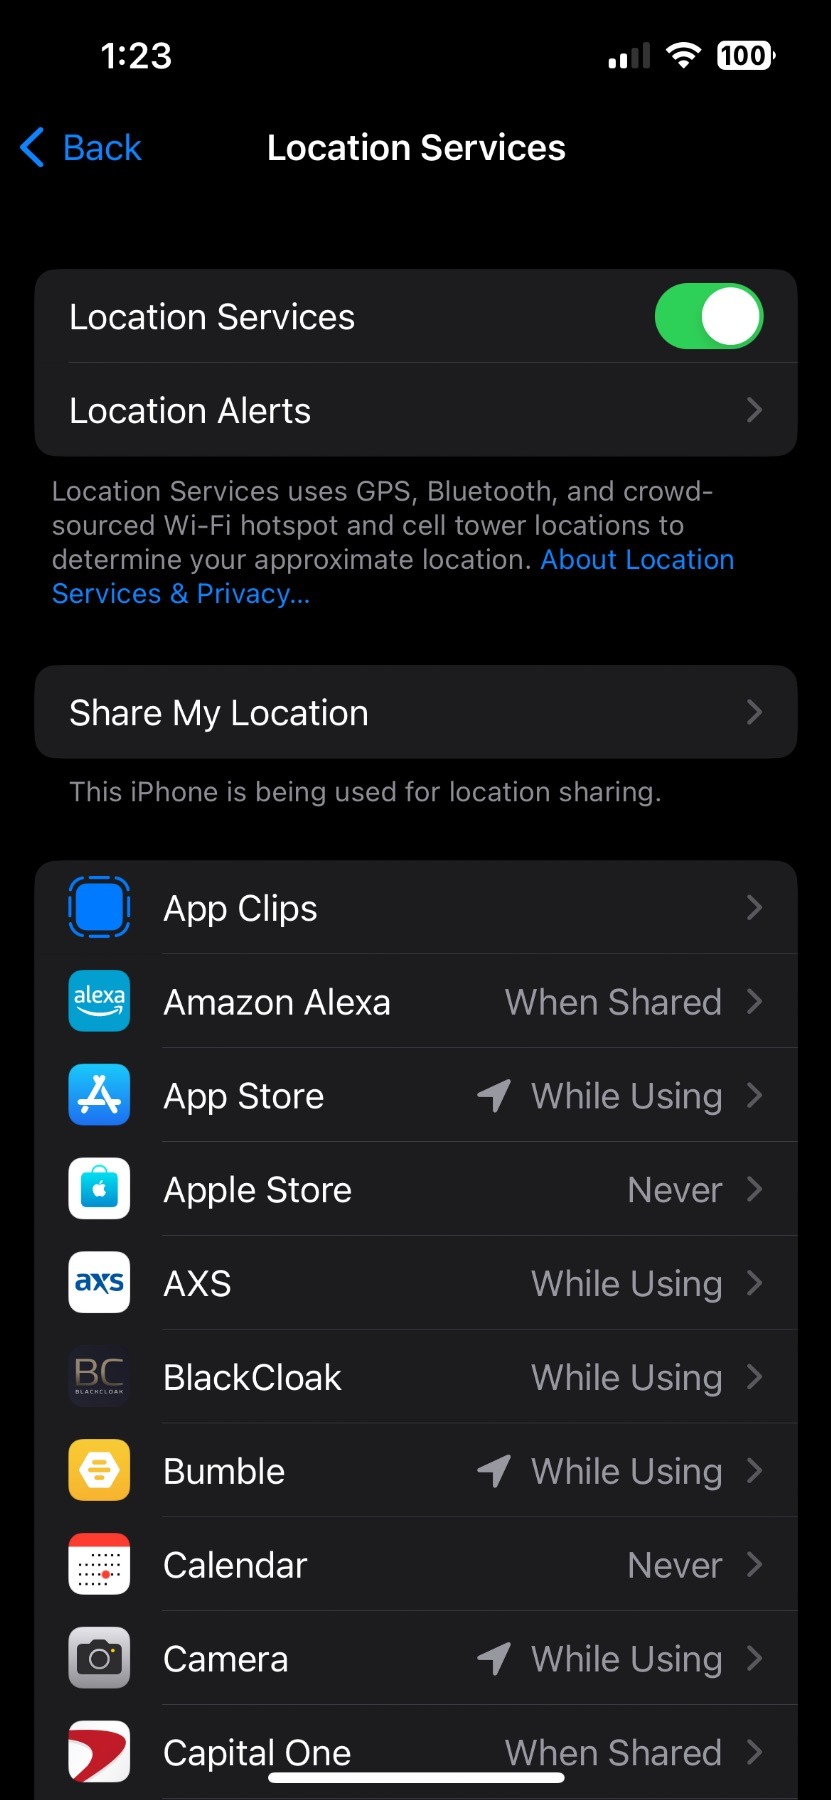
On this screen, you can toggle off using all location services by clicking here. You can also adjust how each app uses location settings on this screen as well.
Step 22
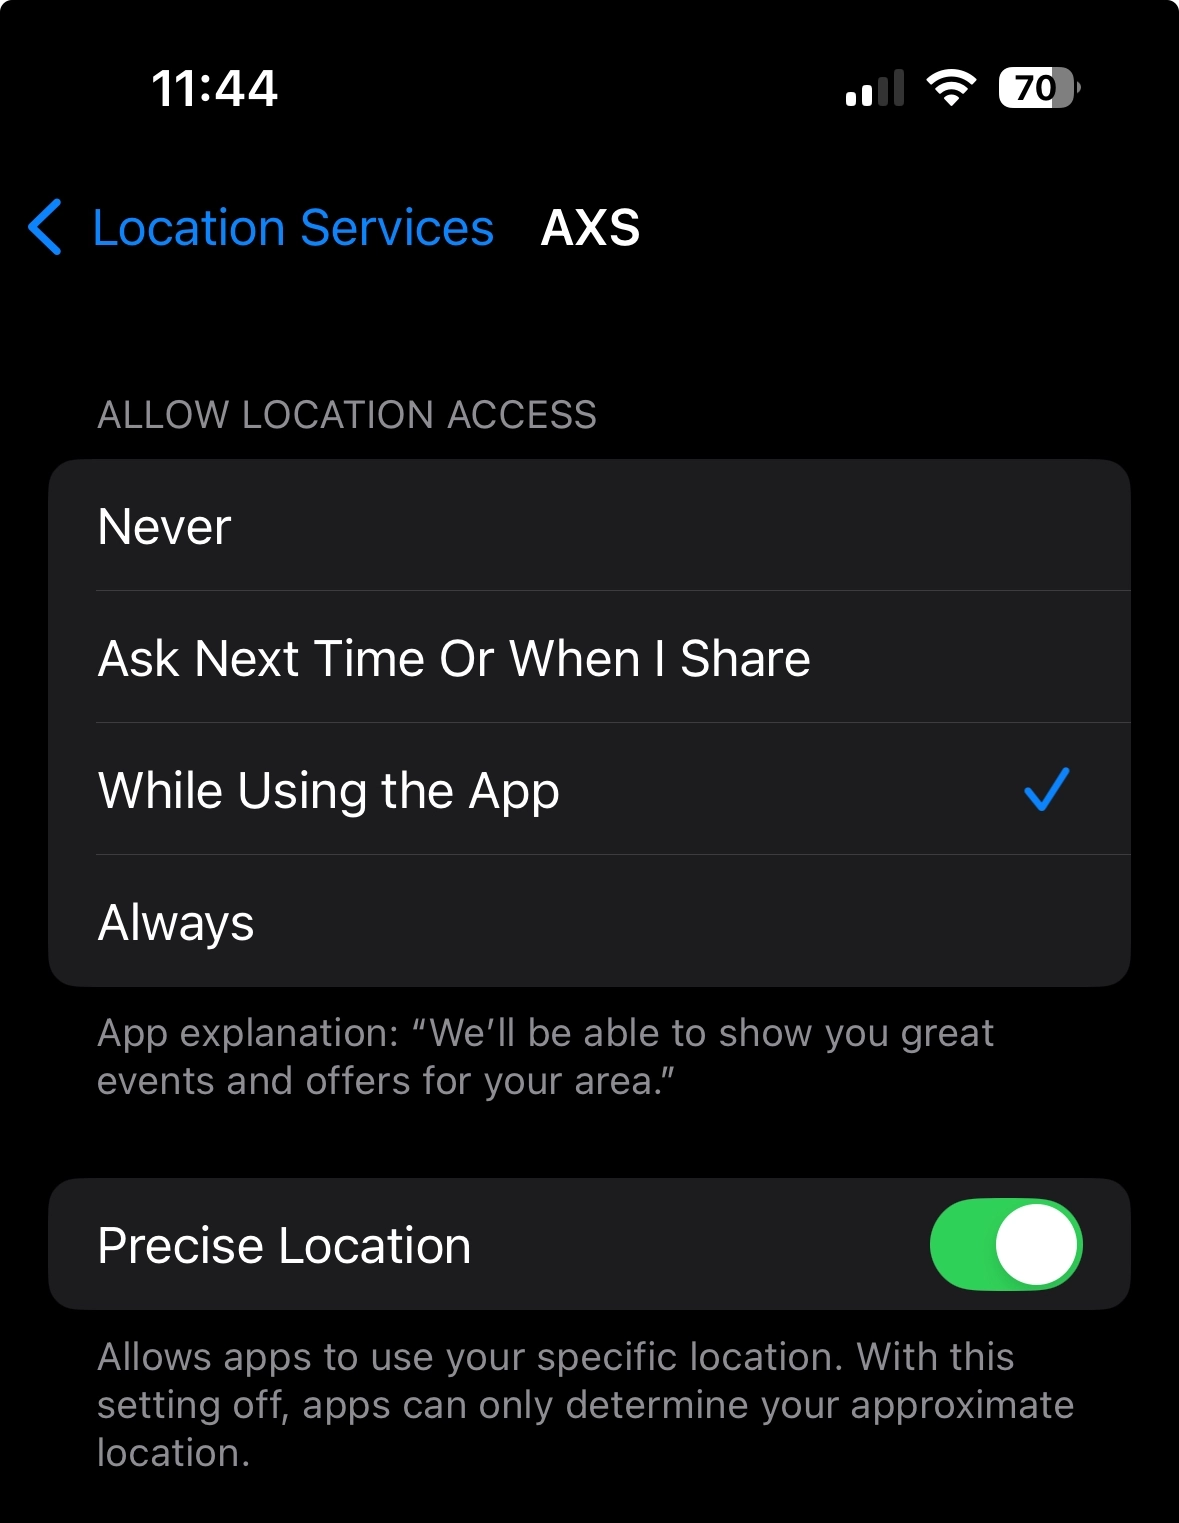
For example, here you can see whether an app has access to location services. You can choose whether an app has no access to location, whether they can access location while they use it, or to ask next time you use the app. You can also choose to have location services always access an app at all times. You can also determine whether an app can access your exact location. For some apps, such as ridesharing apps, it's helpful to have precise location on for drivers to know exactly where to pick you up.
Step 23
At the bottom of the Location Services page, scroll down and click System Services
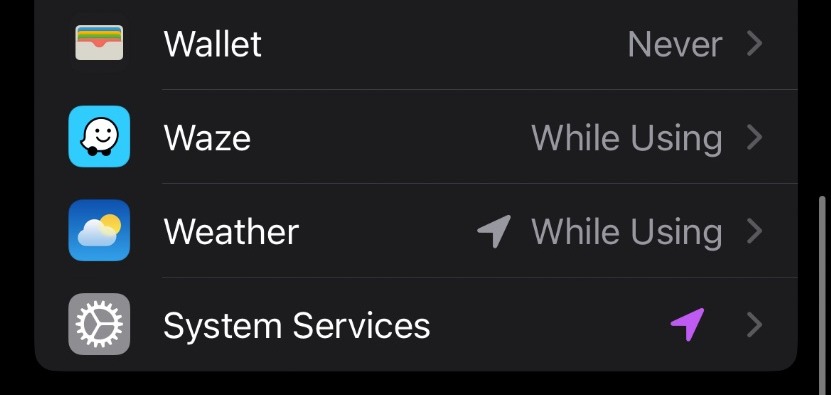
Step 24
Here, you can adjust whether you want to receive location-based alerts and services. Next, let's click on Significant Locations
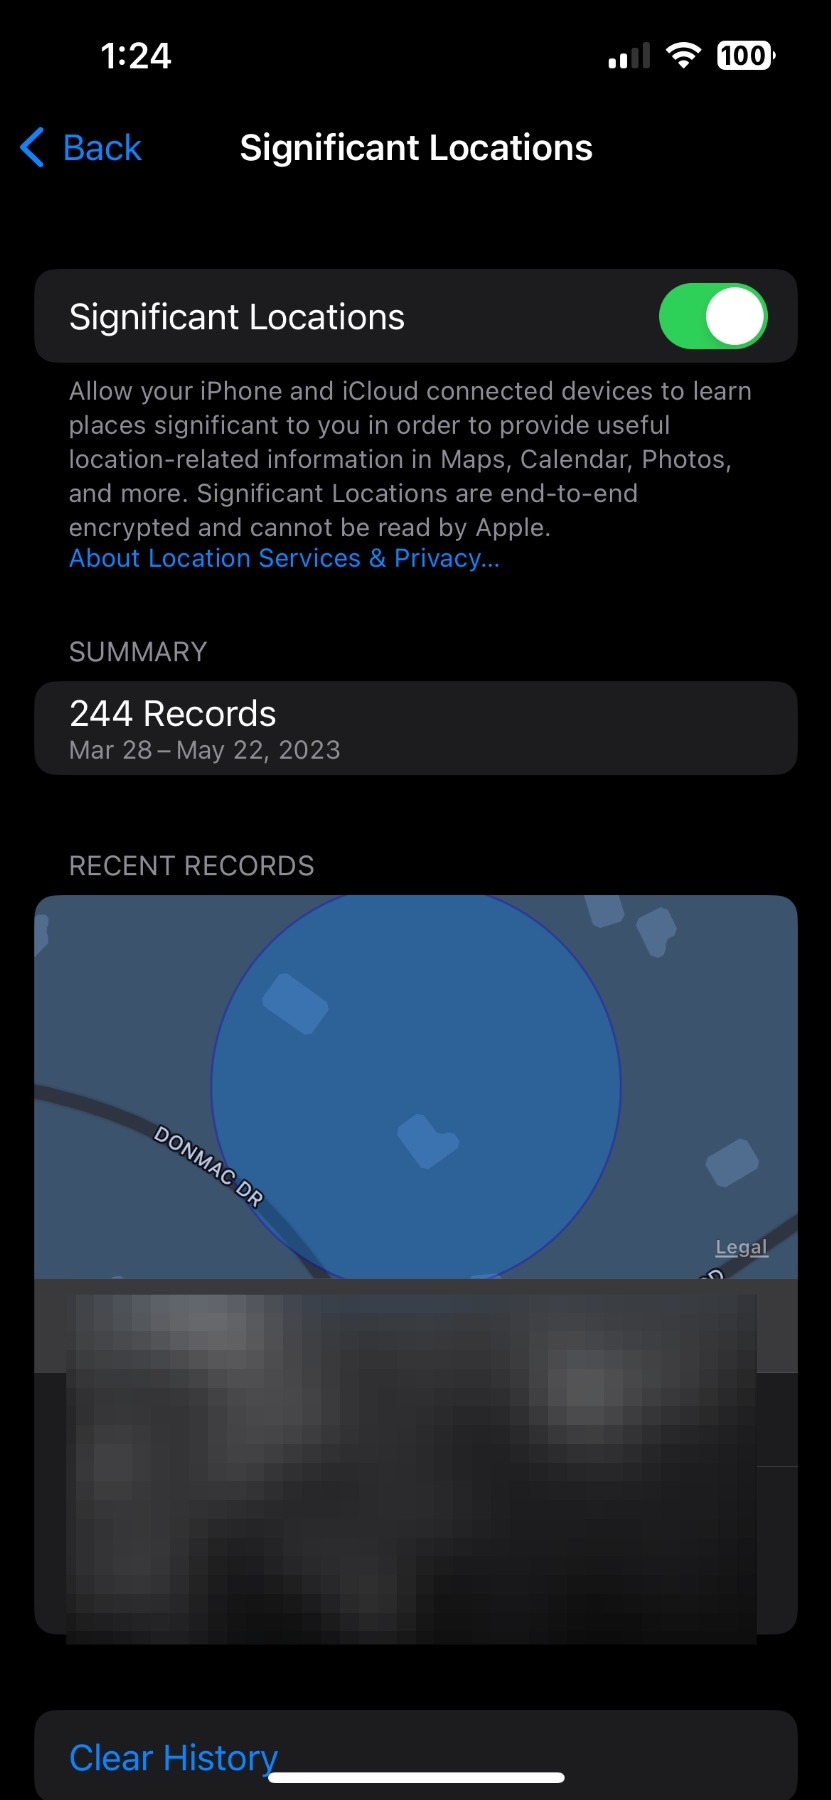
Step 25
Here, you can choose whether you want your device and iCloud to learn places it deems significant to you to provide location-based information in Maps, Calendar, Photos and more. If you have this service on and want to erase all the locations your device has collected, click Clear History at the bottom of the screen
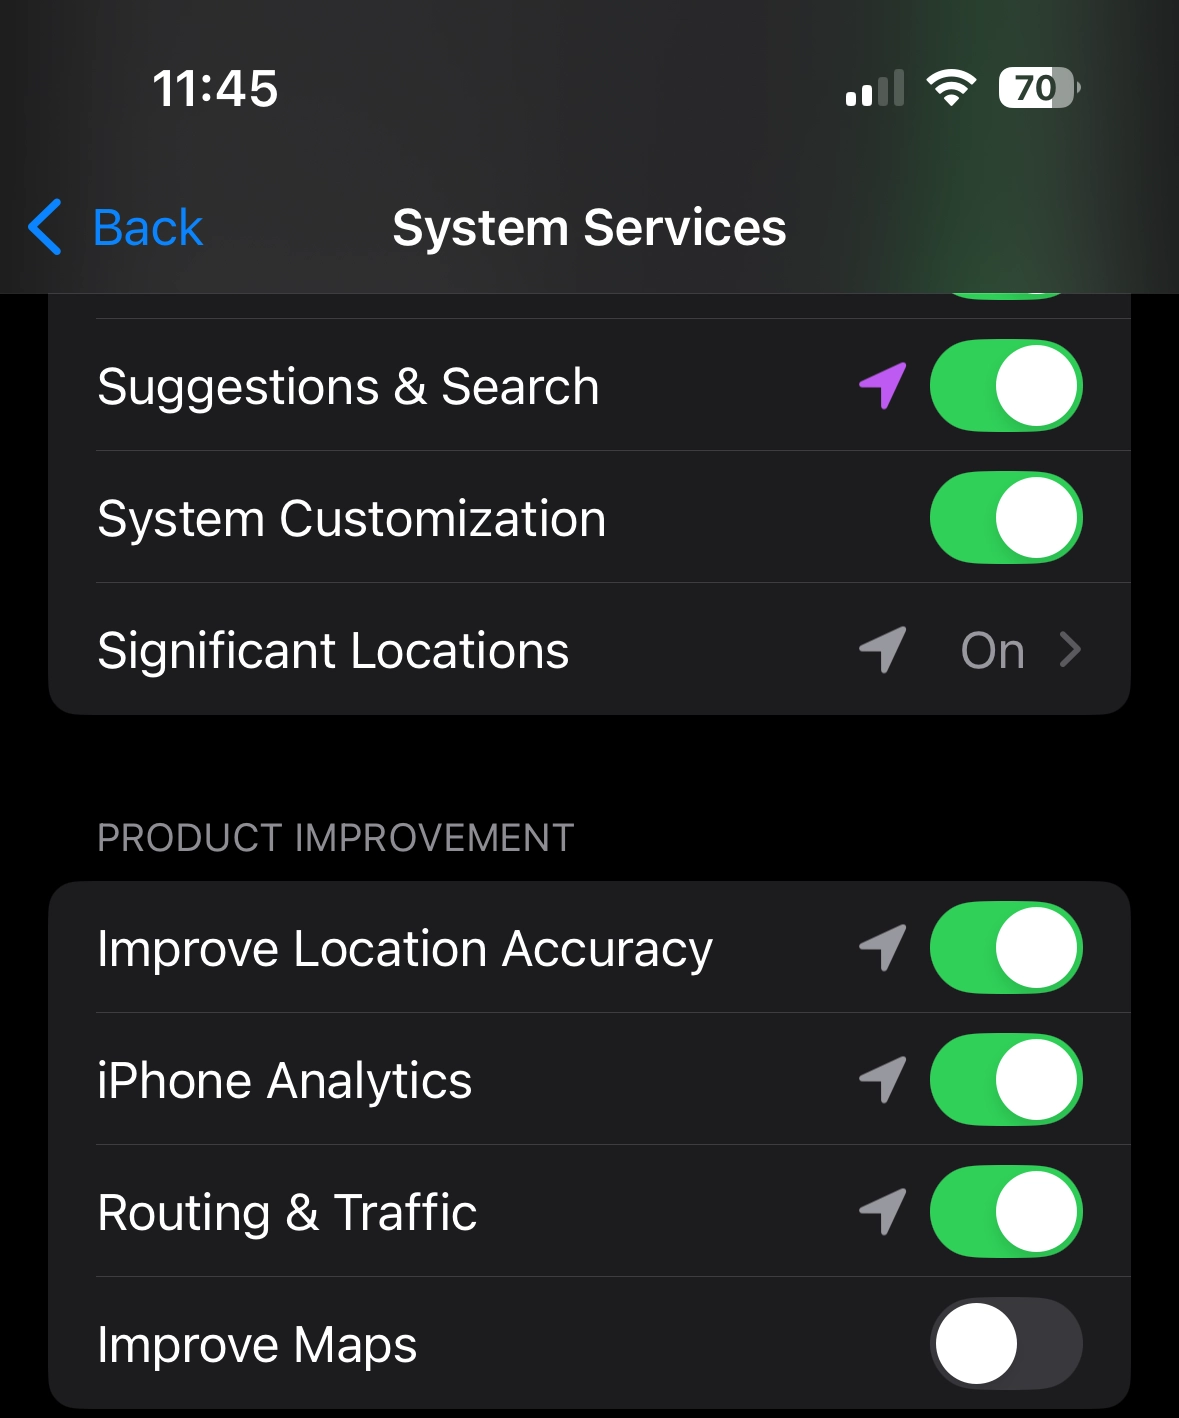
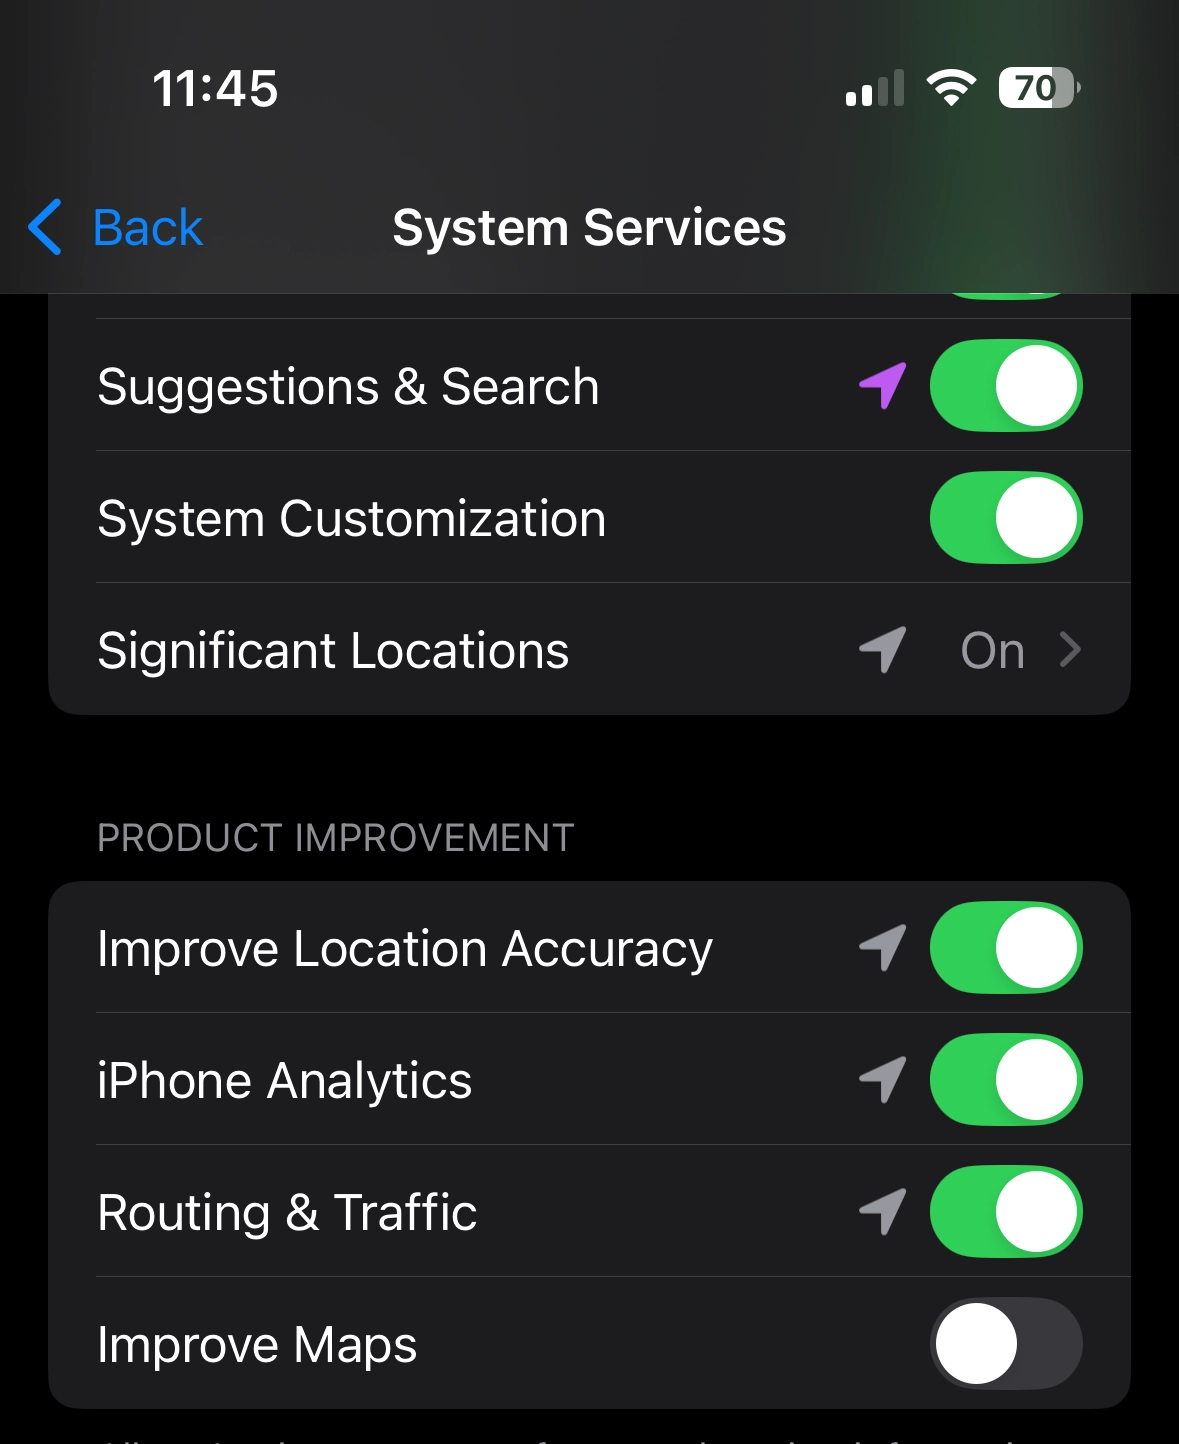
Step 26
Back on the System Services page, it's recommended that you turn off the iPhone analytics and Routing and Traffic features if you are more privacy conscious
Adjusting App Tracking Permissions
Step 27
Back on the Privacy & Security page, click Tracking
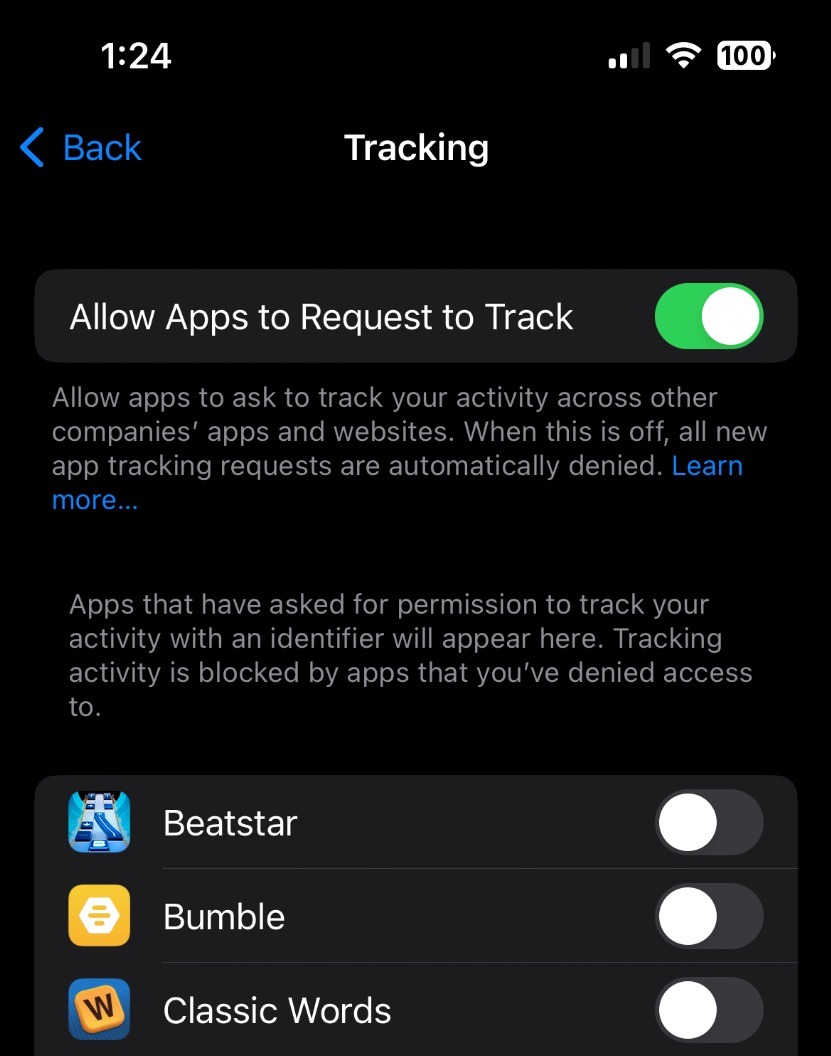
Step 28
Here, you can choose which apps are allowed to track your activity across other companies' apps and websites. If you don't want any app to track your activity, click here
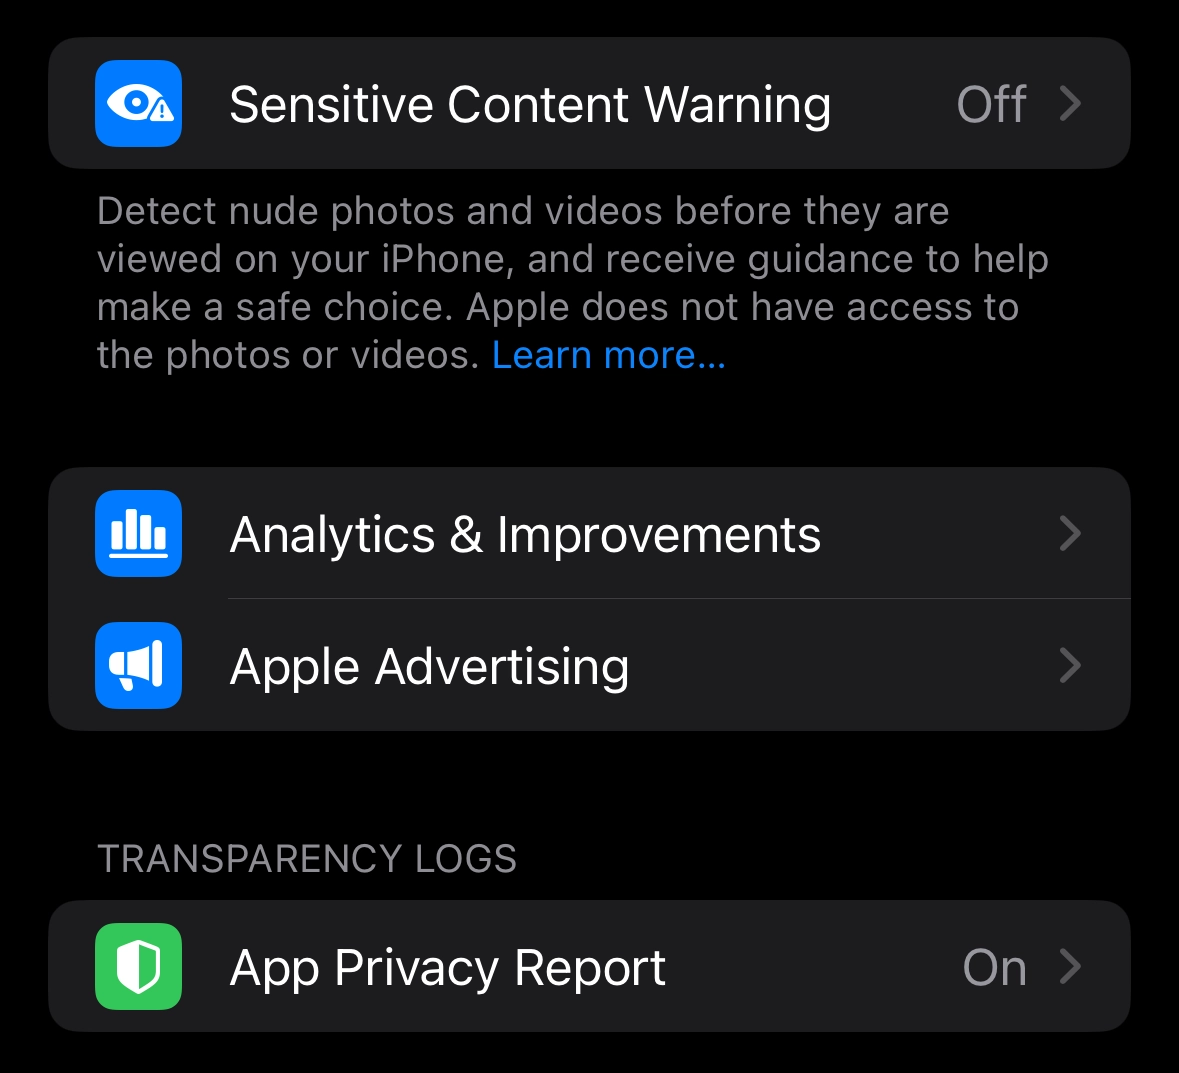
Adjusting Analytics & Improvements Settings
Step 29
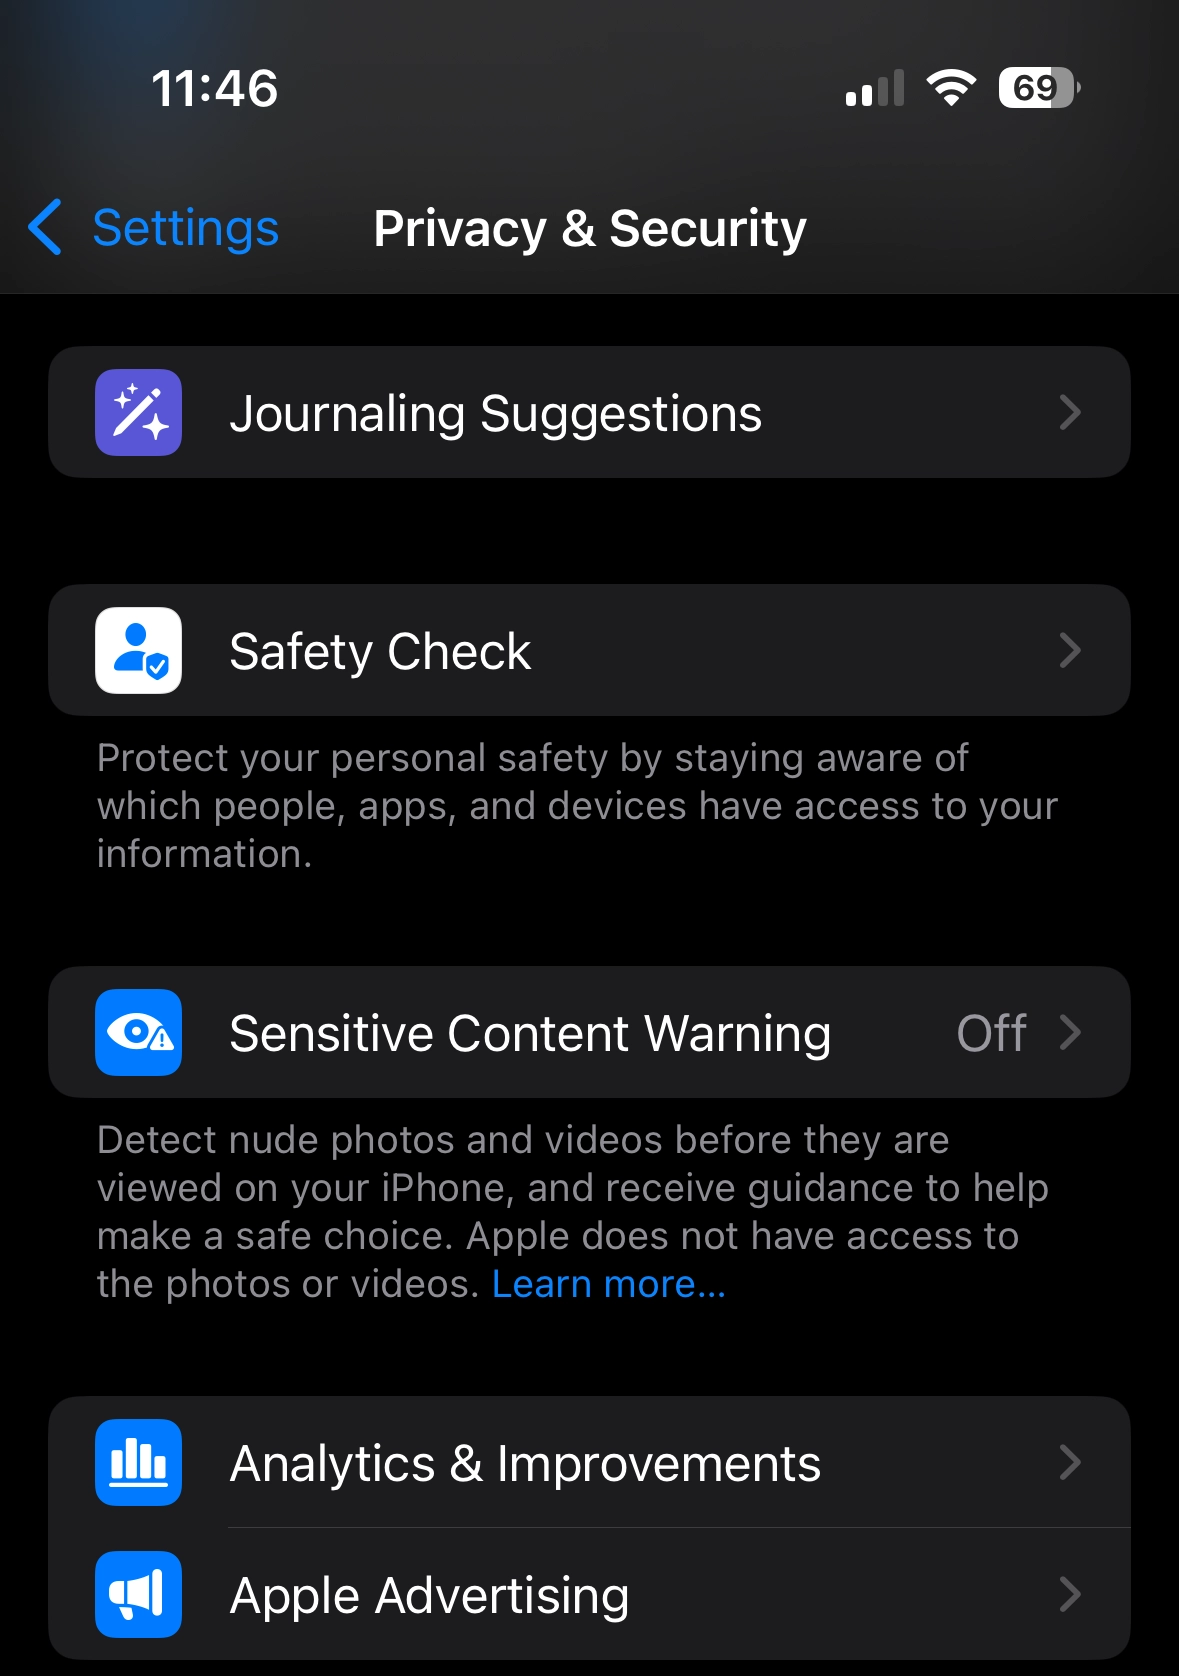
Back on the Privacy & Security page, click Analytics & Improvements
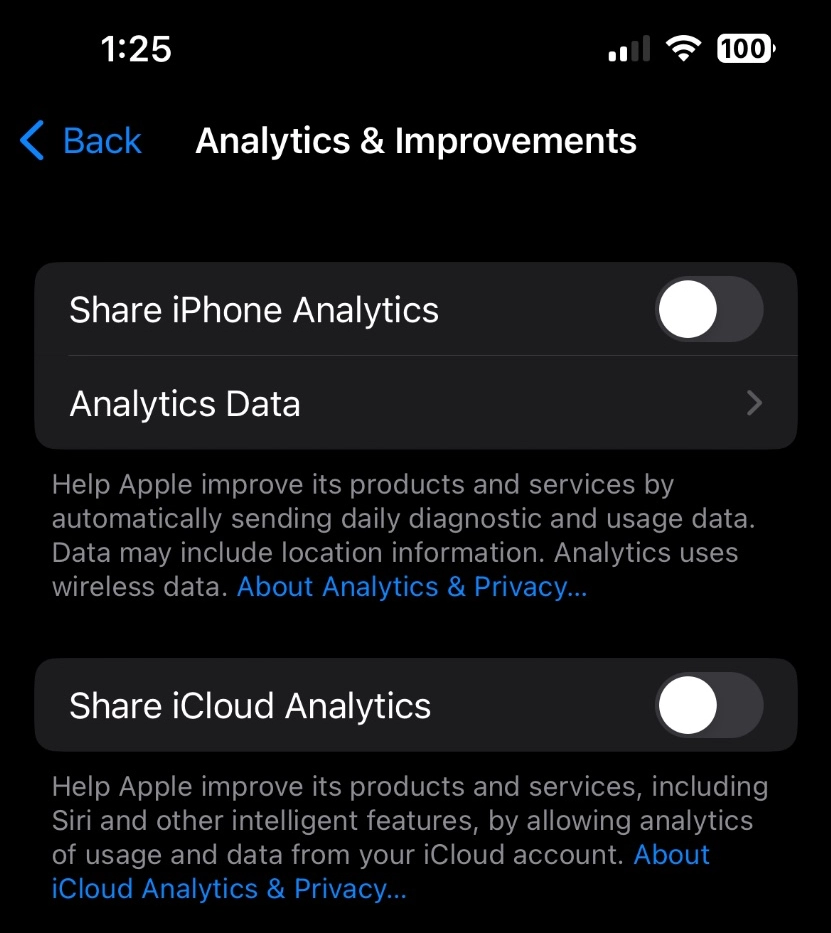
Step 30
Here, you can choose whether you want to share your iPhone or iCloud analytics data and your safety data
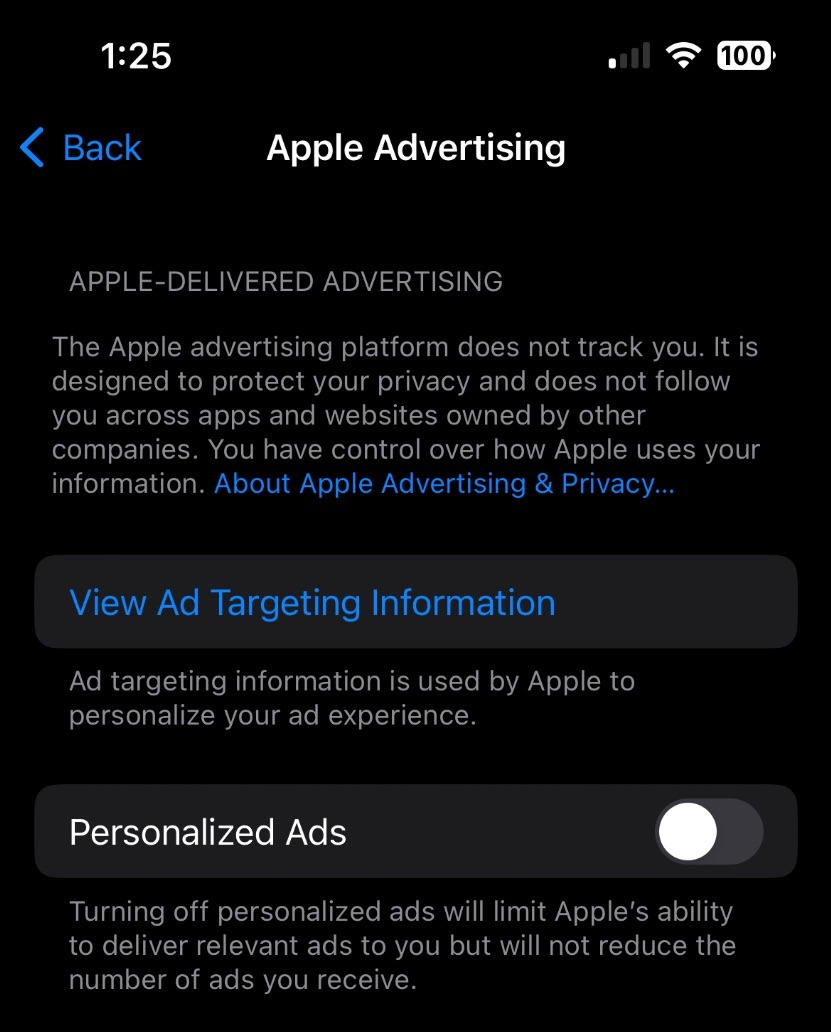
Adjusting Targeted Ad Settings
Step 31
Back on the Privacy & Security page, scroll down and click Apple Advertising
Step 32
Click here if you do not want to receive targeted advertisements
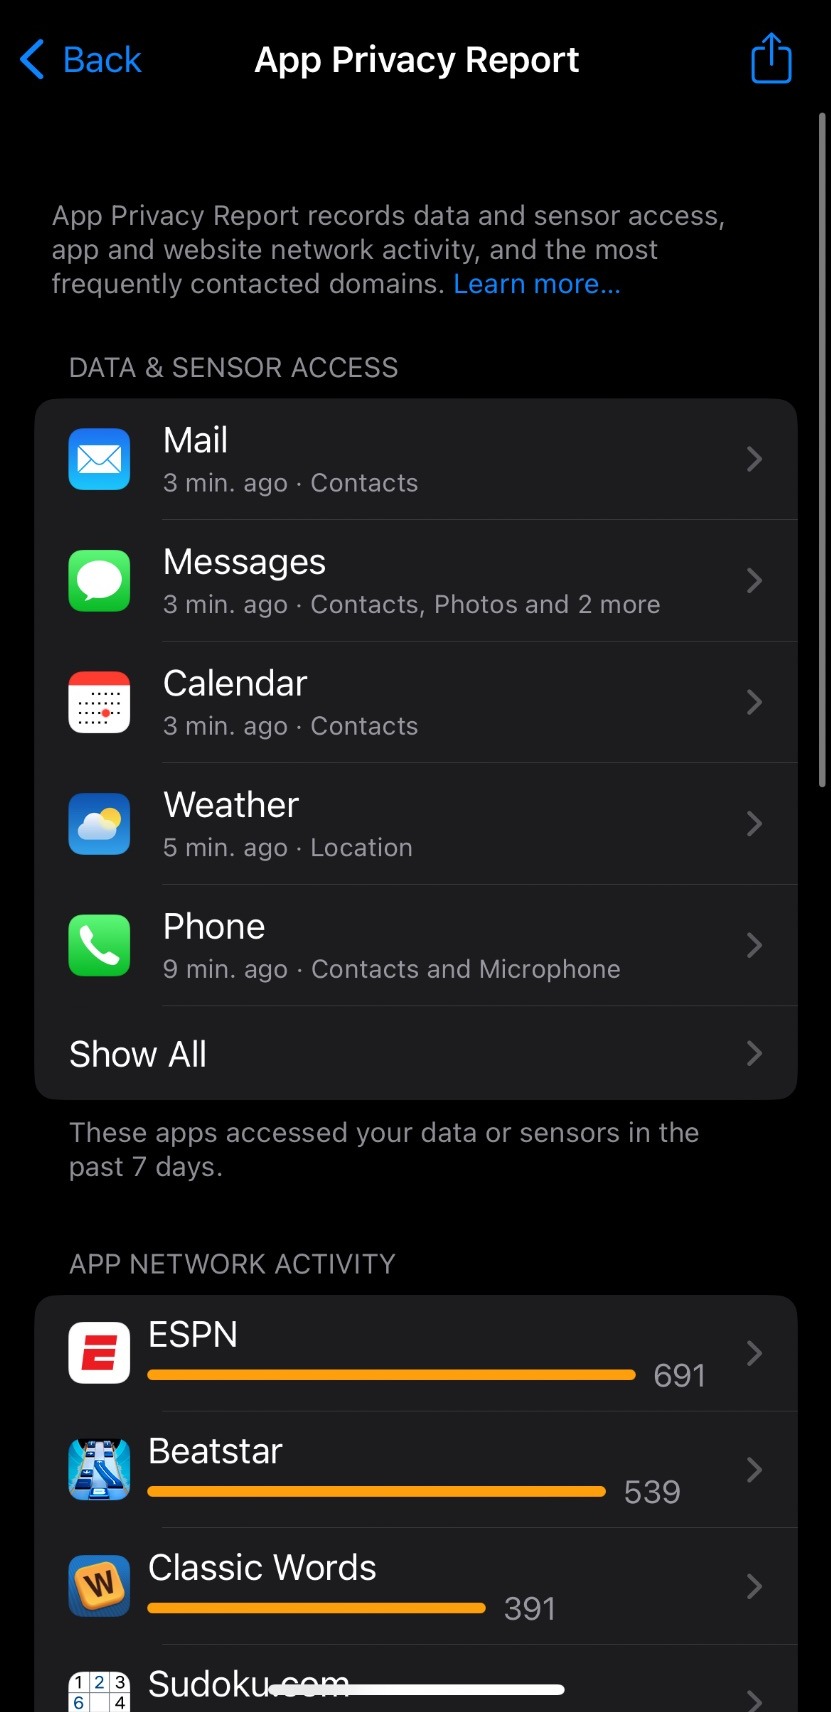
How to View the App Privacy Report
Step 33
Back on the Privacy & Security page, click App Privacy Report
Step 34
Here, you can see how often apps access your data and their network activity over the past seven days. This gives you a more complete overview of how apps treat your data and make an educated decision whether to keep uninstall an app if it is accessing too much of your data.
How to Turn on Lockdown Mode
Step 35
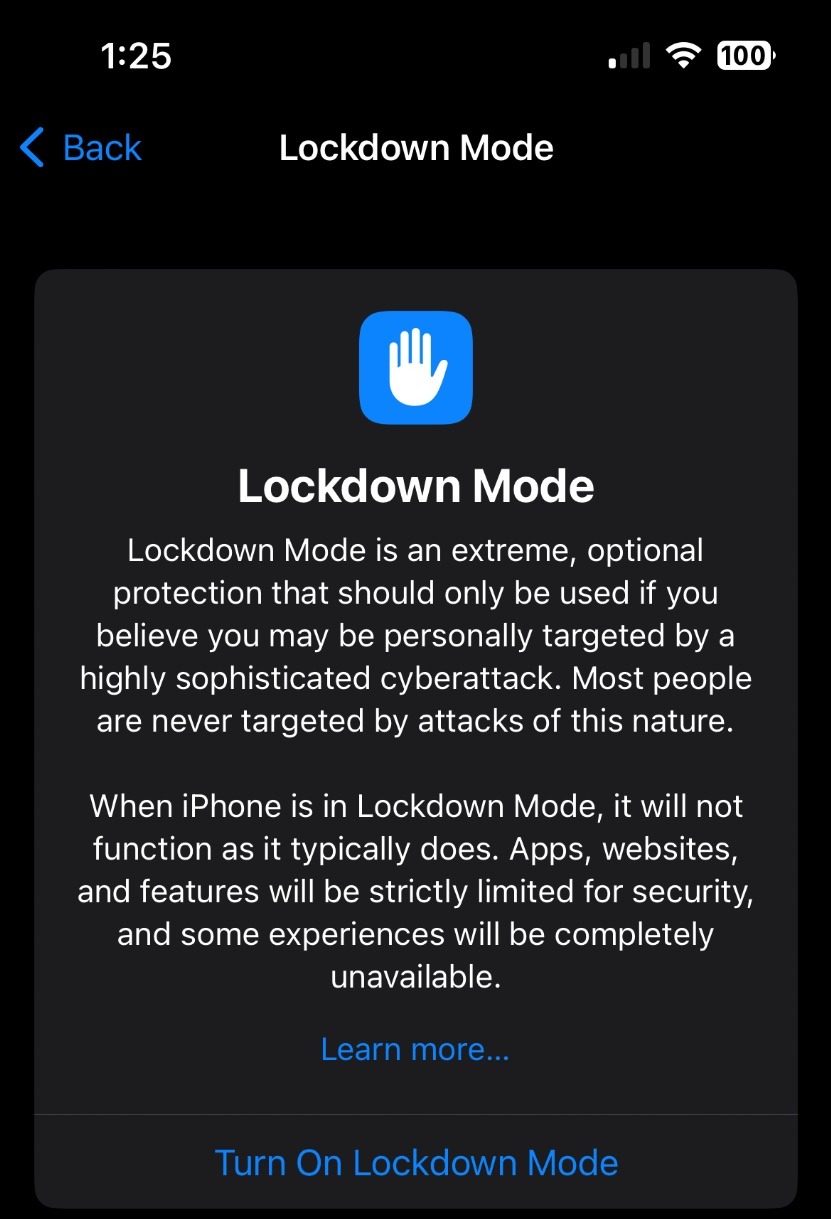
Back on the Privacy & Security page, click Lockdown Mode

Step 36
Here, you can turn on Lockdown Mode. Apple considers this to be a last resort of sorts. If you believe you have been personally targeted in a cyberattack, you can turn on lockdown mode. When you do, your device will not function as normal. You will not be able to use most of your apps and messages and FaceTime functionality will be severely limited.
Blocking Email Trackers
Step 37
On the main Settings screen, scroll down and click Apps
Step 38
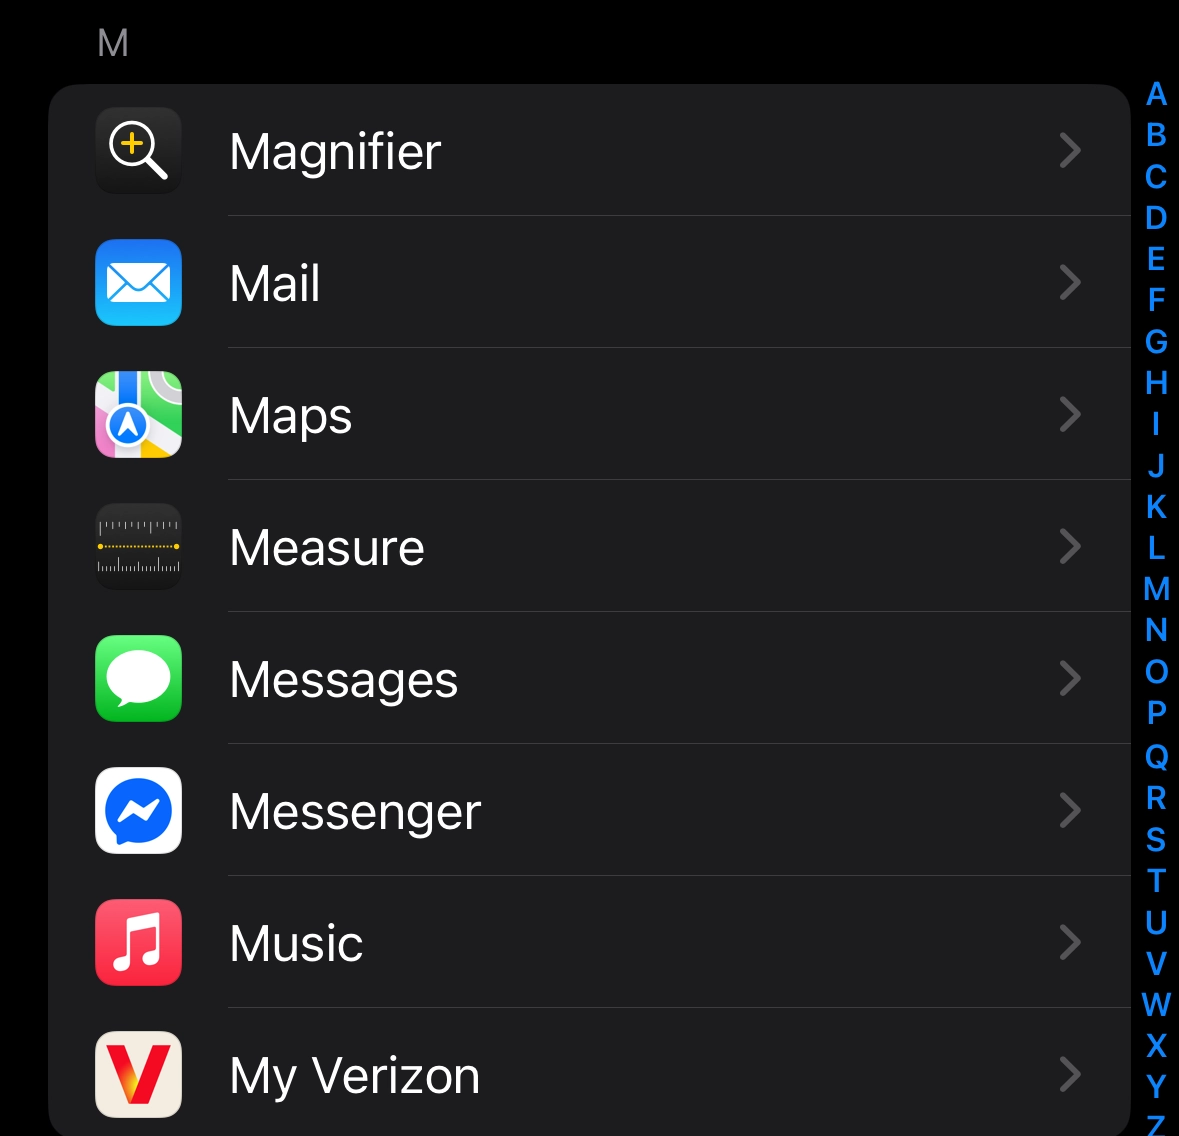
Scroll down and click on Mail
Step 39
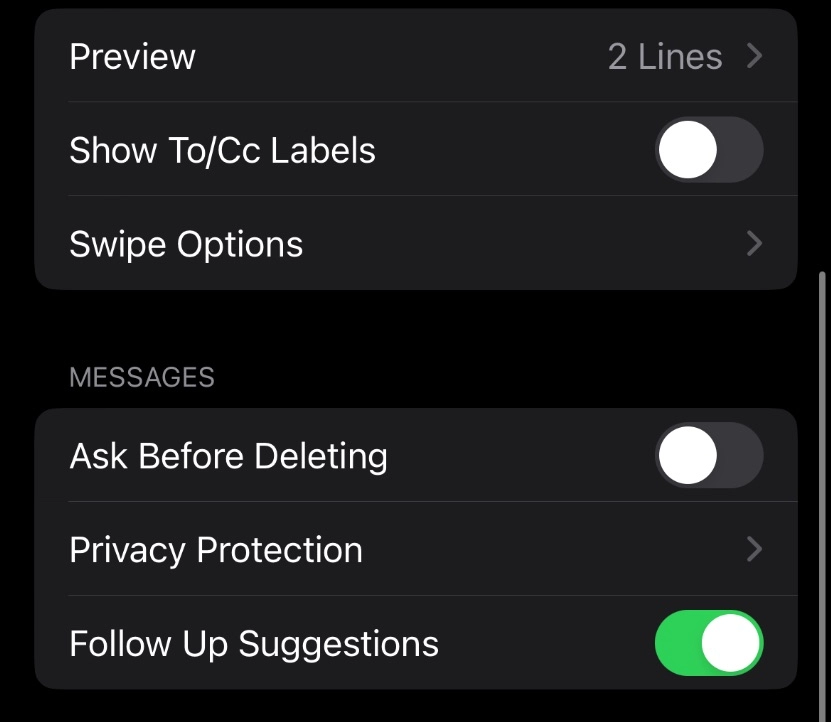
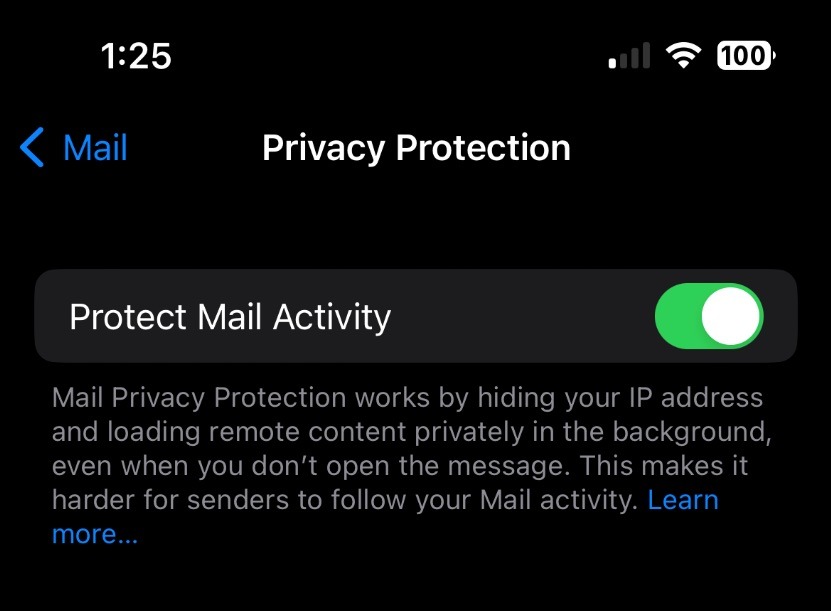
Scroll down and click Privacy Protection
Step 40
Click here if you want to hide your IP address from email senders whenever a message is opened
Adjusting Safari Privacy Settings
Step 41
Go back to the Apps page. Scroll down and click Safari

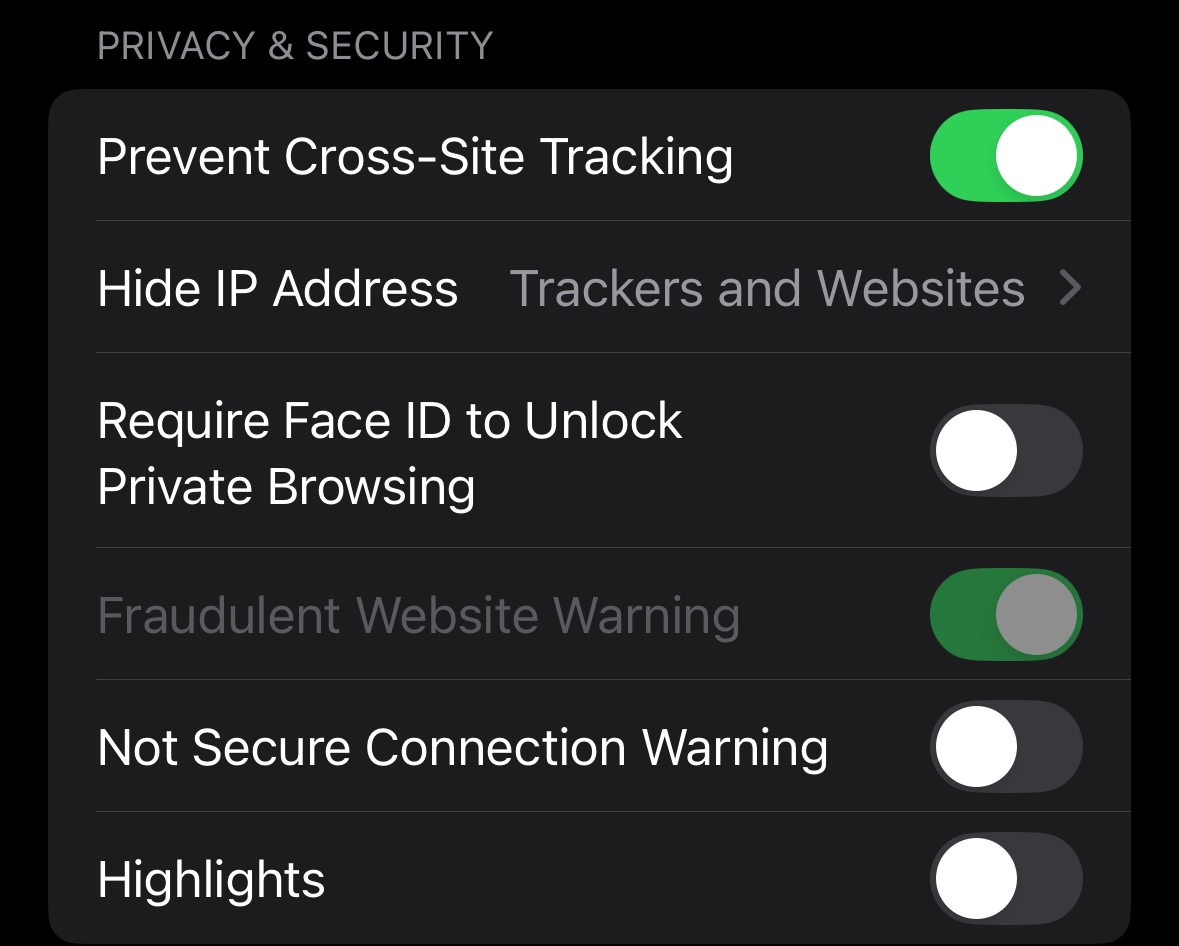
Step 42
Scroll down until you see these features. Here, make sure “prevent cross-site tracking” is turned on. This prevents third parties from tracking your activity across multiple websites. You can also hide your IP address from trackers and websites by clicking here
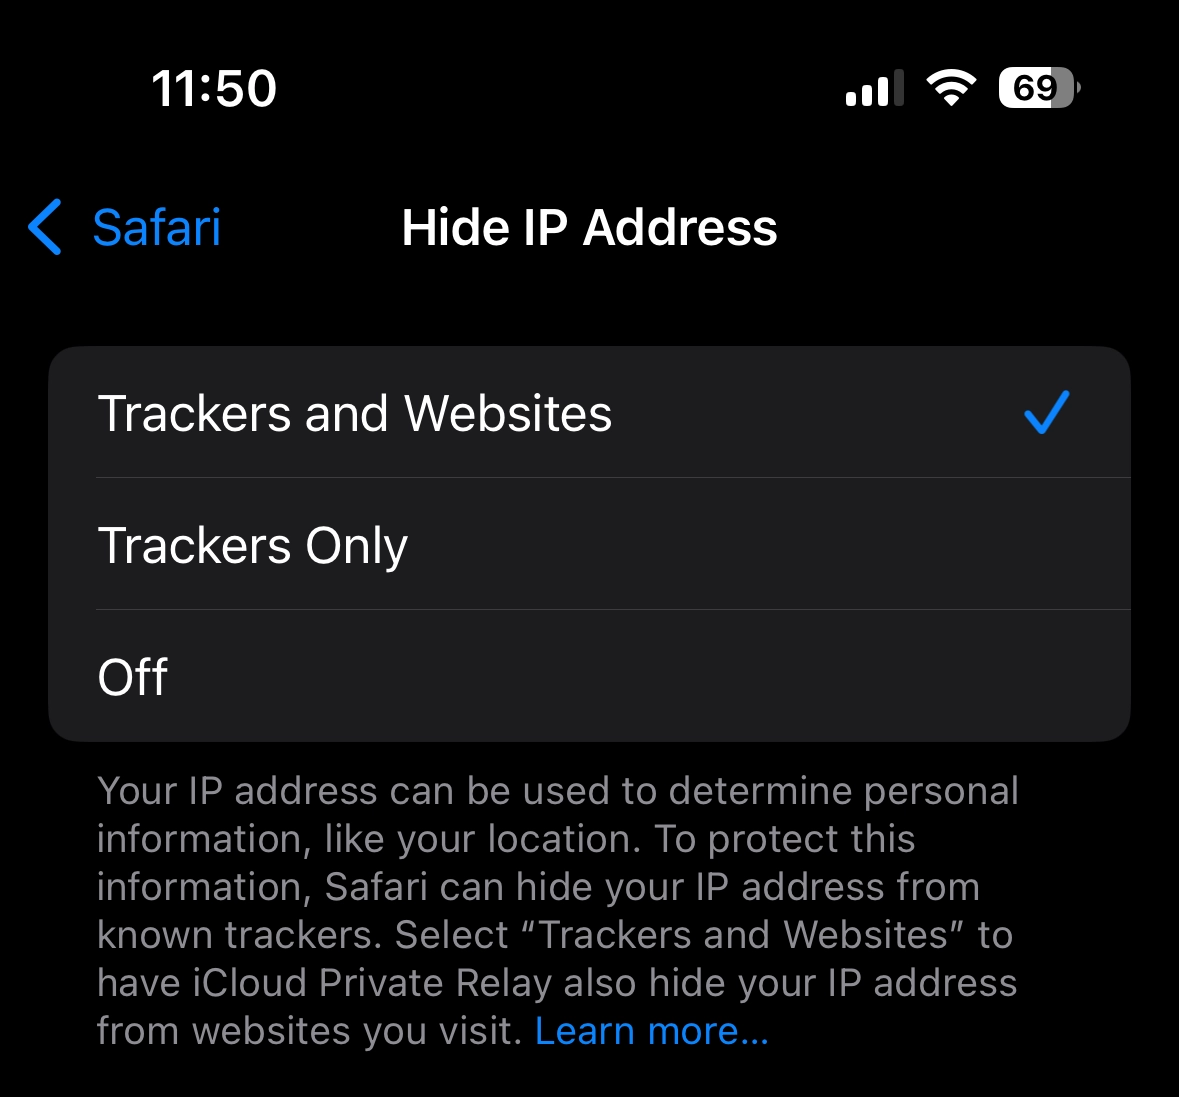
Step 43
On this screen, make sure Trackers and Websites is checked
Apple Stolen Device Protection
Step 44
Stolen Device Protection adds a layer of security when your iPhone is away from familiar locations, such as home or work, and helps protect your accounts and personal information in case your iPhone is ever stolen. NOTE: This feature will not work if Significant Locations is turned OFF.
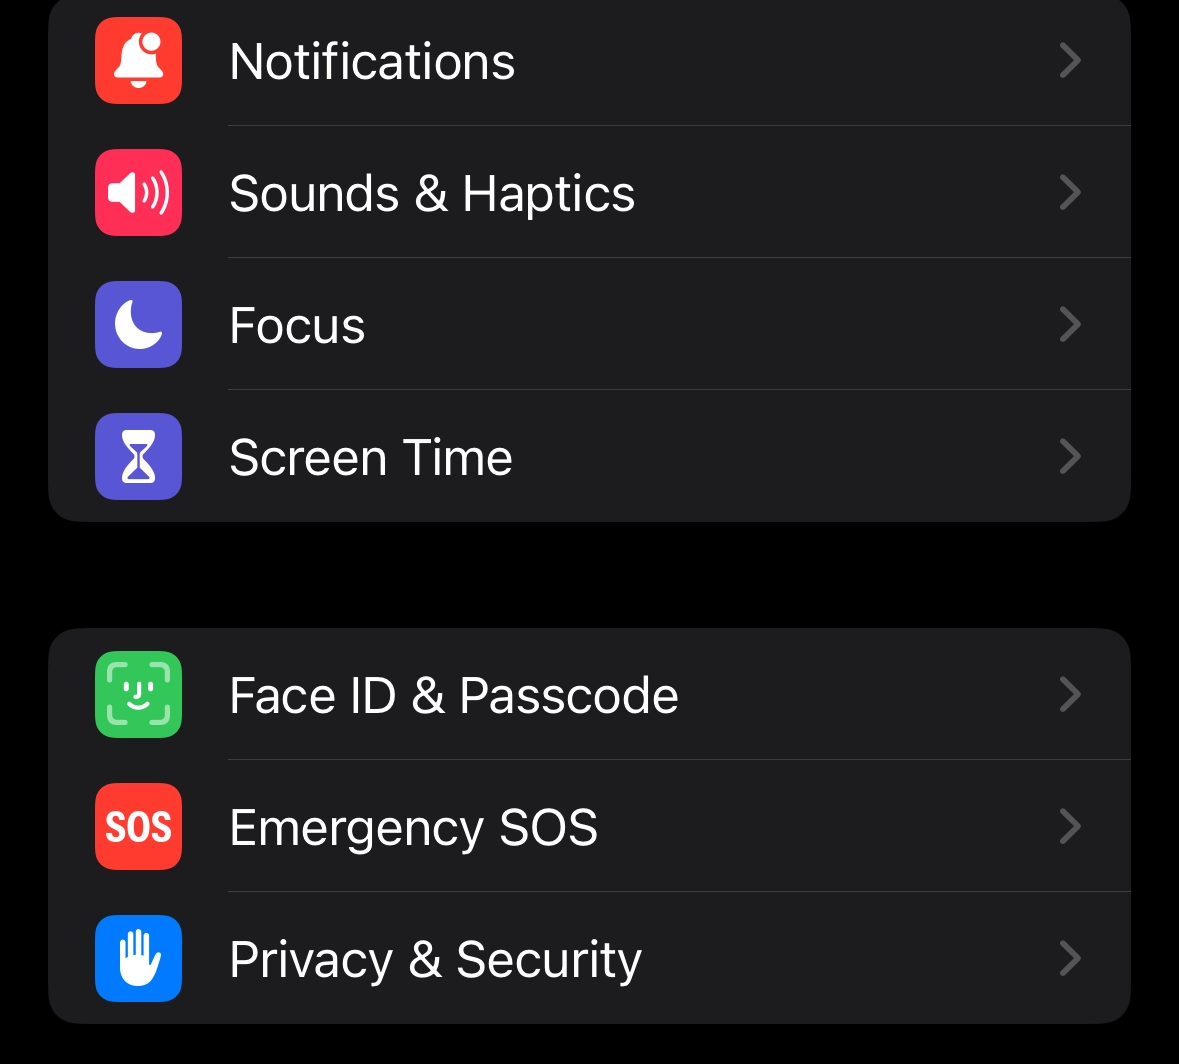
Step 45
Under Settings click Face ID & Passcode
Step 46
Enter your passcode NOTE: Even if someone knows your passcode , if you are away from home, additional biometric identification will be needed (touch ID/Face ID) to change settings or access stored passwords.
Step 47
Click Stolen Device Protection
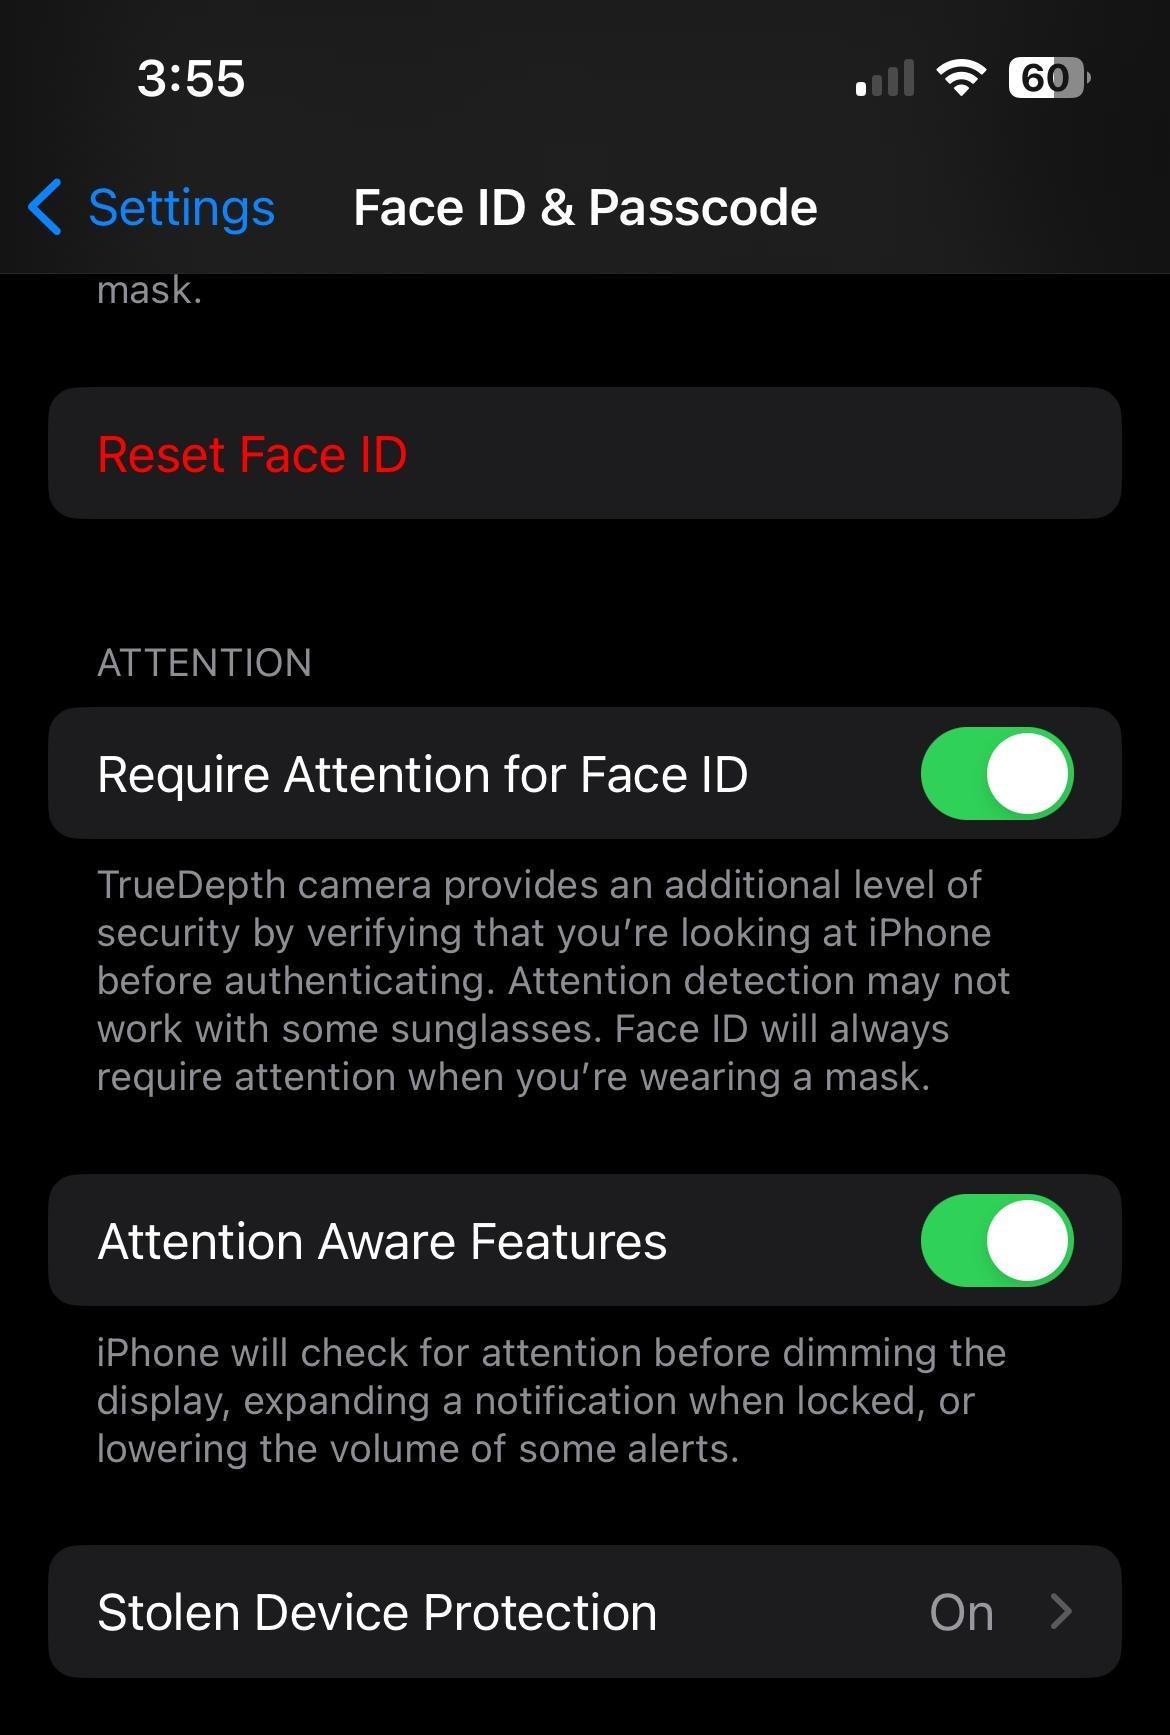
Step 48
Click this button

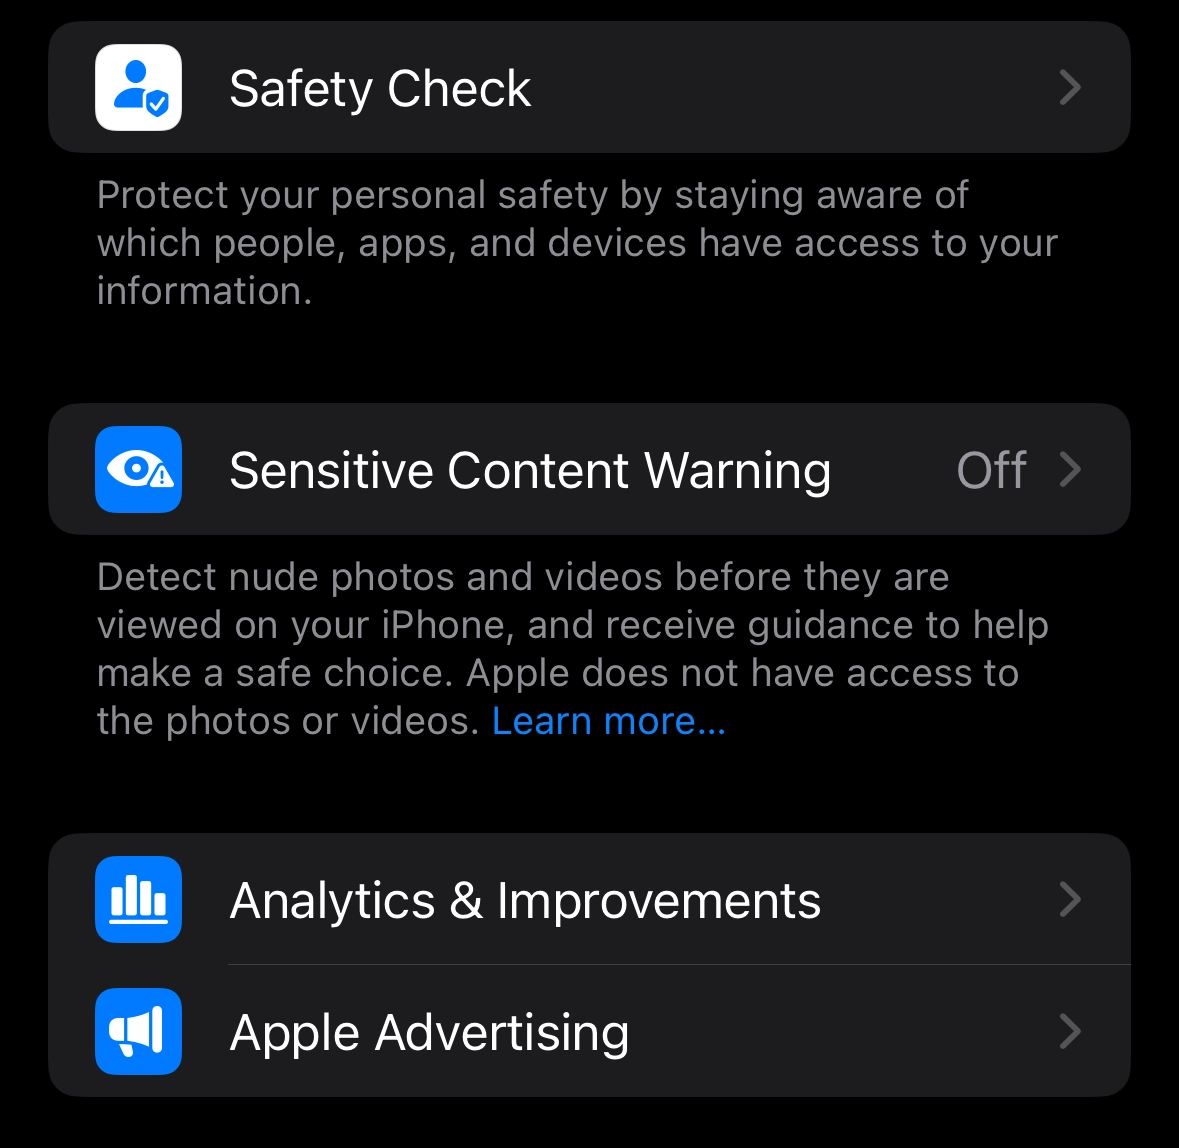
Safety Check
Step 49
If your personal safety is at risk, you can use Safety Check on iPhone to quickly stop sharing your information, or to review and update sharing with individual people and apps.
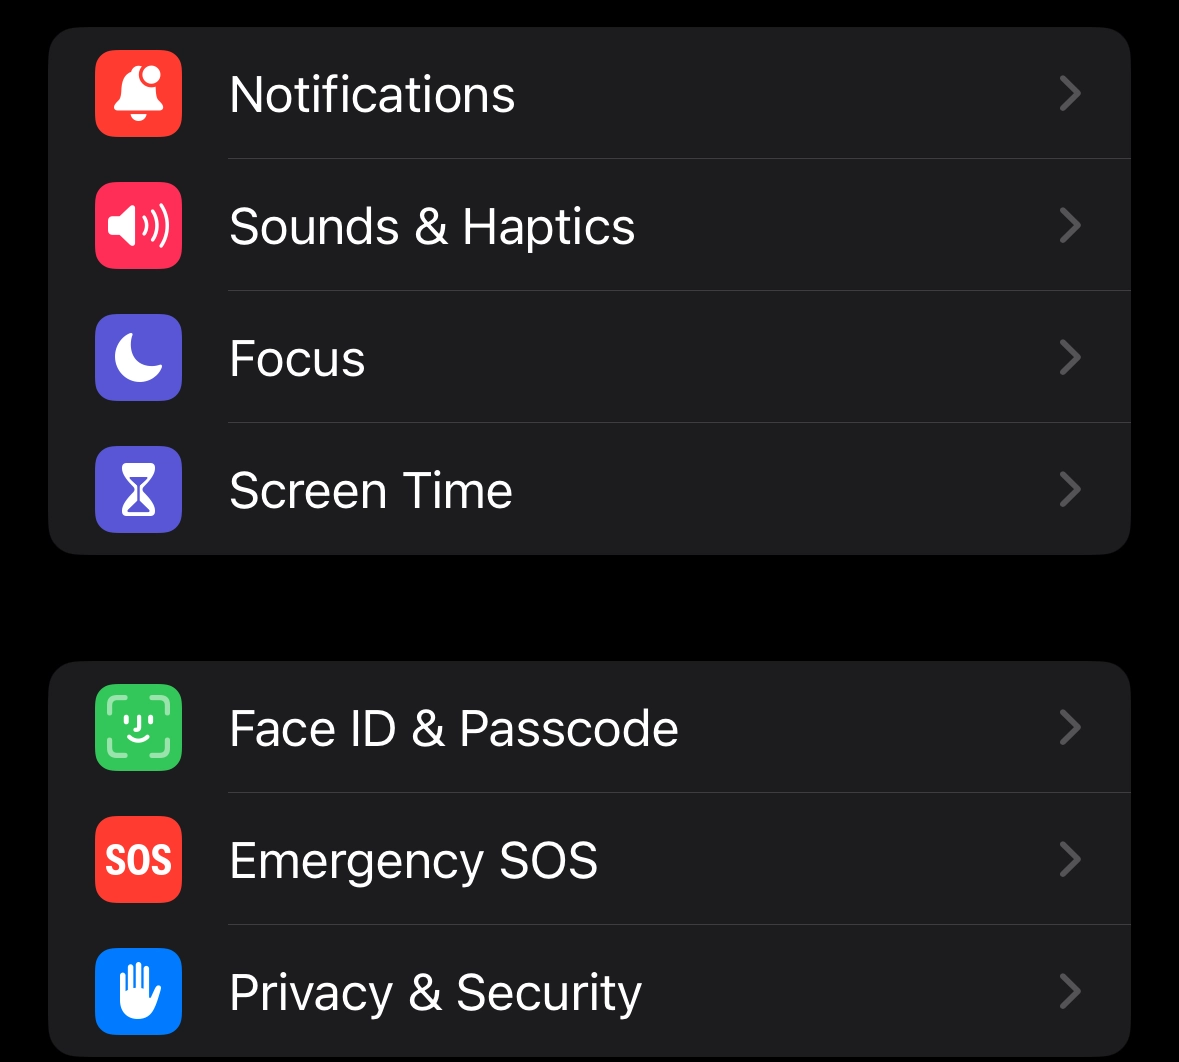
Step 50
Under Settings, click Privacy & Security
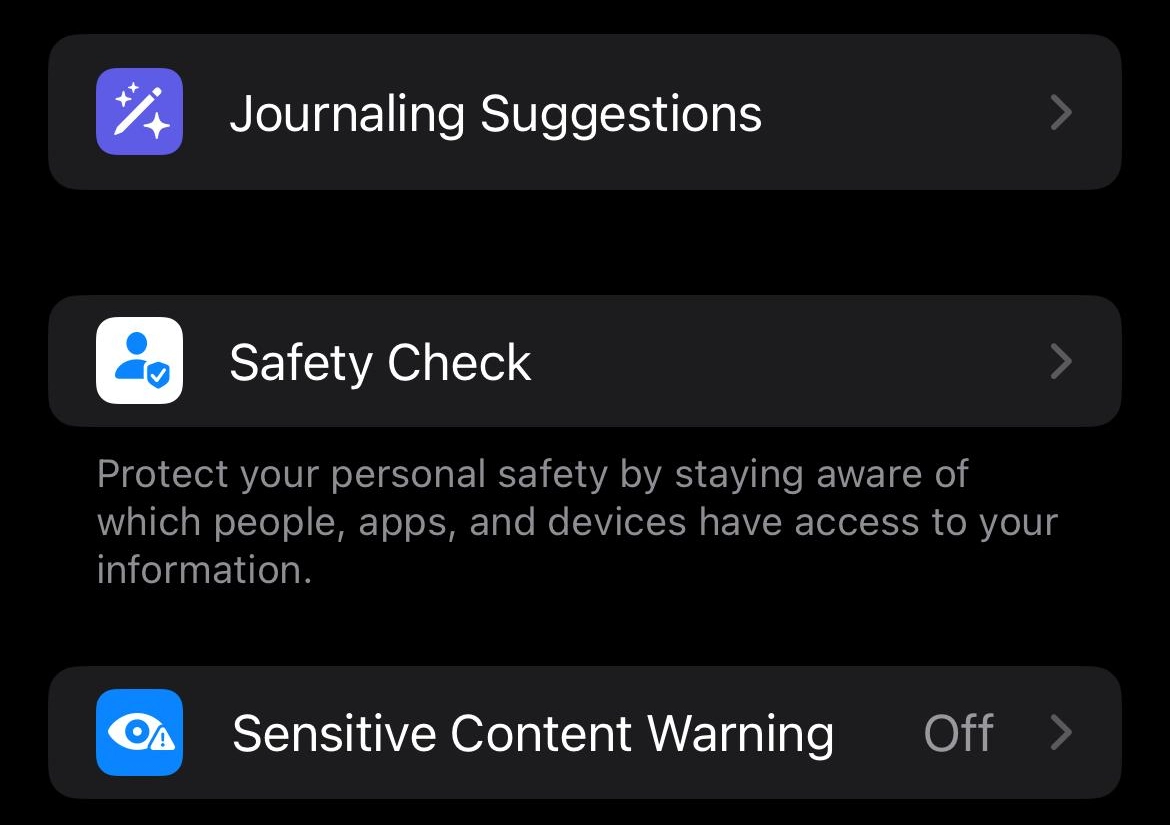
Step 51
Scroll down and click Safety Check
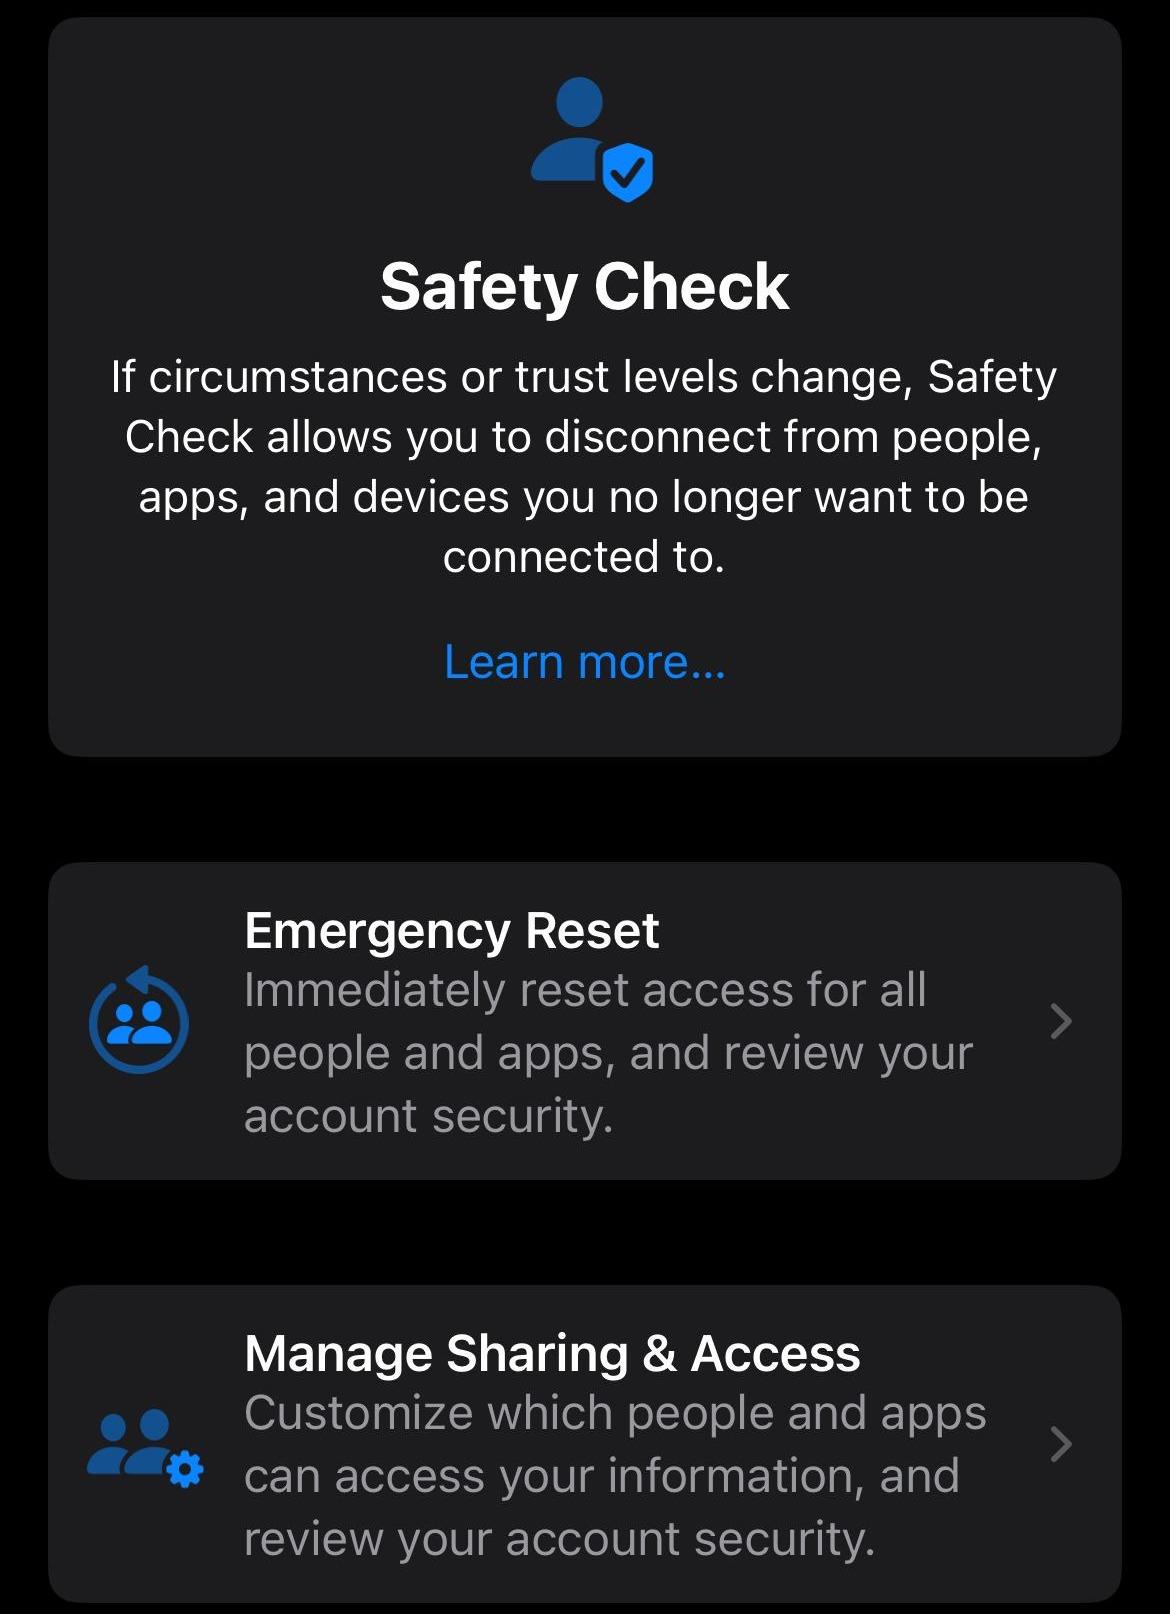
Step 52
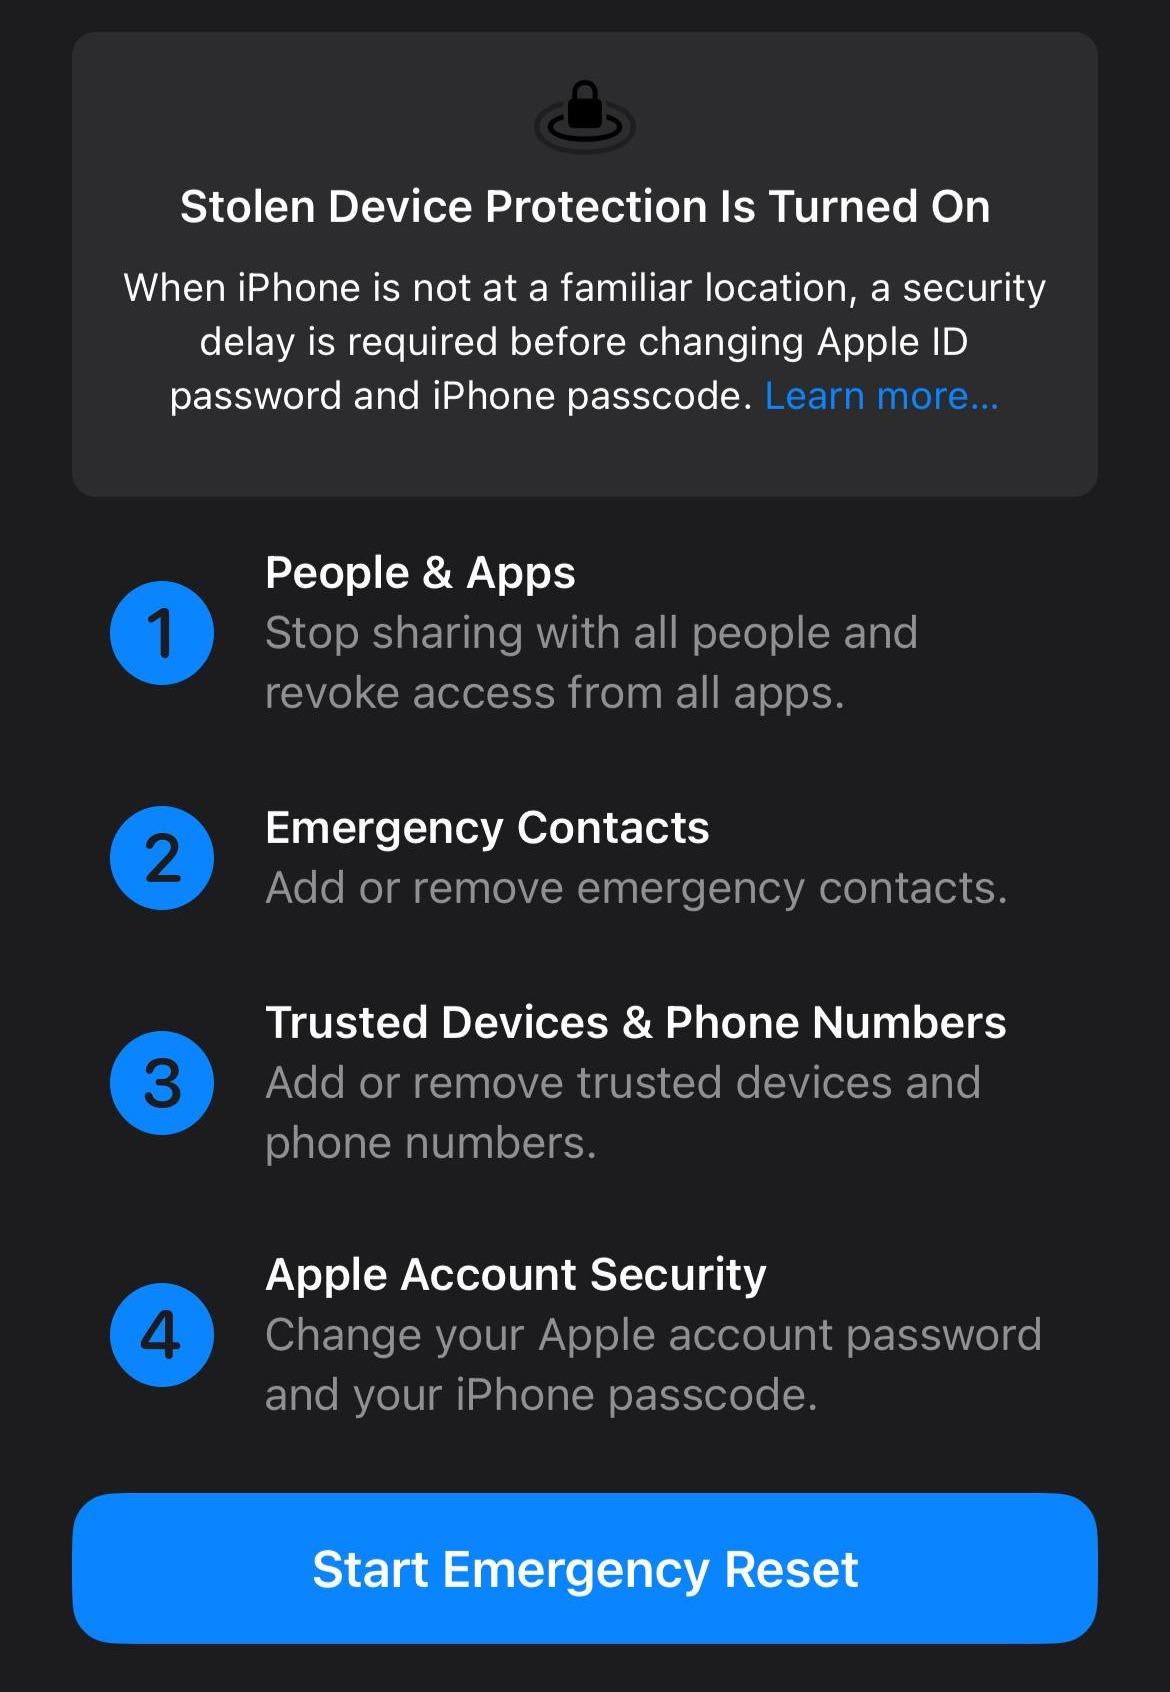
Here, you'll have the choice between Emergency Reset and Manage Sharing & Access. First, click Emergency Reset
Step 53
Enter your passcode
Step 54
Here, you will see the four steps of the Emergency Reset. You'll be able to stop sharing data with people and revoke access from all apps on your phone, add or remove emergency contacts, trusted devices and phone numbers and change your Apple account passwords and your iPhone passcodes. Click this button.
Step 55
If you want to reset all of your settings for sharing information with people and apps, click reset. If you want to do it for certain apps and people, click Manage Sharing & Access. Repeat for the other three steps as well.
Step 56
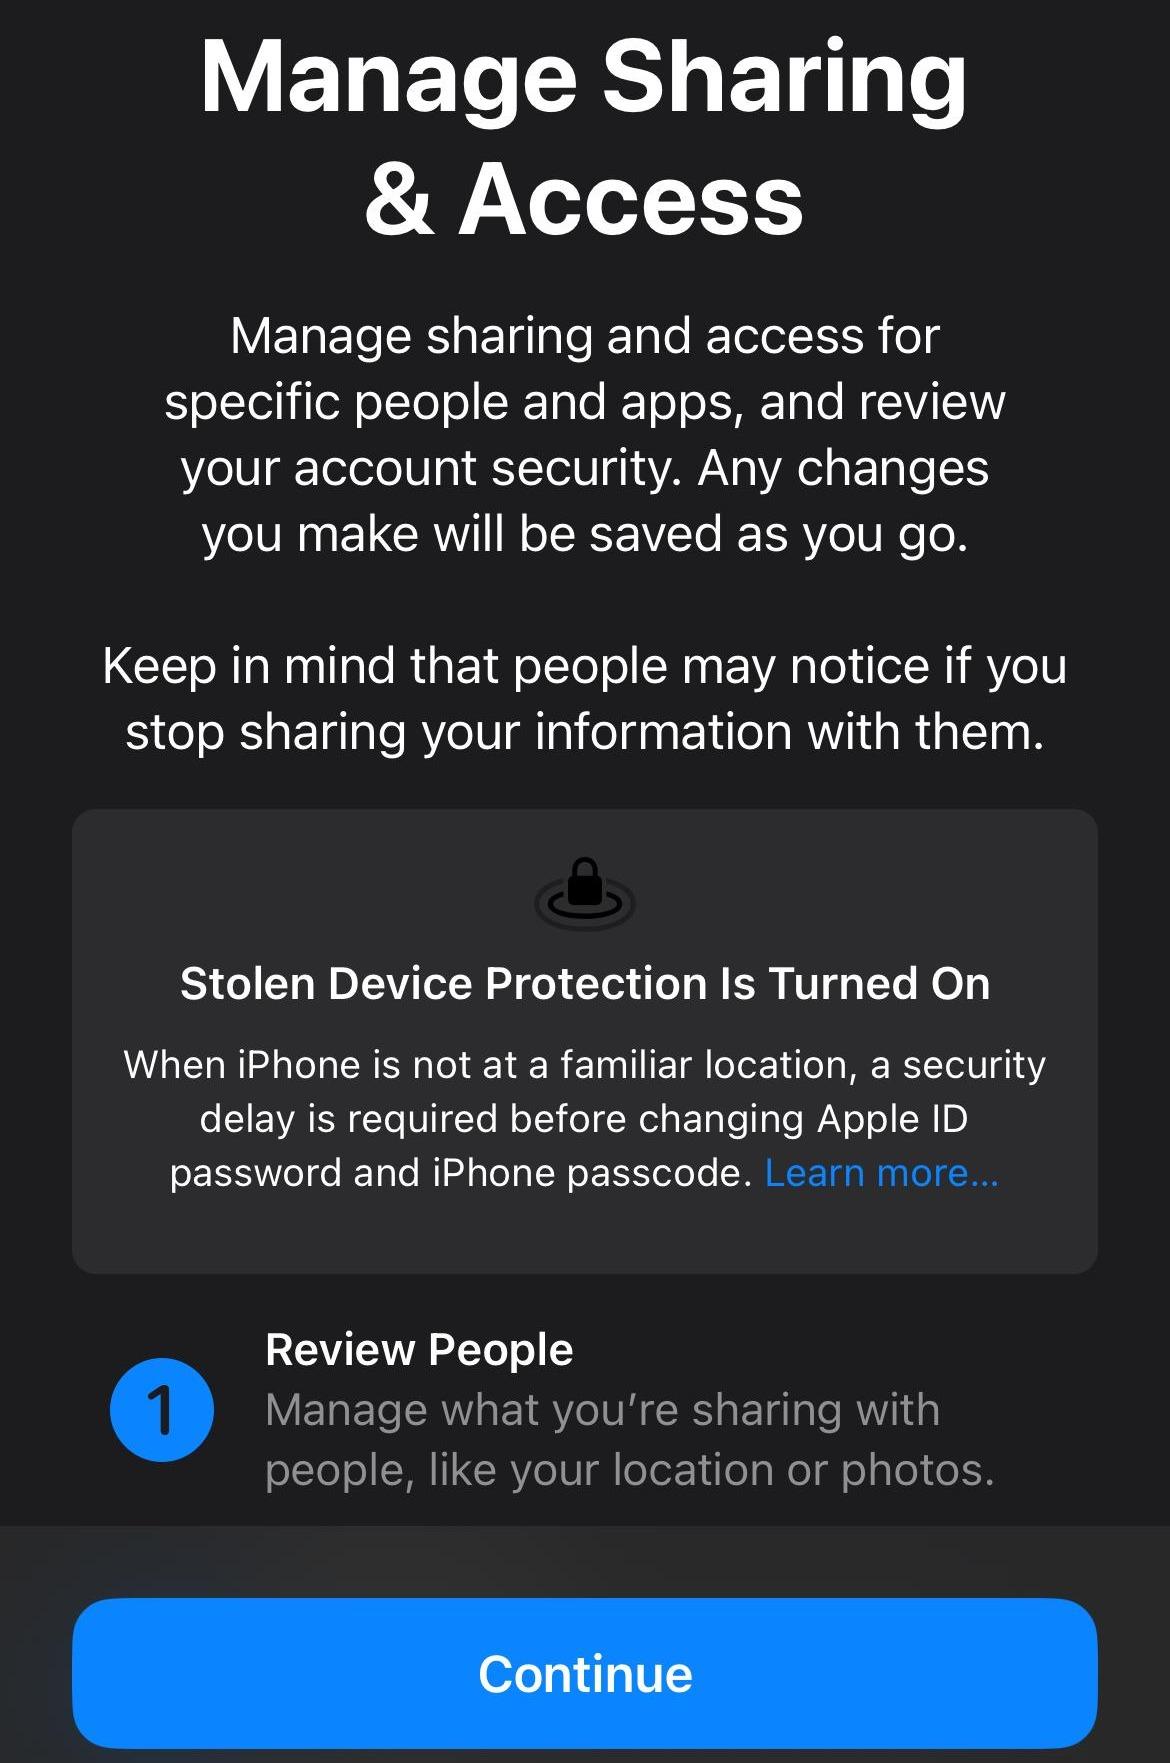
Back on the Safety Check page, let's click Manage Sharing & Access

Step 57
On the next screen, click Continue
Step 58
On this screen, you can see who you are sharing information with and make the decision whether you want to continue sharing with that person. Once you are done, click continue.
Step 59
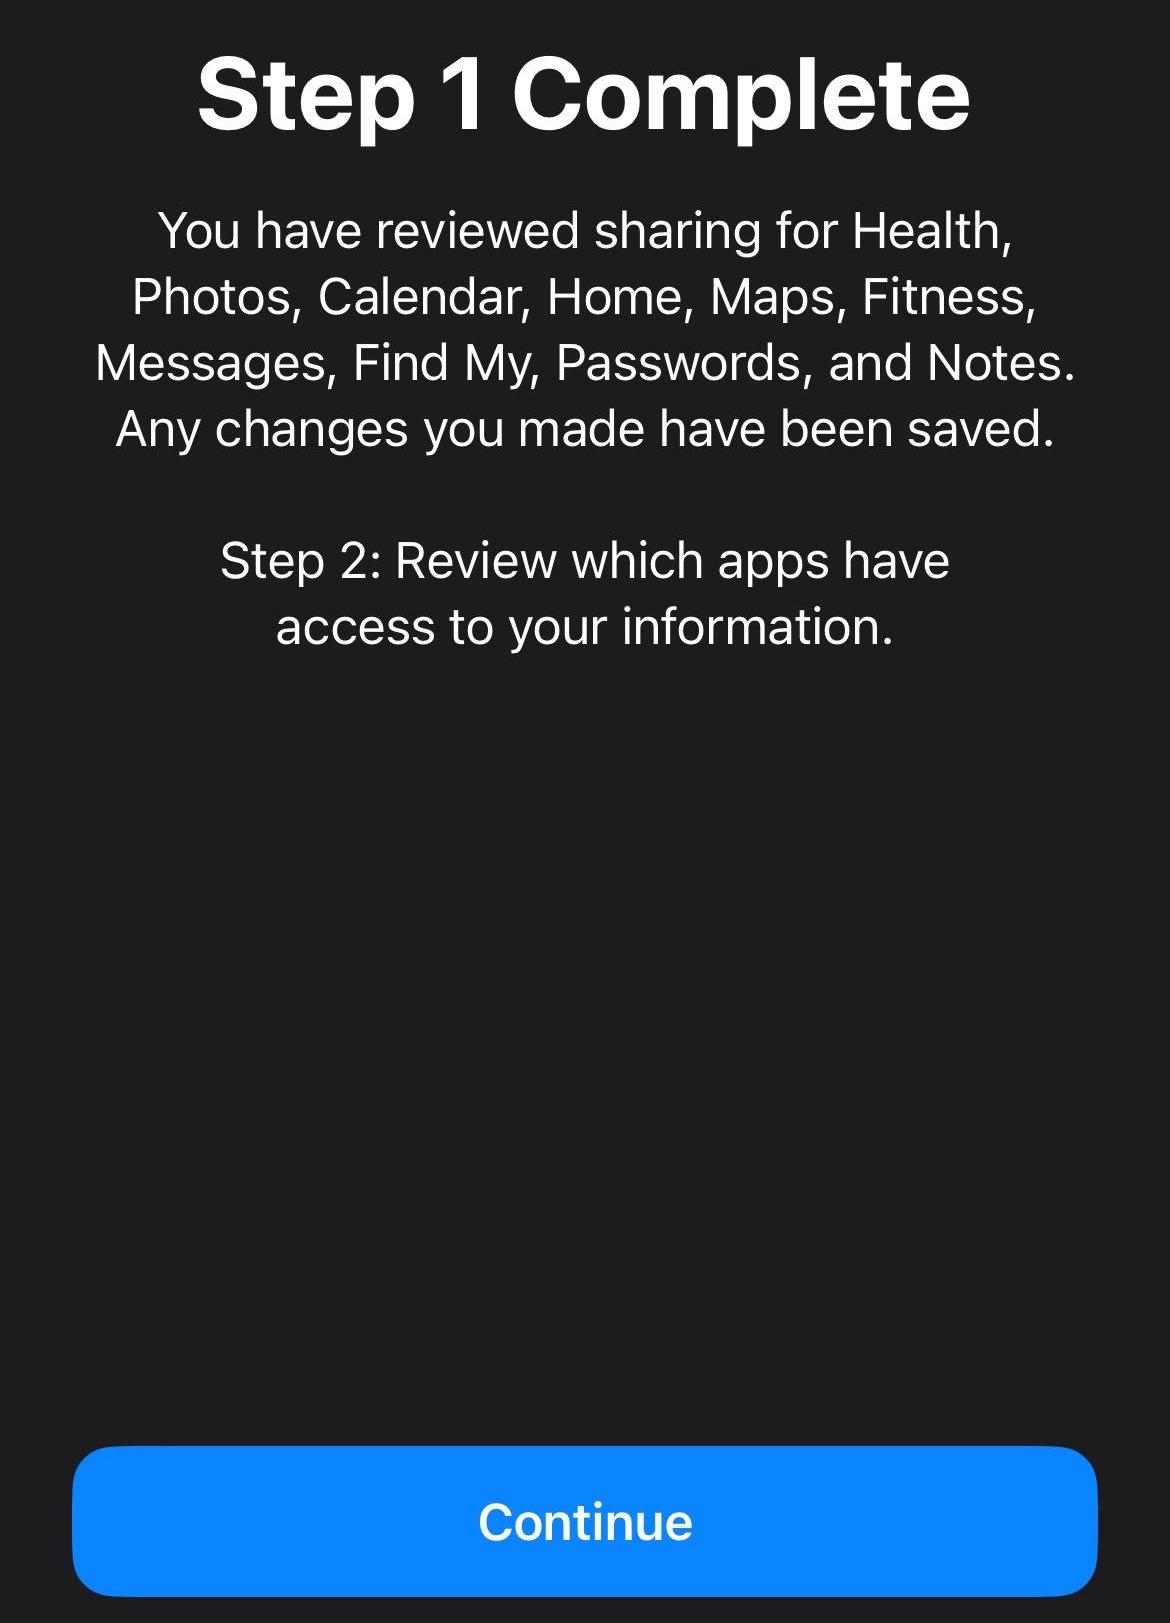
You are done with step 1. Click continue.
Step 60
Here, you can adjust which apps have access to your information and decide whether you want them to continue having access to your data. You can also click Select All & Stop Access if you want to stop all apps at once.
Step 61
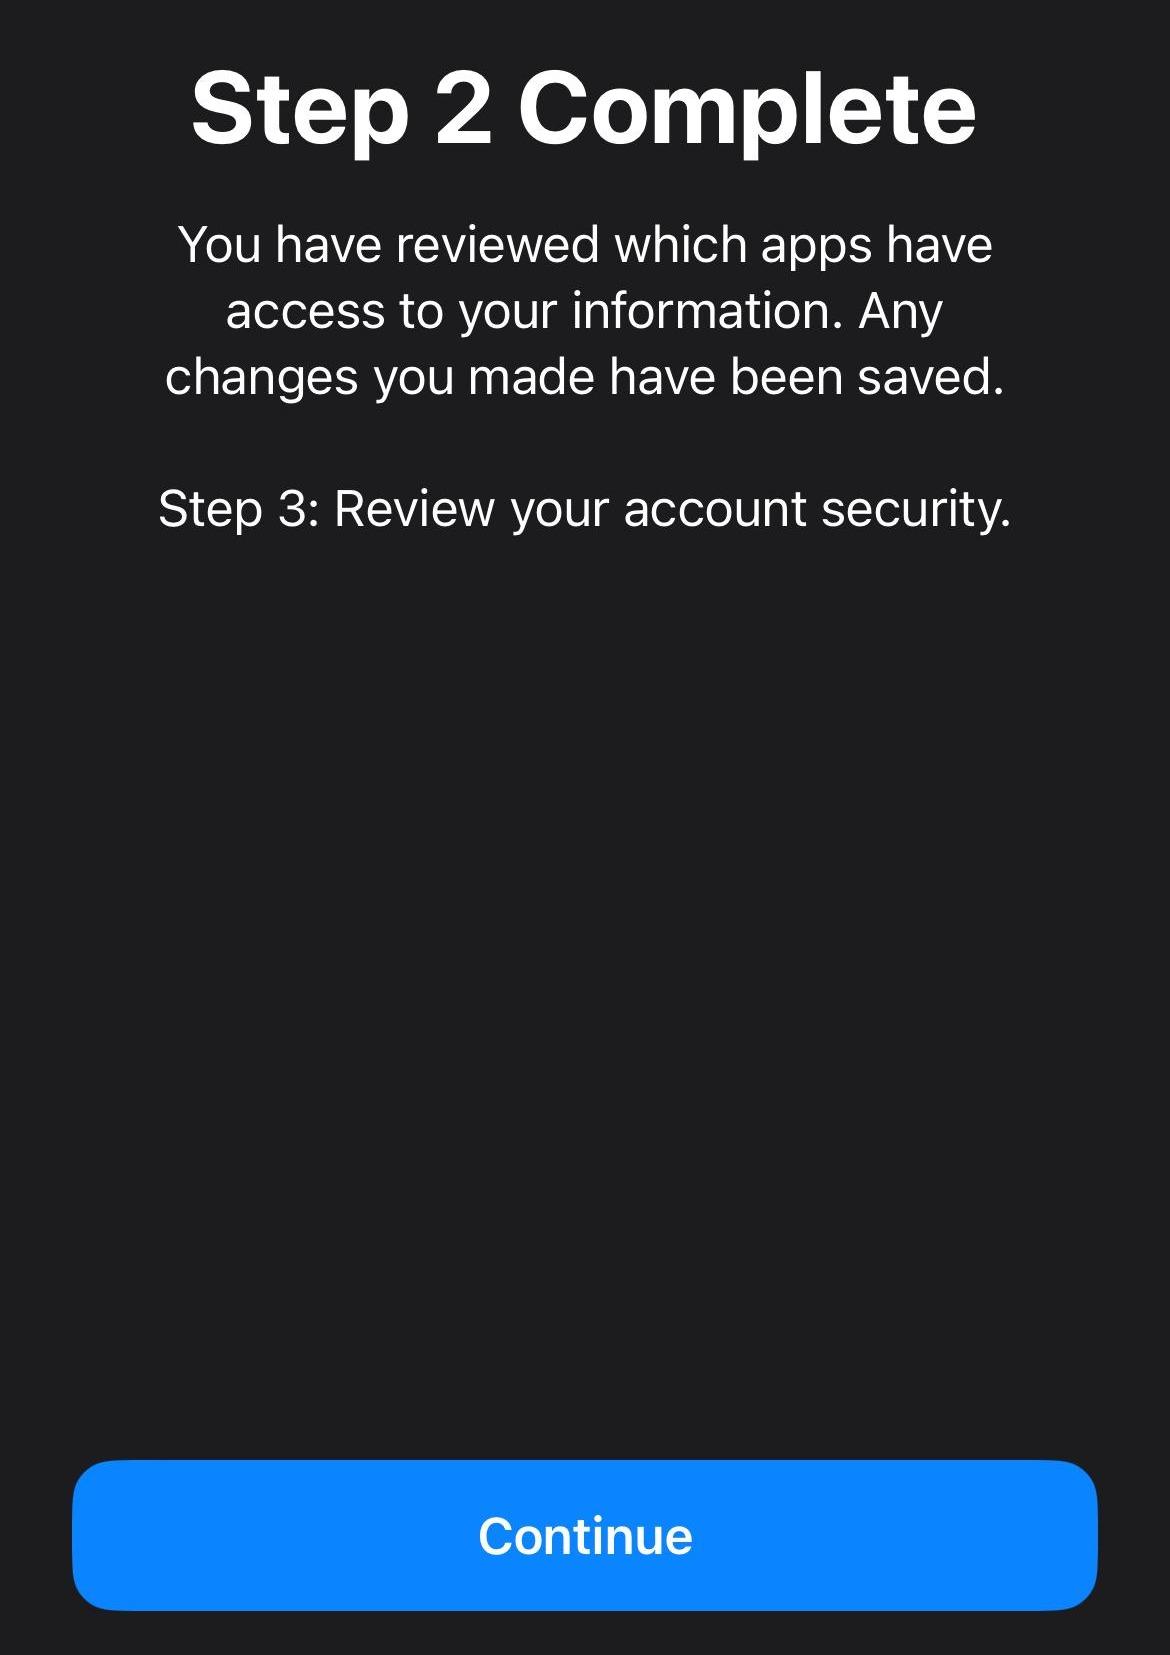
You are done with step 2. Click continue
Step 62
Here, you can add an Emergency SOS contact. After you have done so, click continue.
Step 63
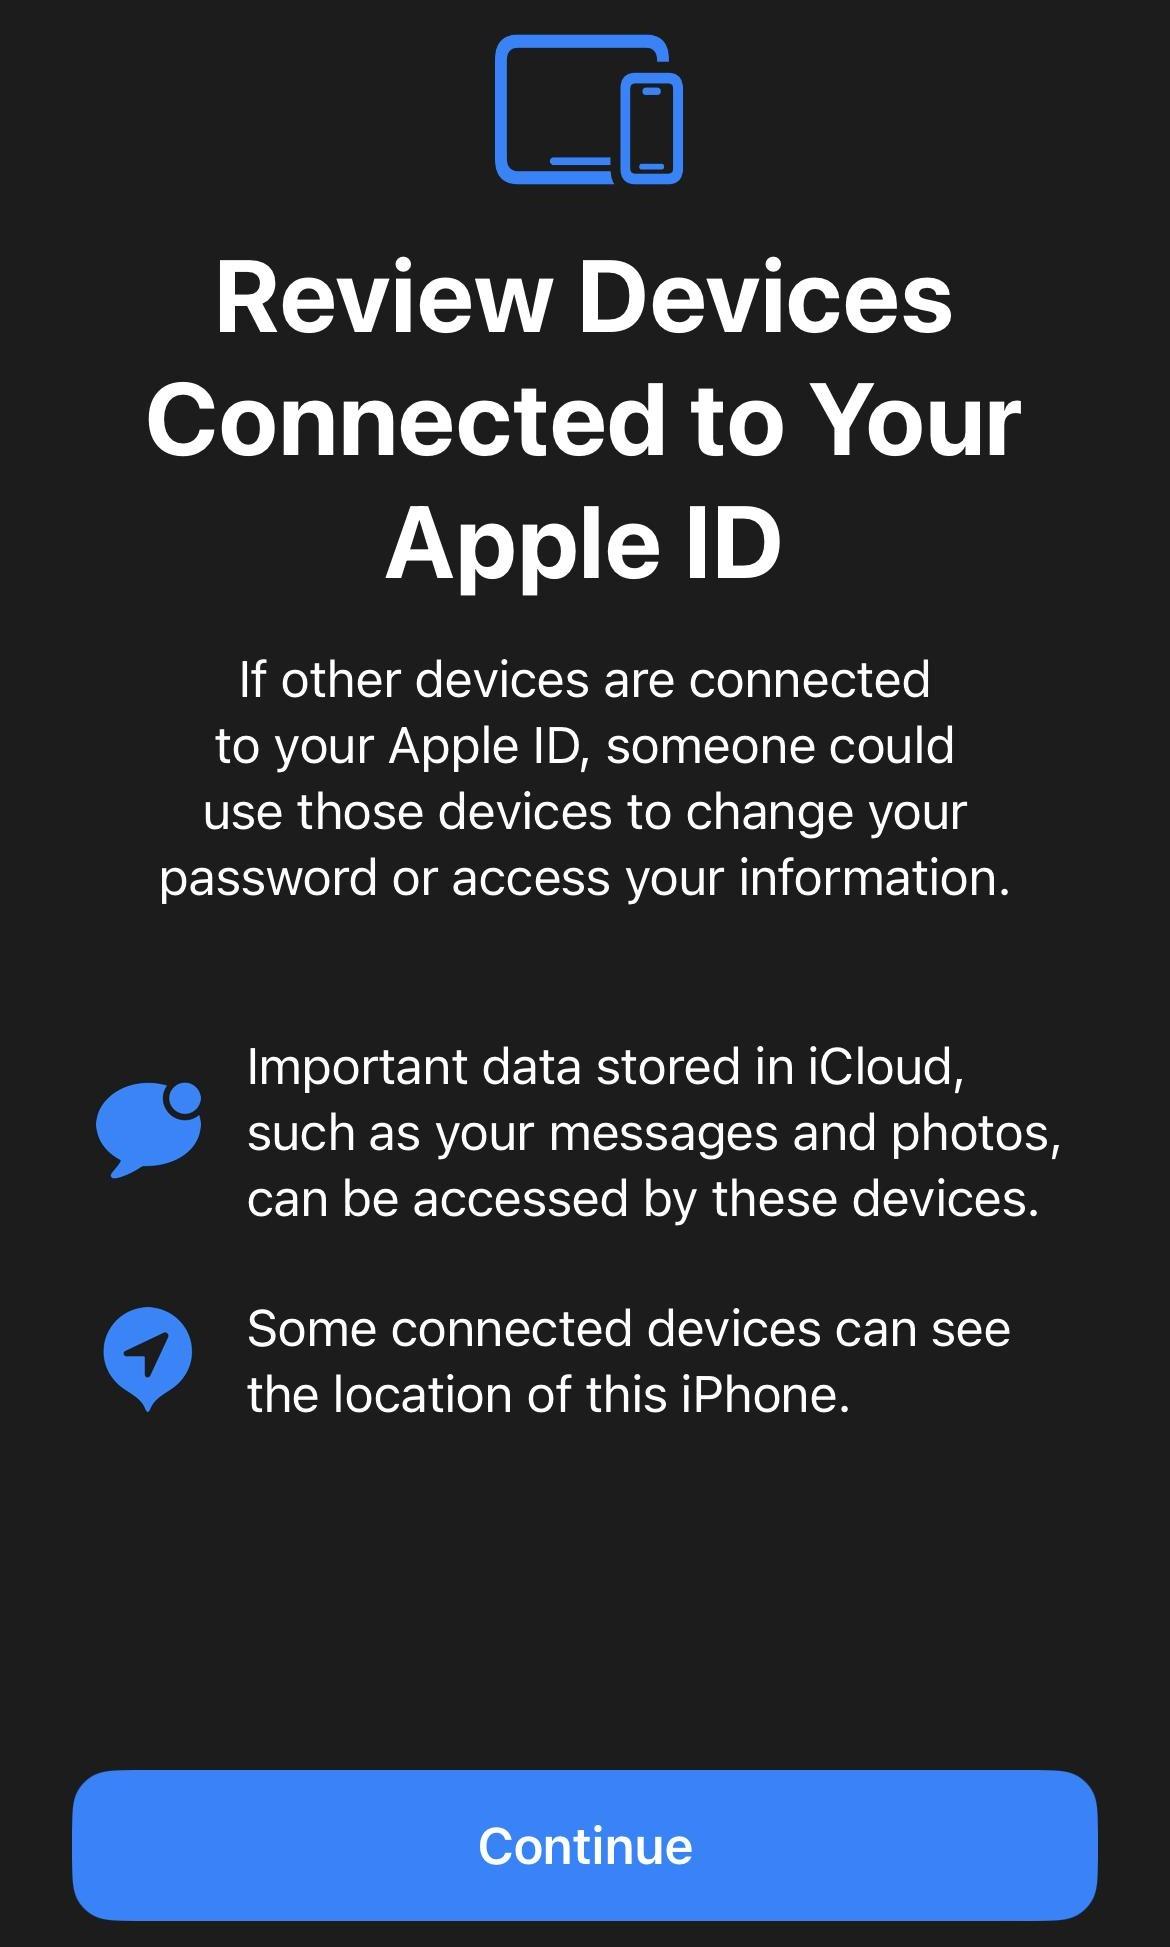
Next, you'll be able to review any device connected to your Apple ID. Click continue
Step 64
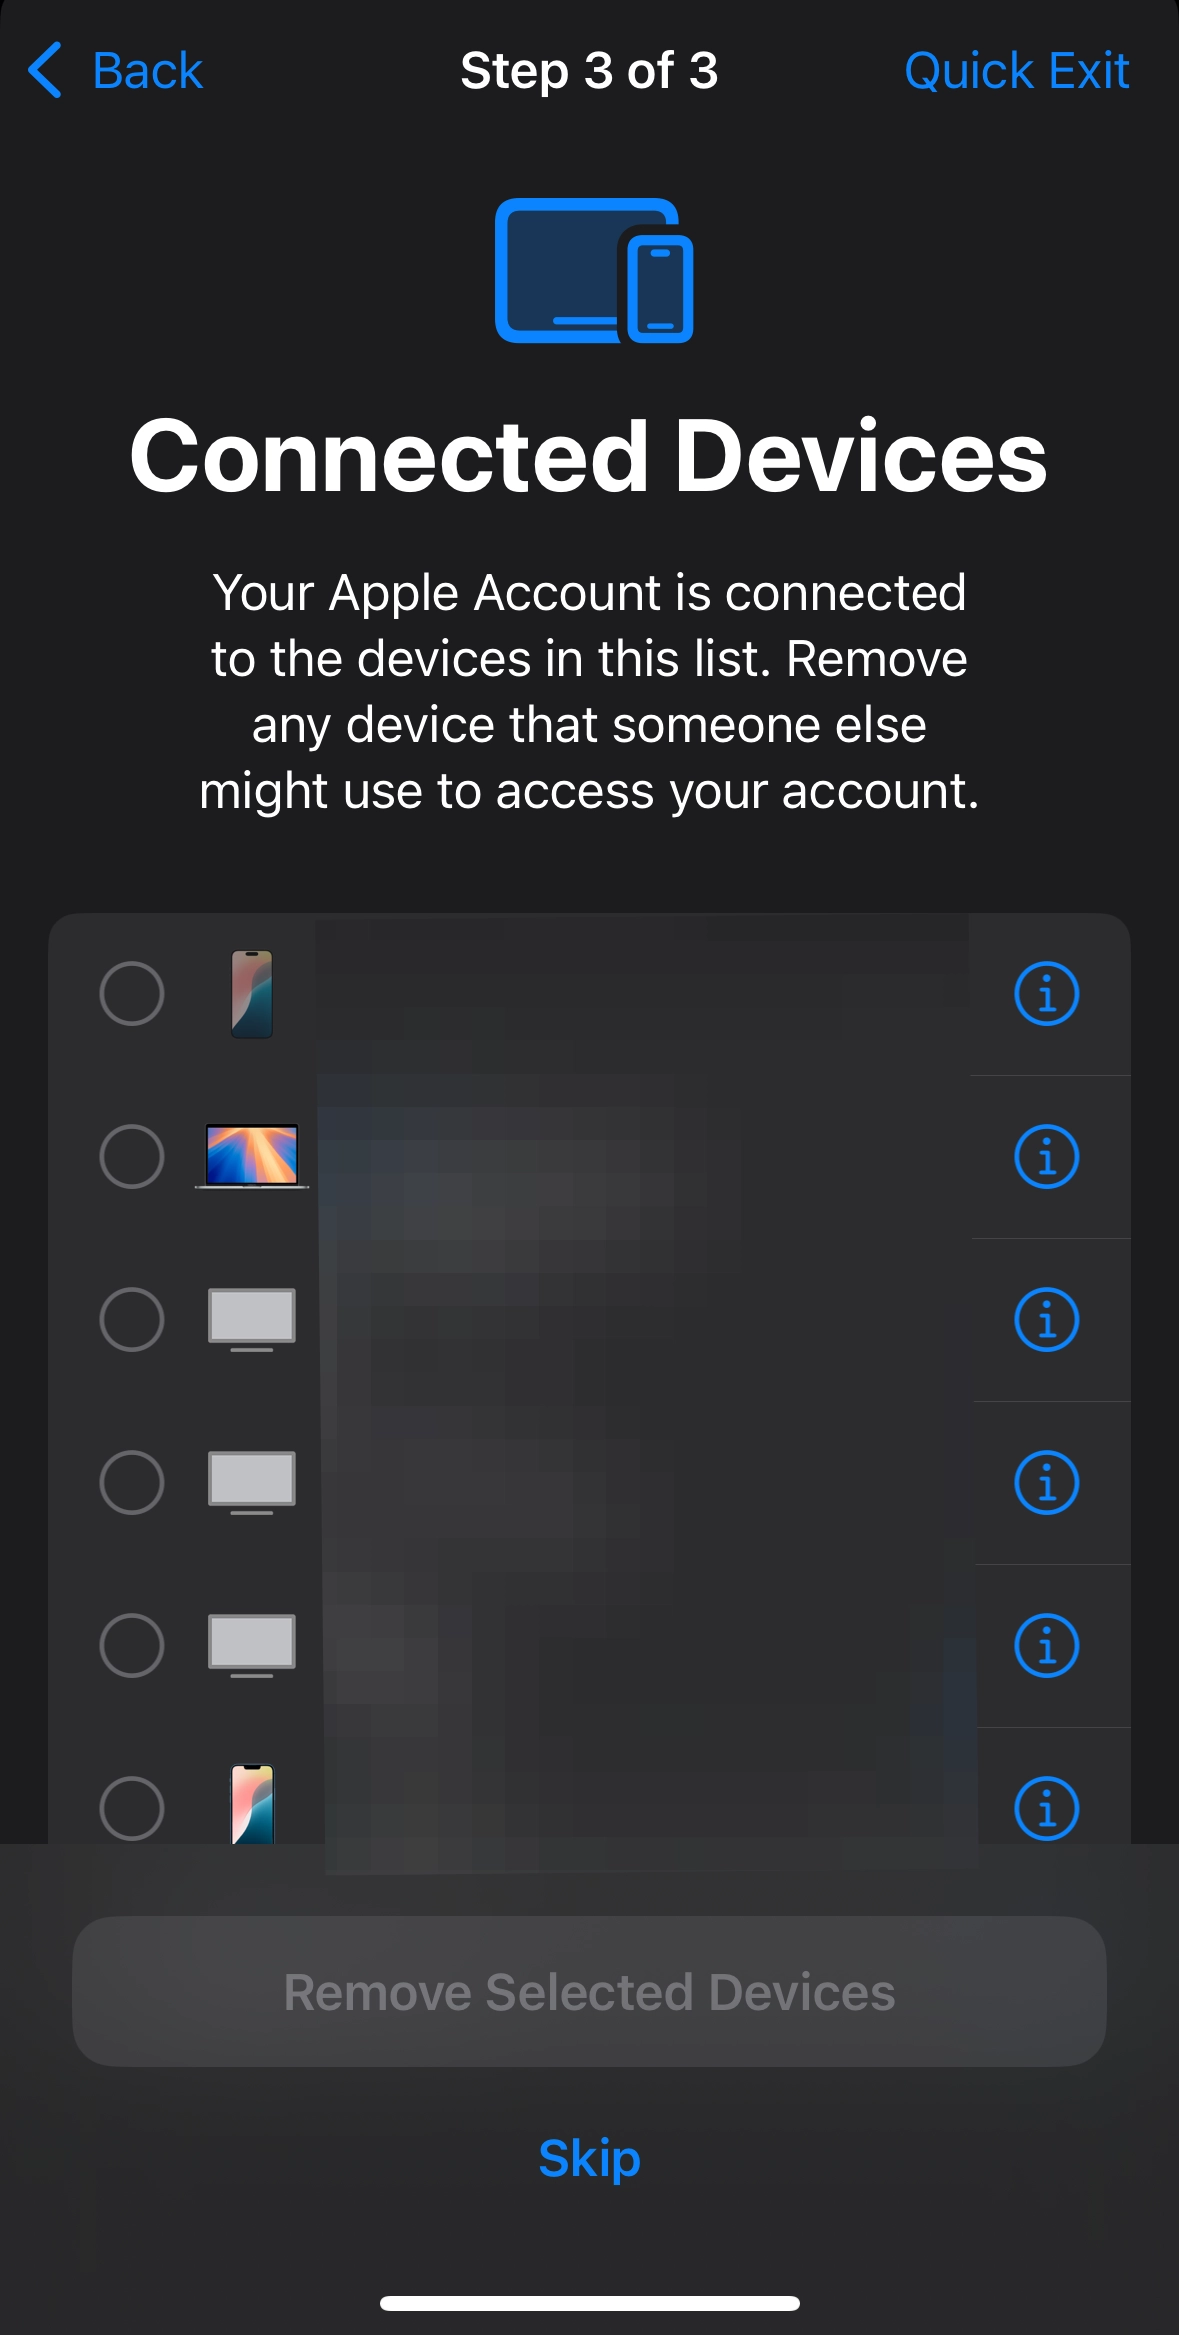
On this screen, you can see which devices are connected to your Apple ID. Choose which devices you no longer wish to have linked to your Apple ID and select Remove Selected Devices.
Step 65
You can then choose to update your Apple ID password now by clicking the blue button, or choose to update it later in Settings to move onto the next screen.
Step 66
On the next screen, you'll be given the same choice for updating your device passcode.
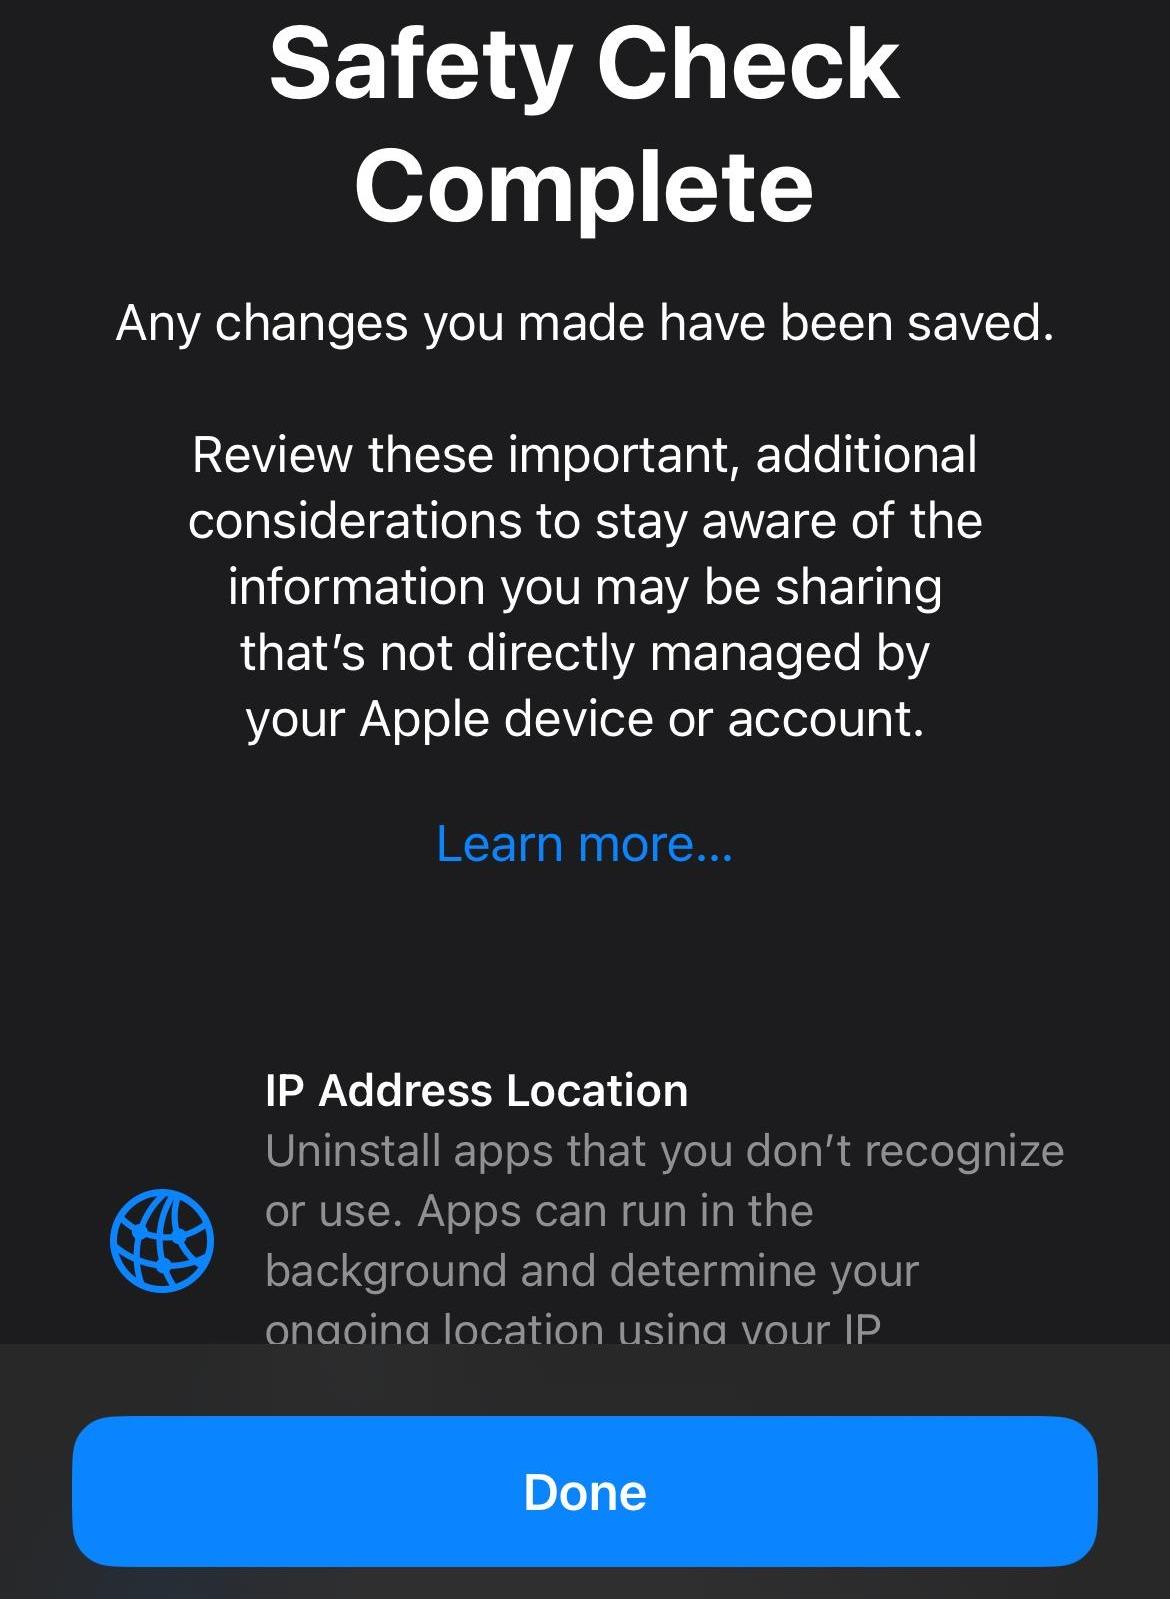
Step 67
You are finished. Click done.