Google Hardening Guide
Finding Privacy & Security Settings
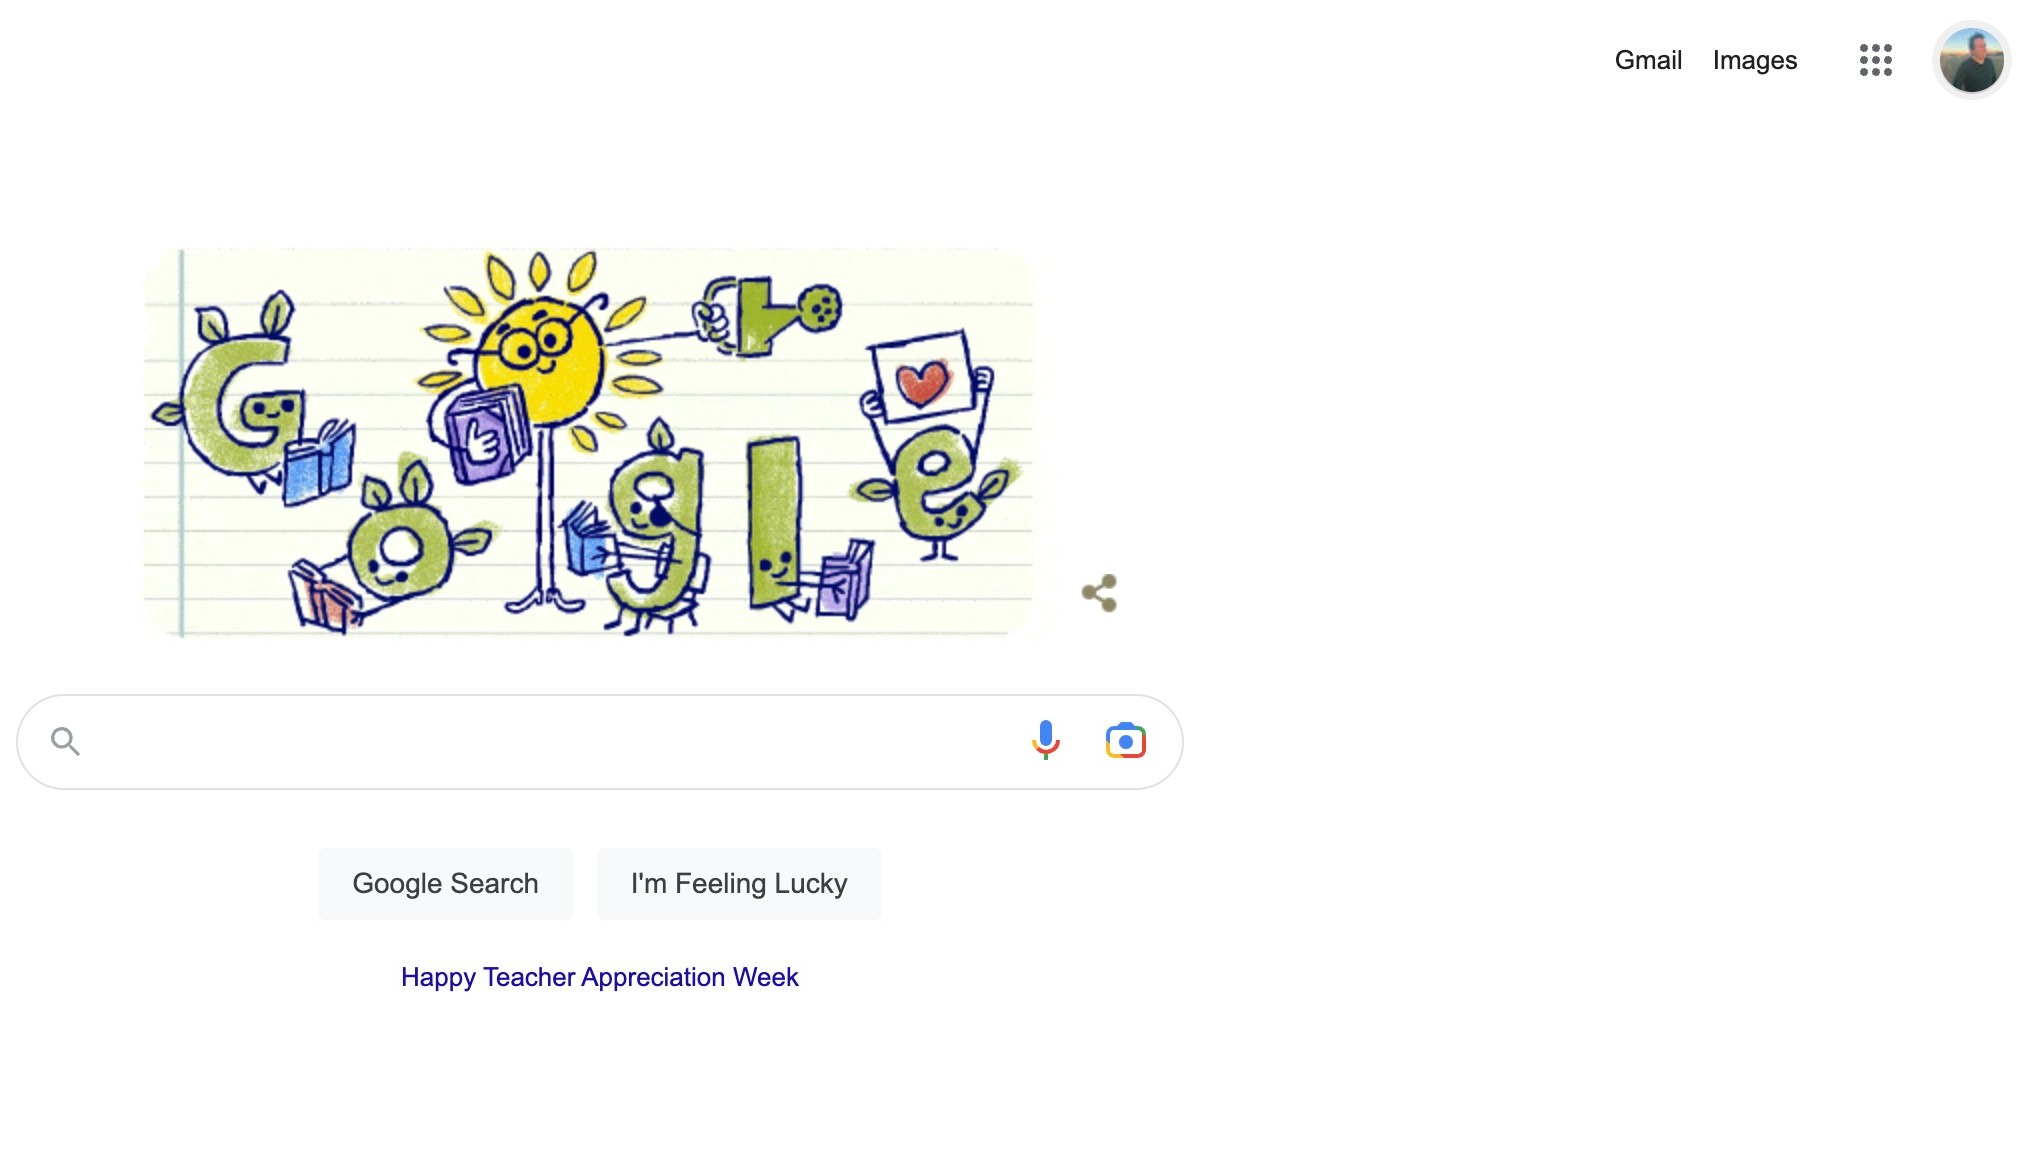
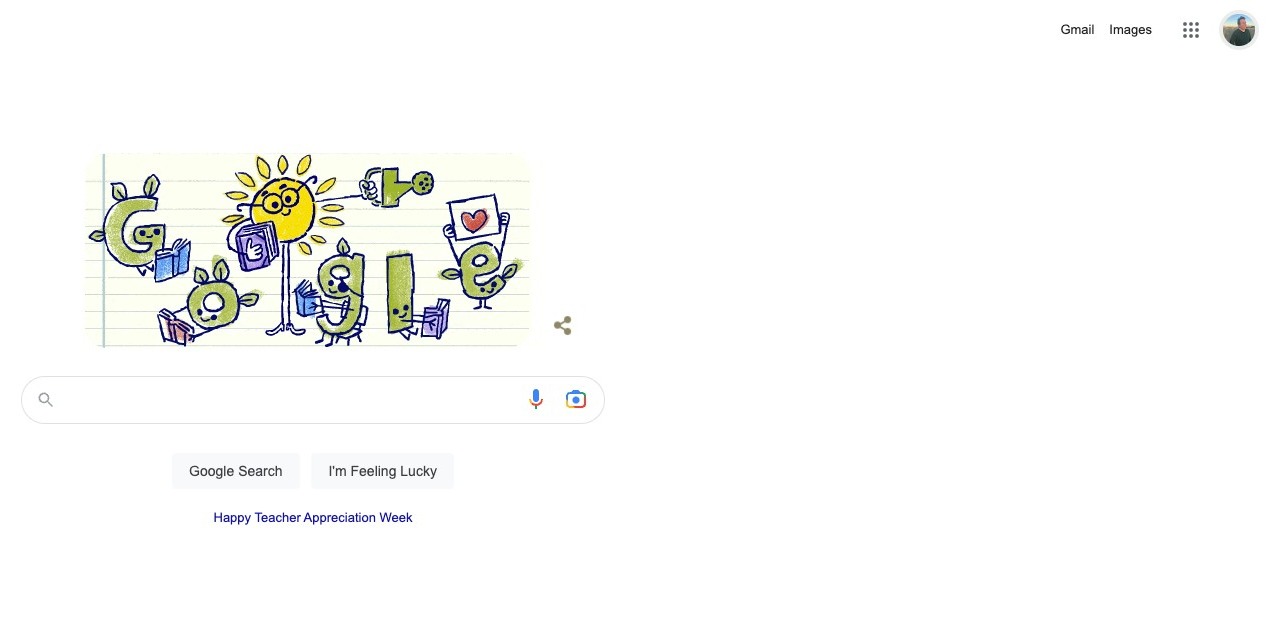
Step 1
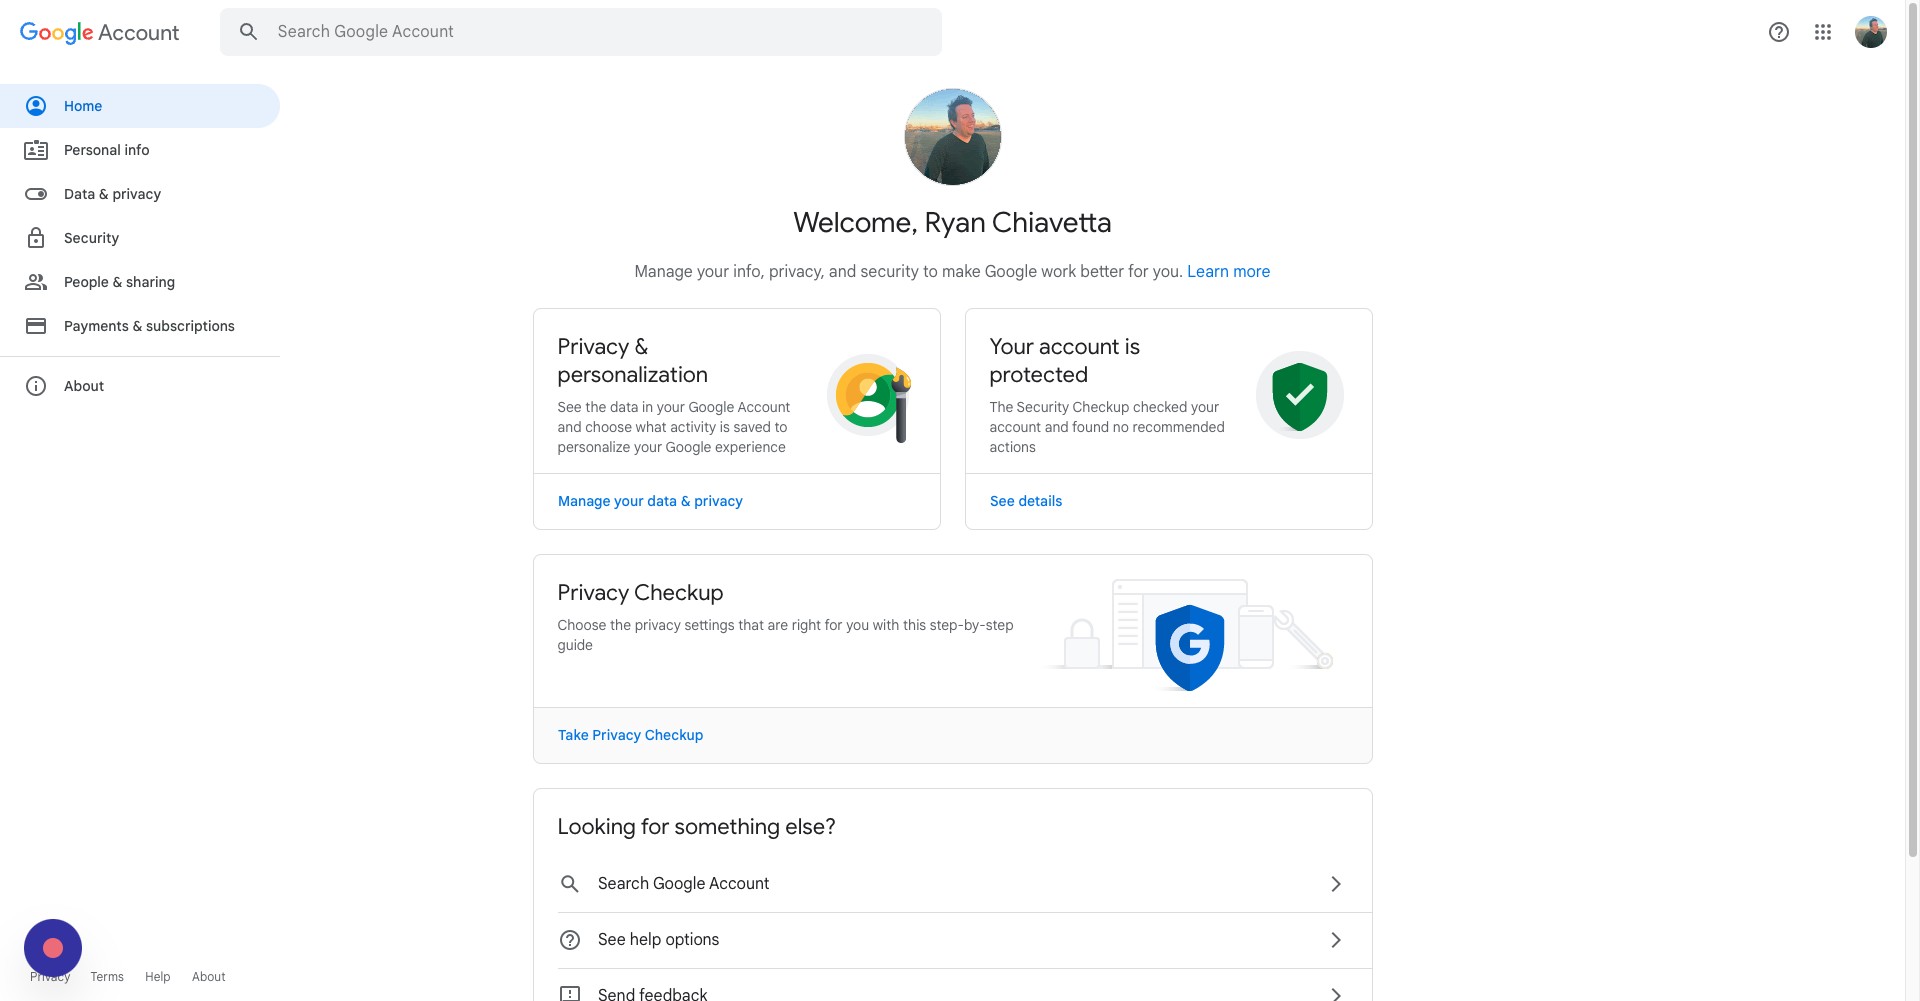
Click on your profile icon at the top right corner of the screen
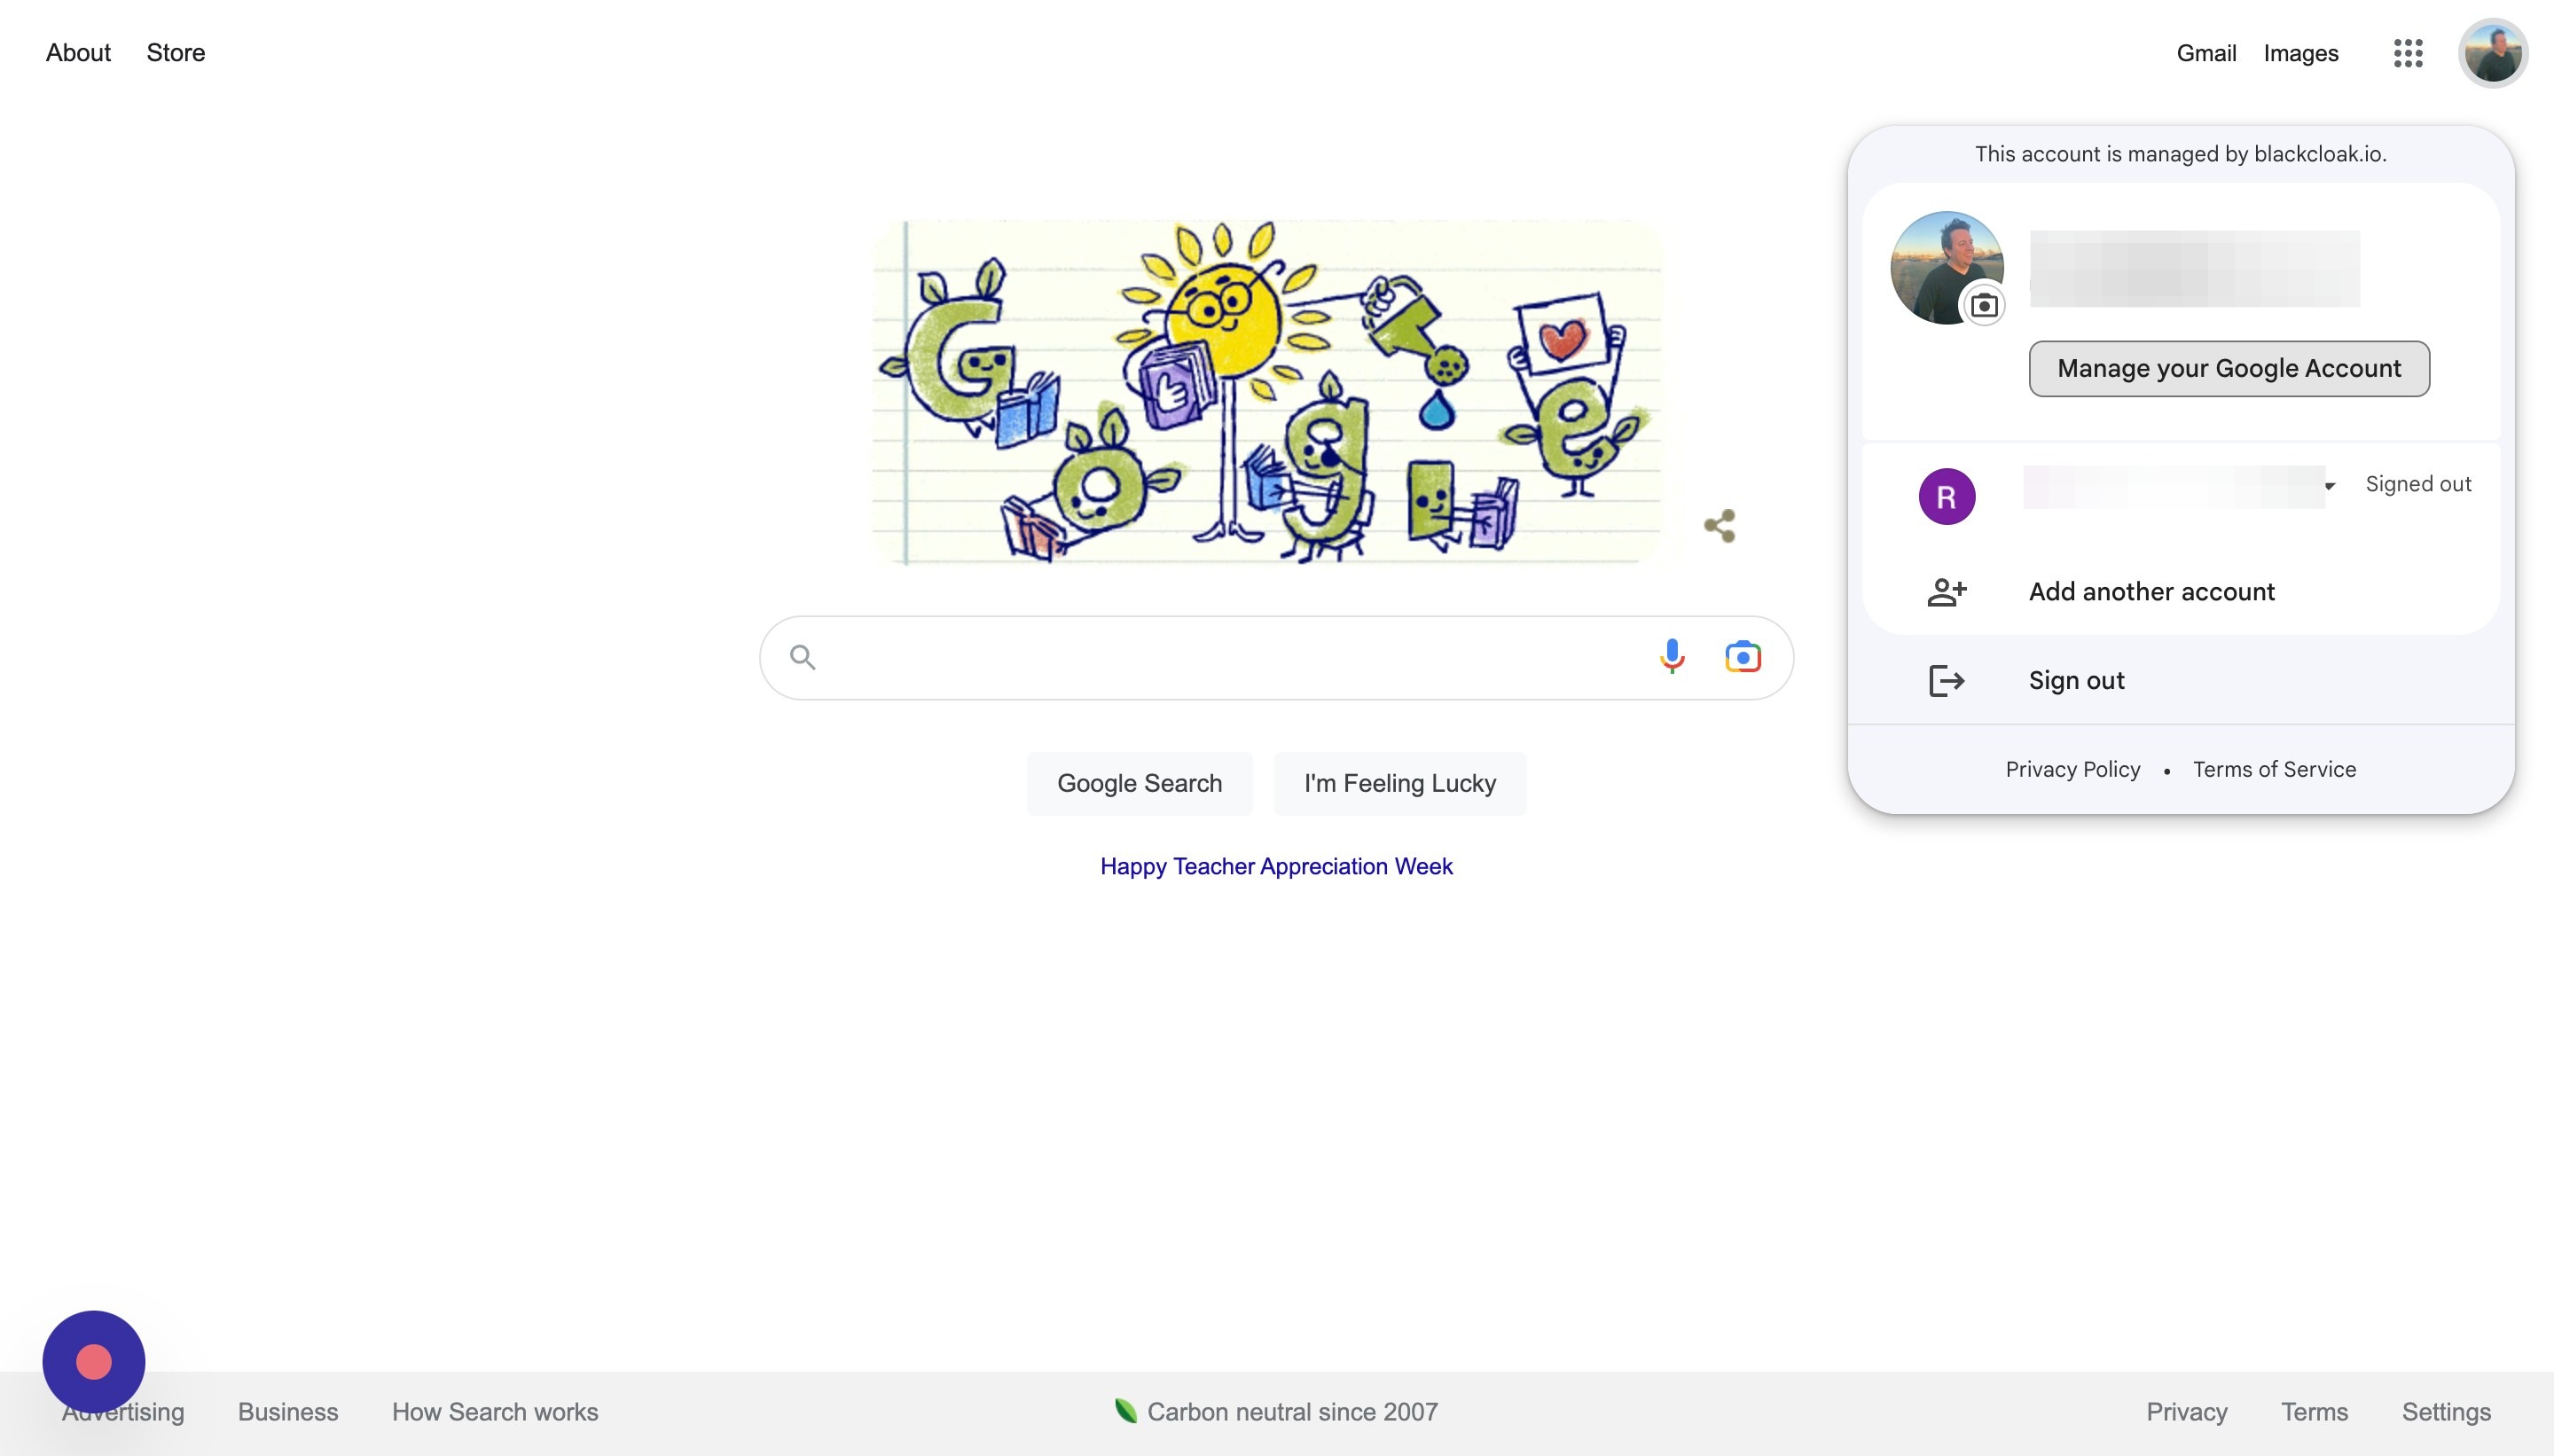
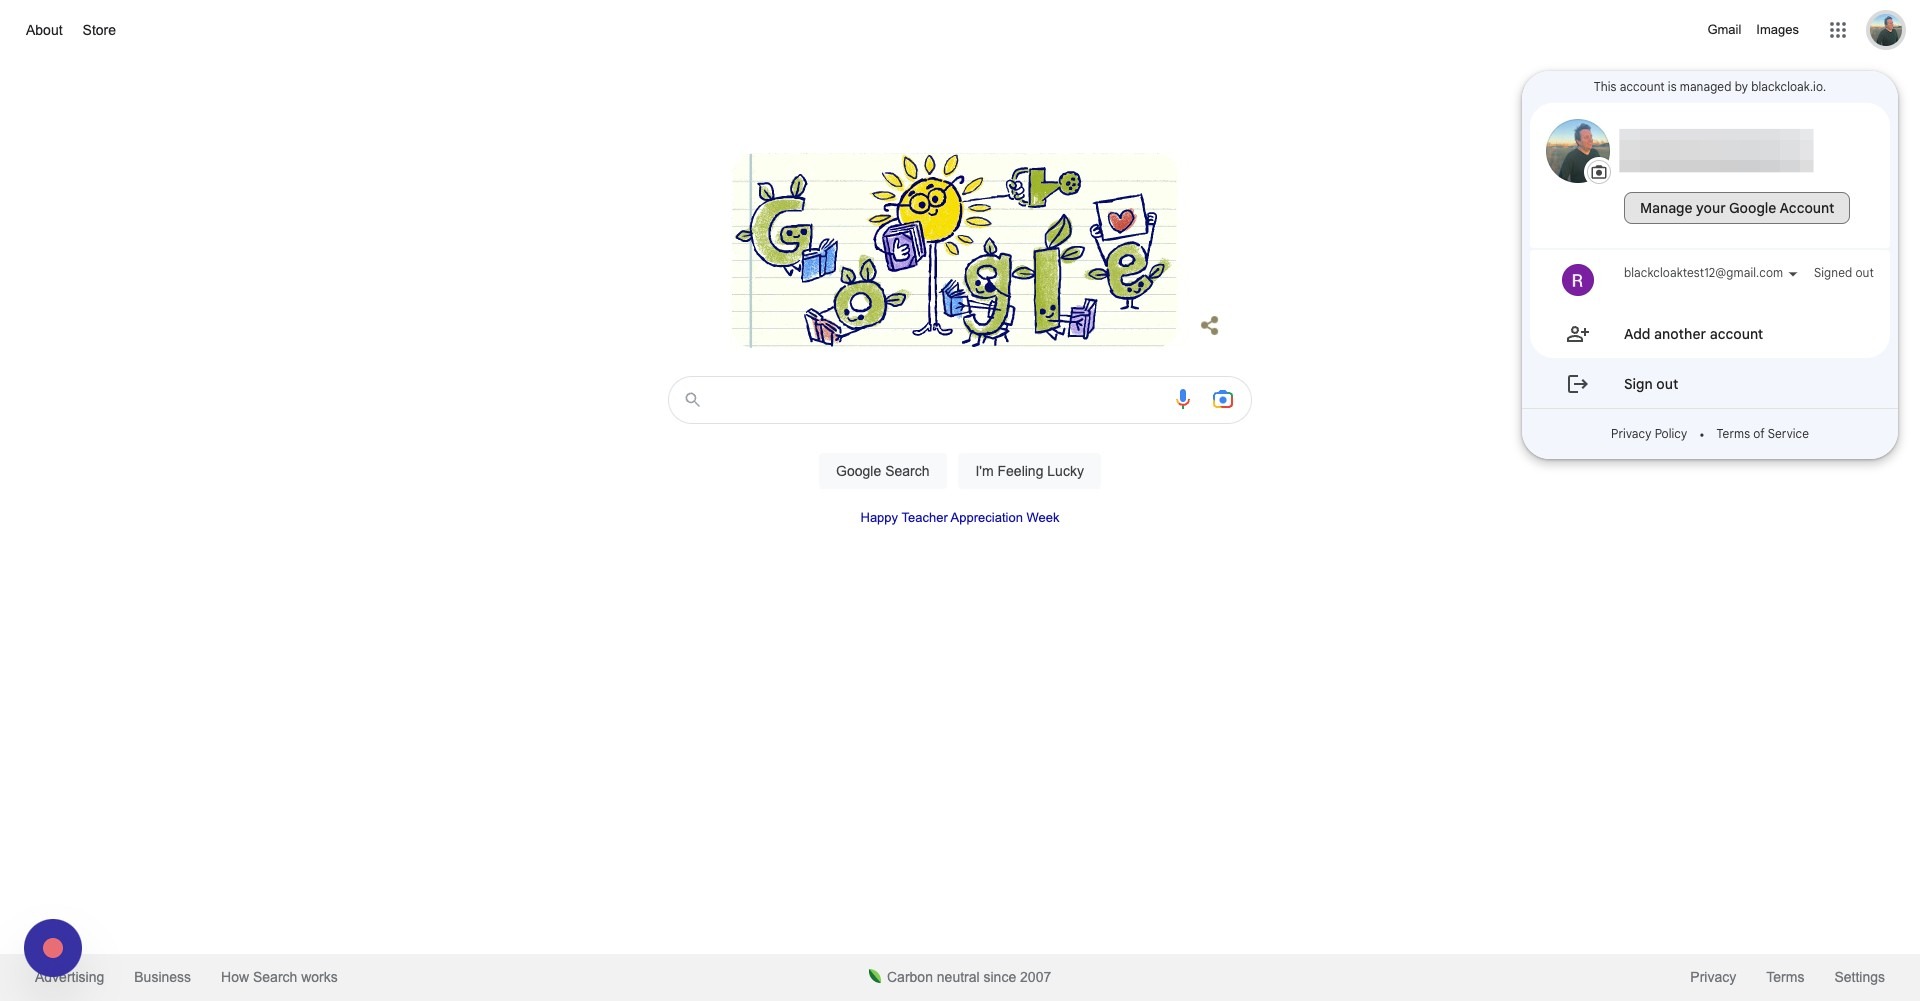
Step 2
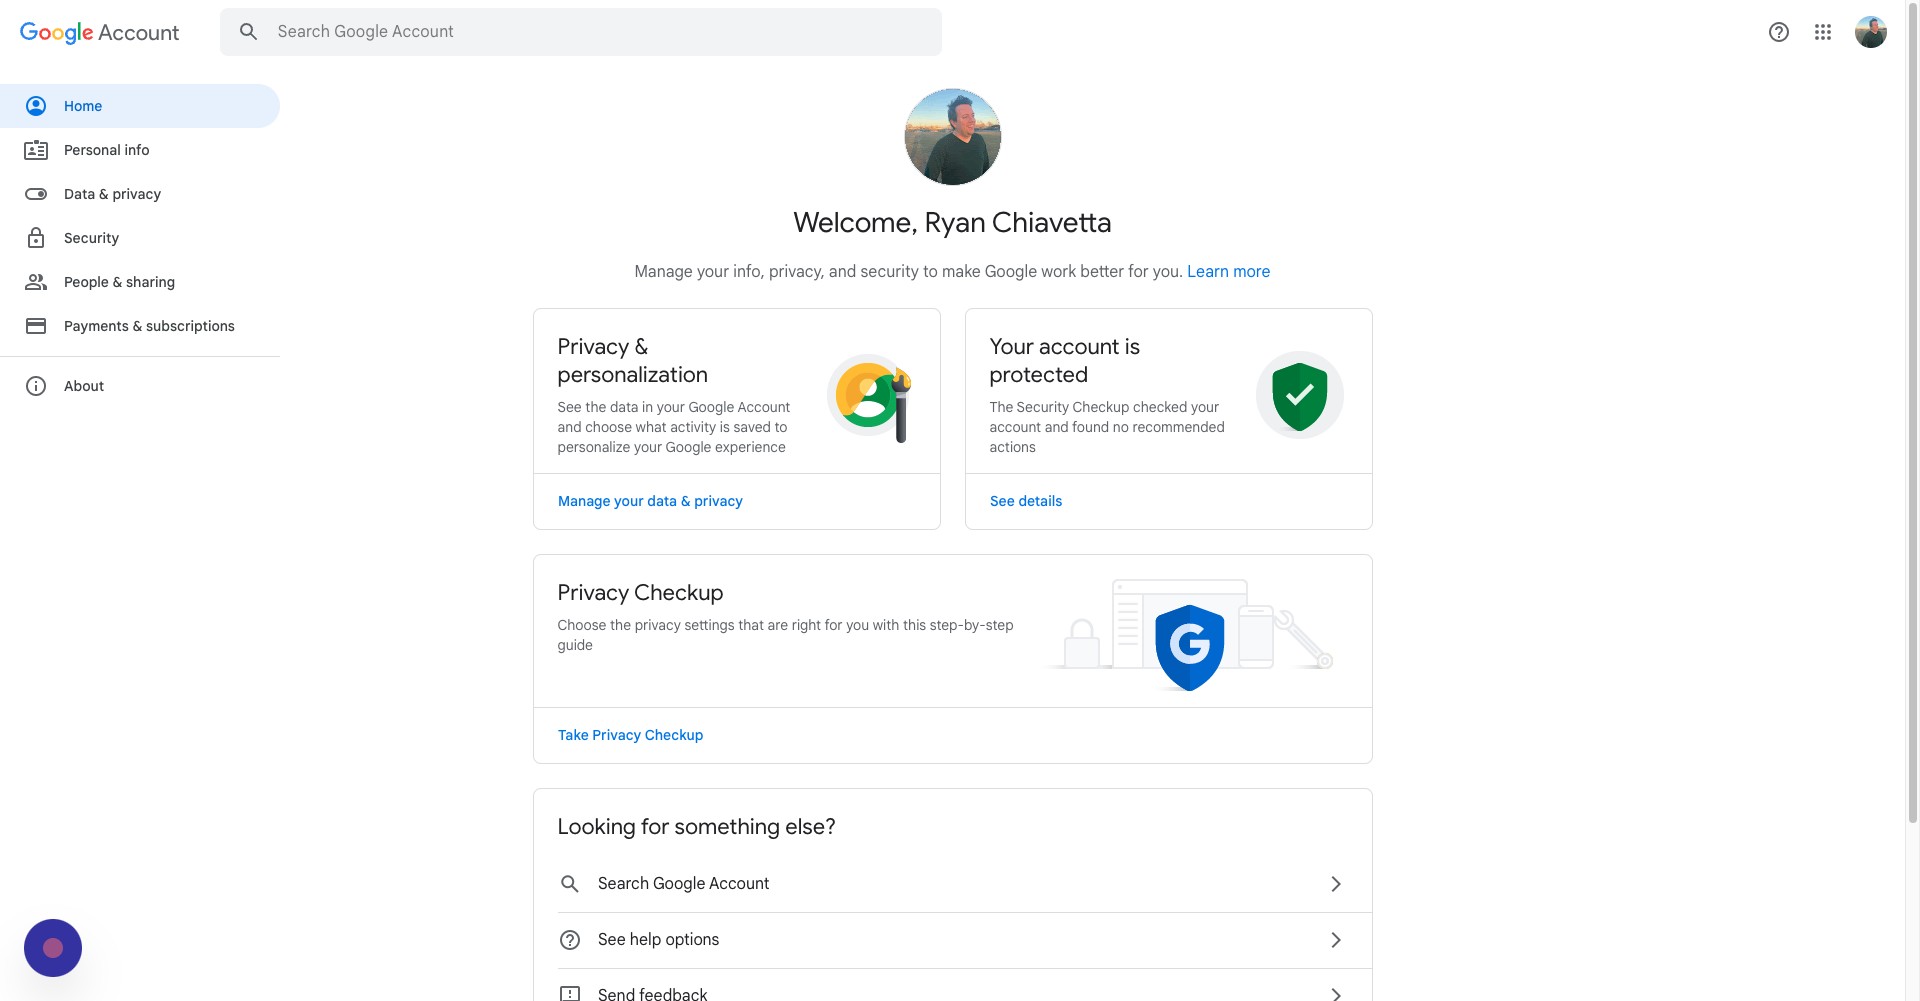
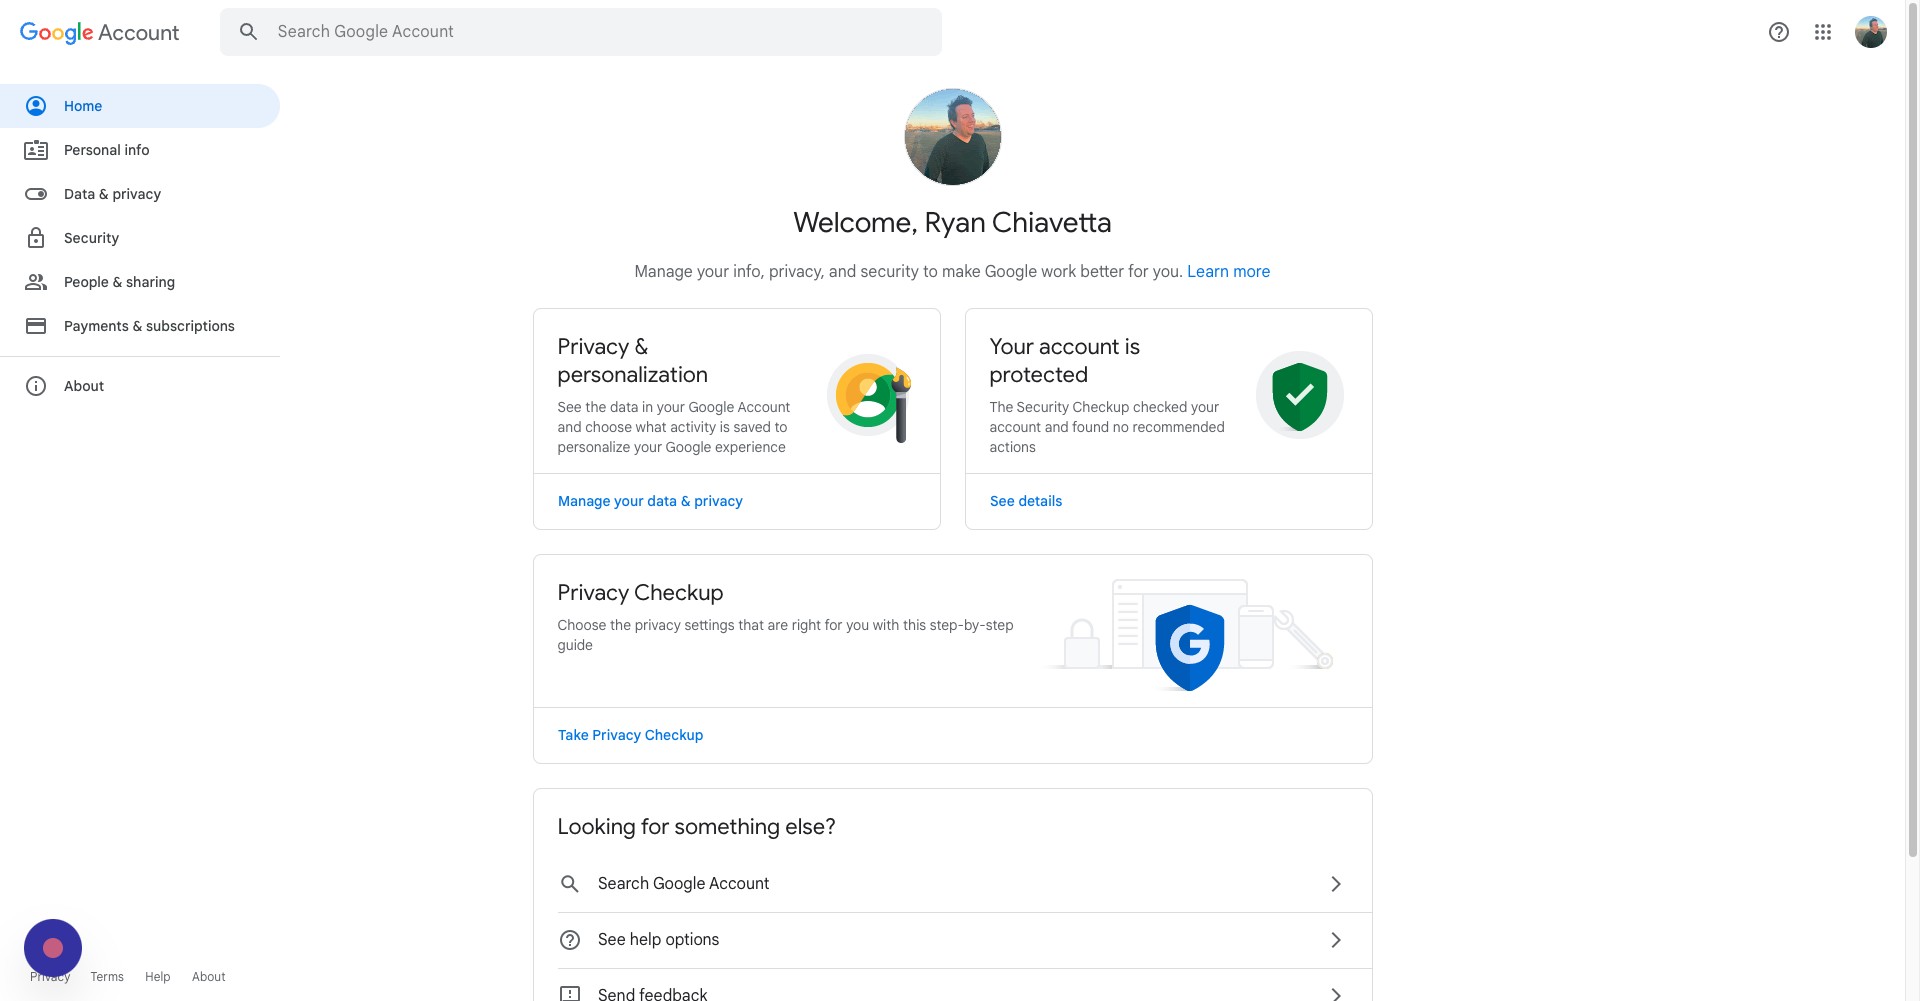
Click "Manage your Google Account"
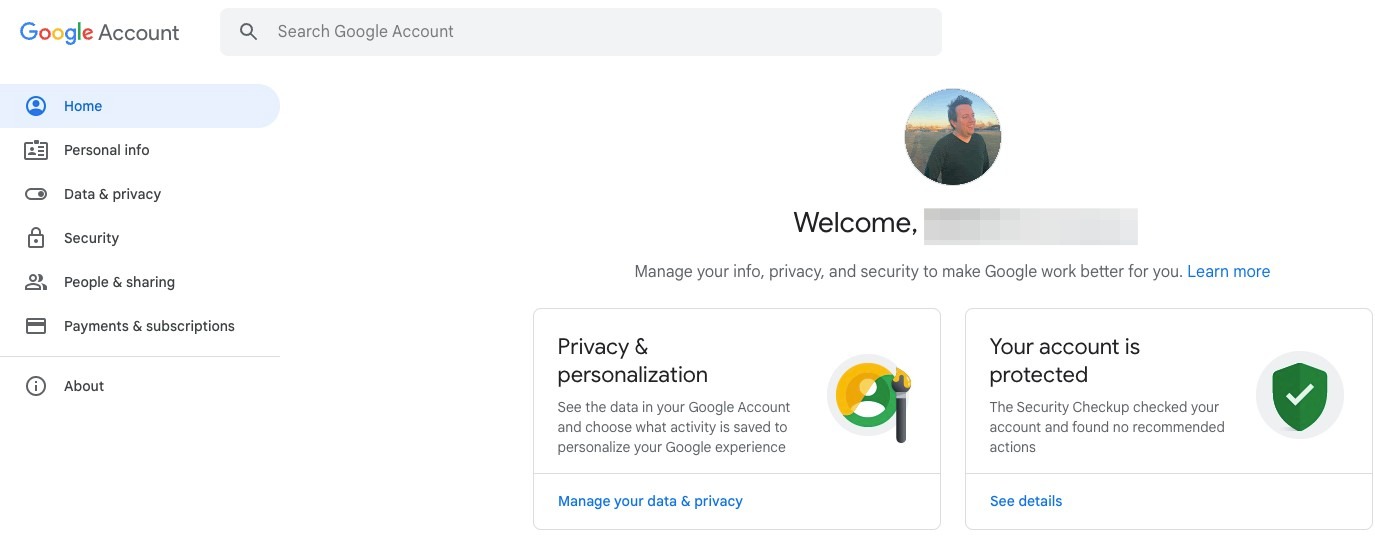
Step 3
On this page, you will be able to access your privacy and security settings
Where to Find Your Personal Information
Step 4
Click your profile icon
Step 5
Click Manage your Google Account
Step 6
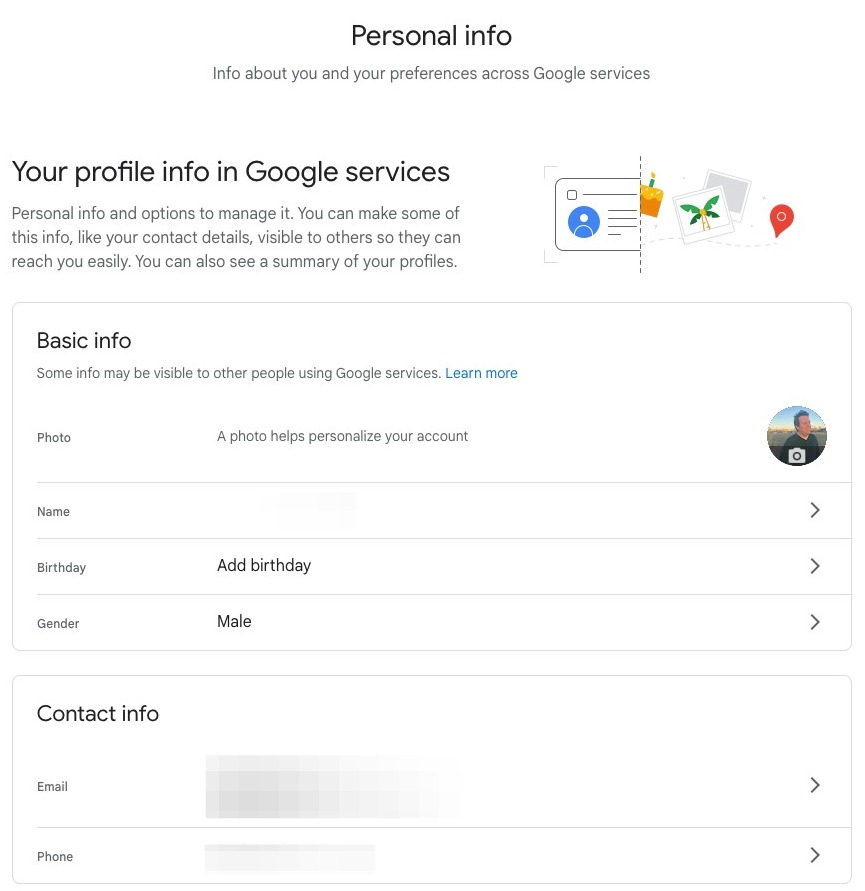
On the left hand side of the screen, click personal info

Step 7
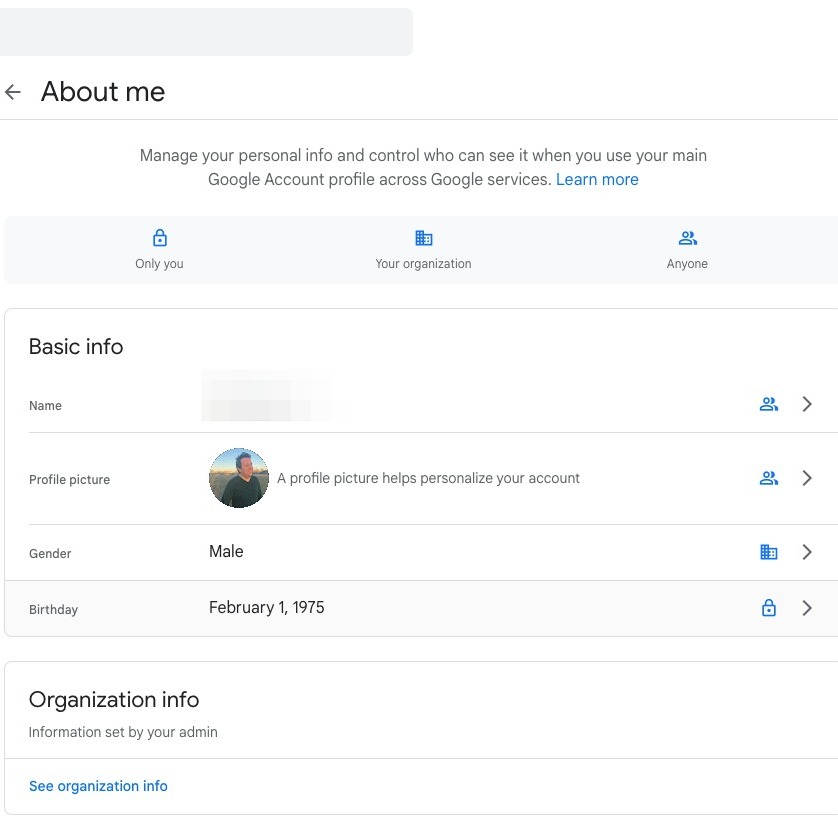
Here, you will be able to see personal details and contact information
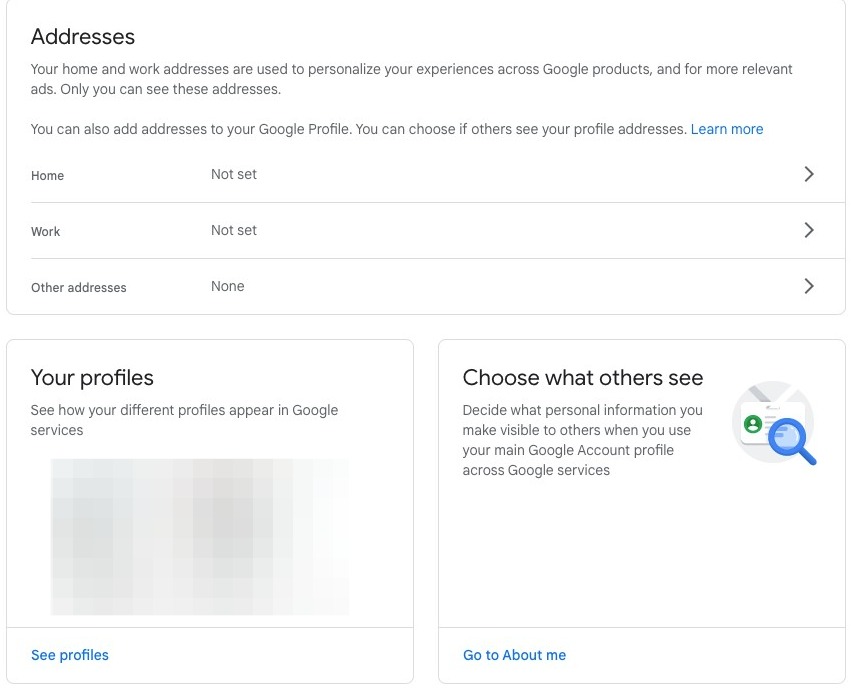
Step 8
You will also be able to see any addresses you have shared with Google, as well as your other Google profiles
How to Update Your Password
Step 9
Go into your Google Account following the steps above
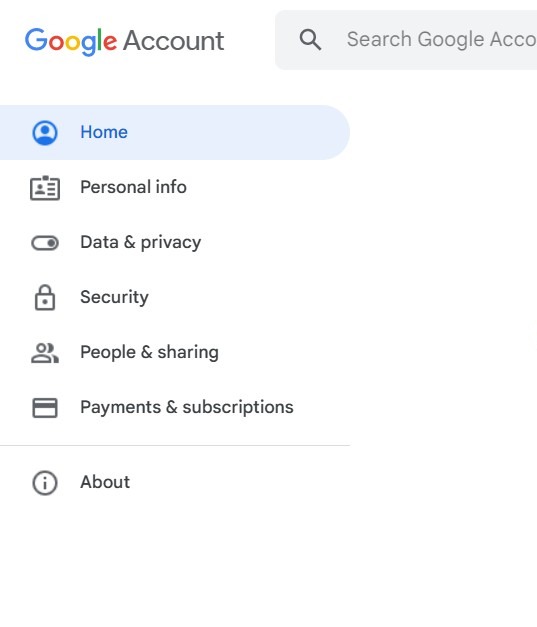
Step 10
Click security

Step 11
Click password

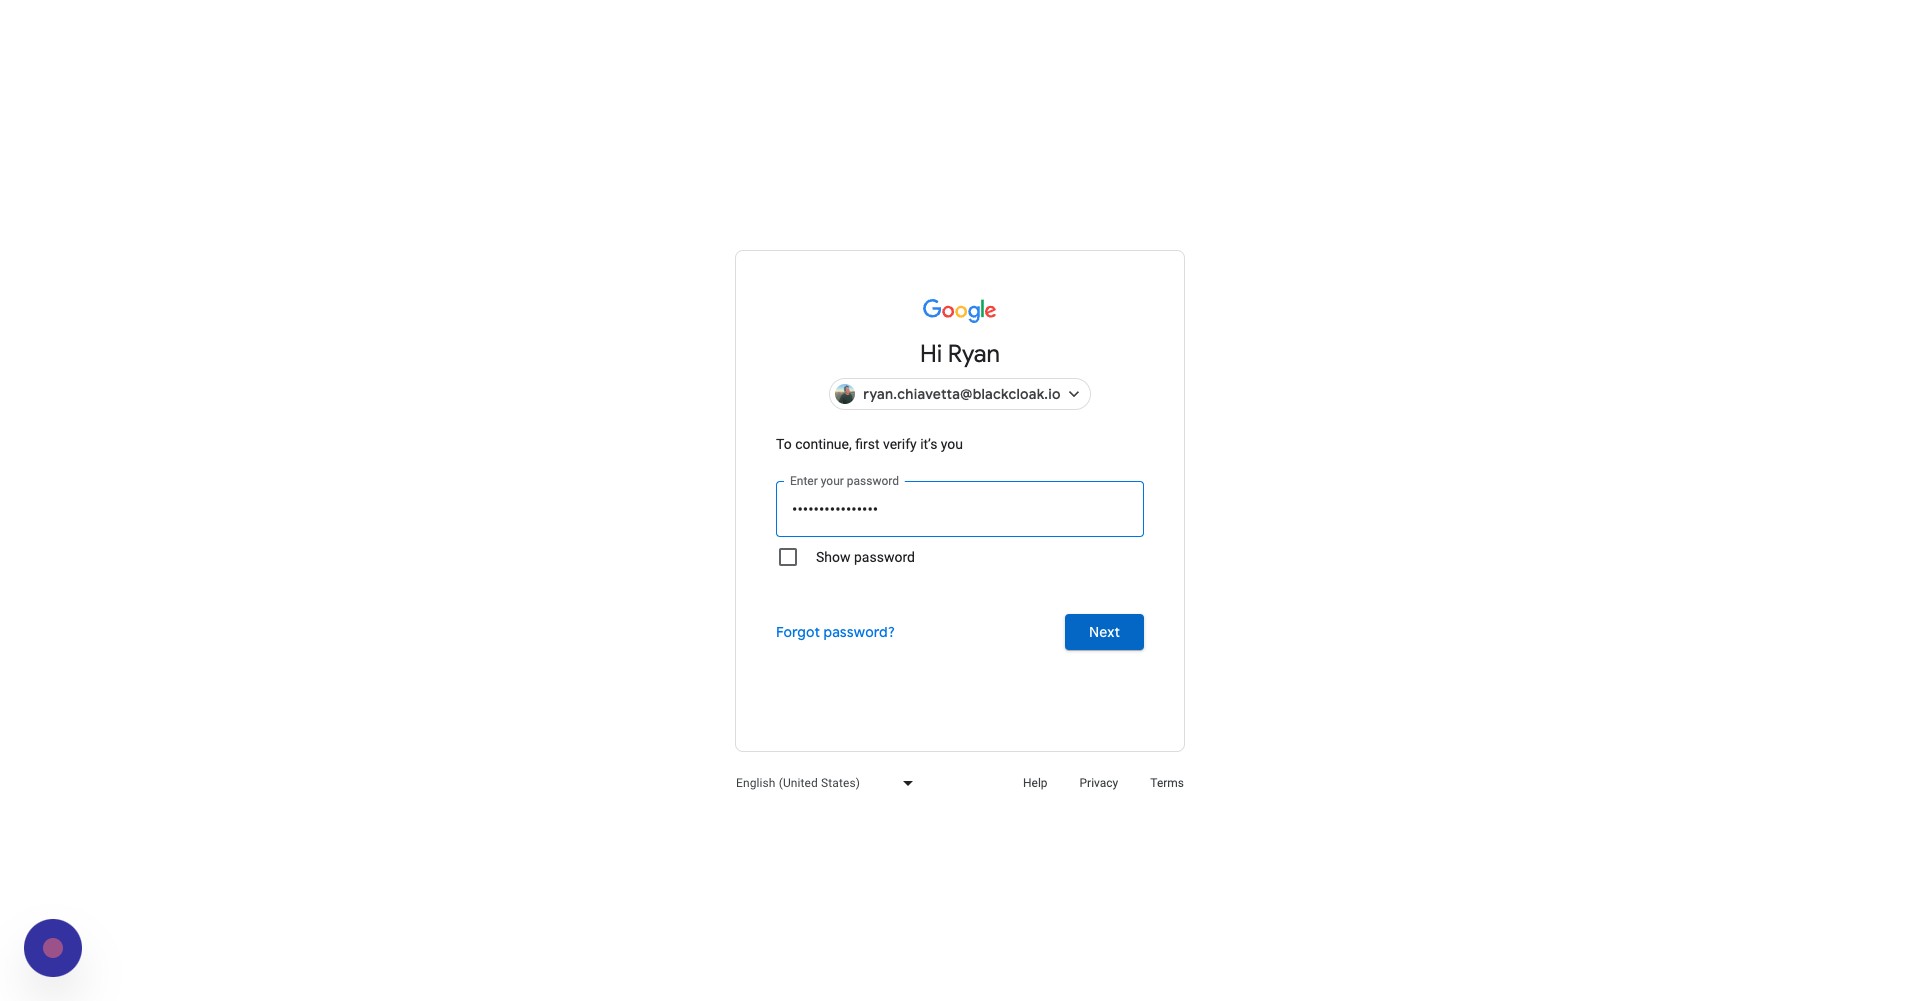
Step 12
Enter your current password
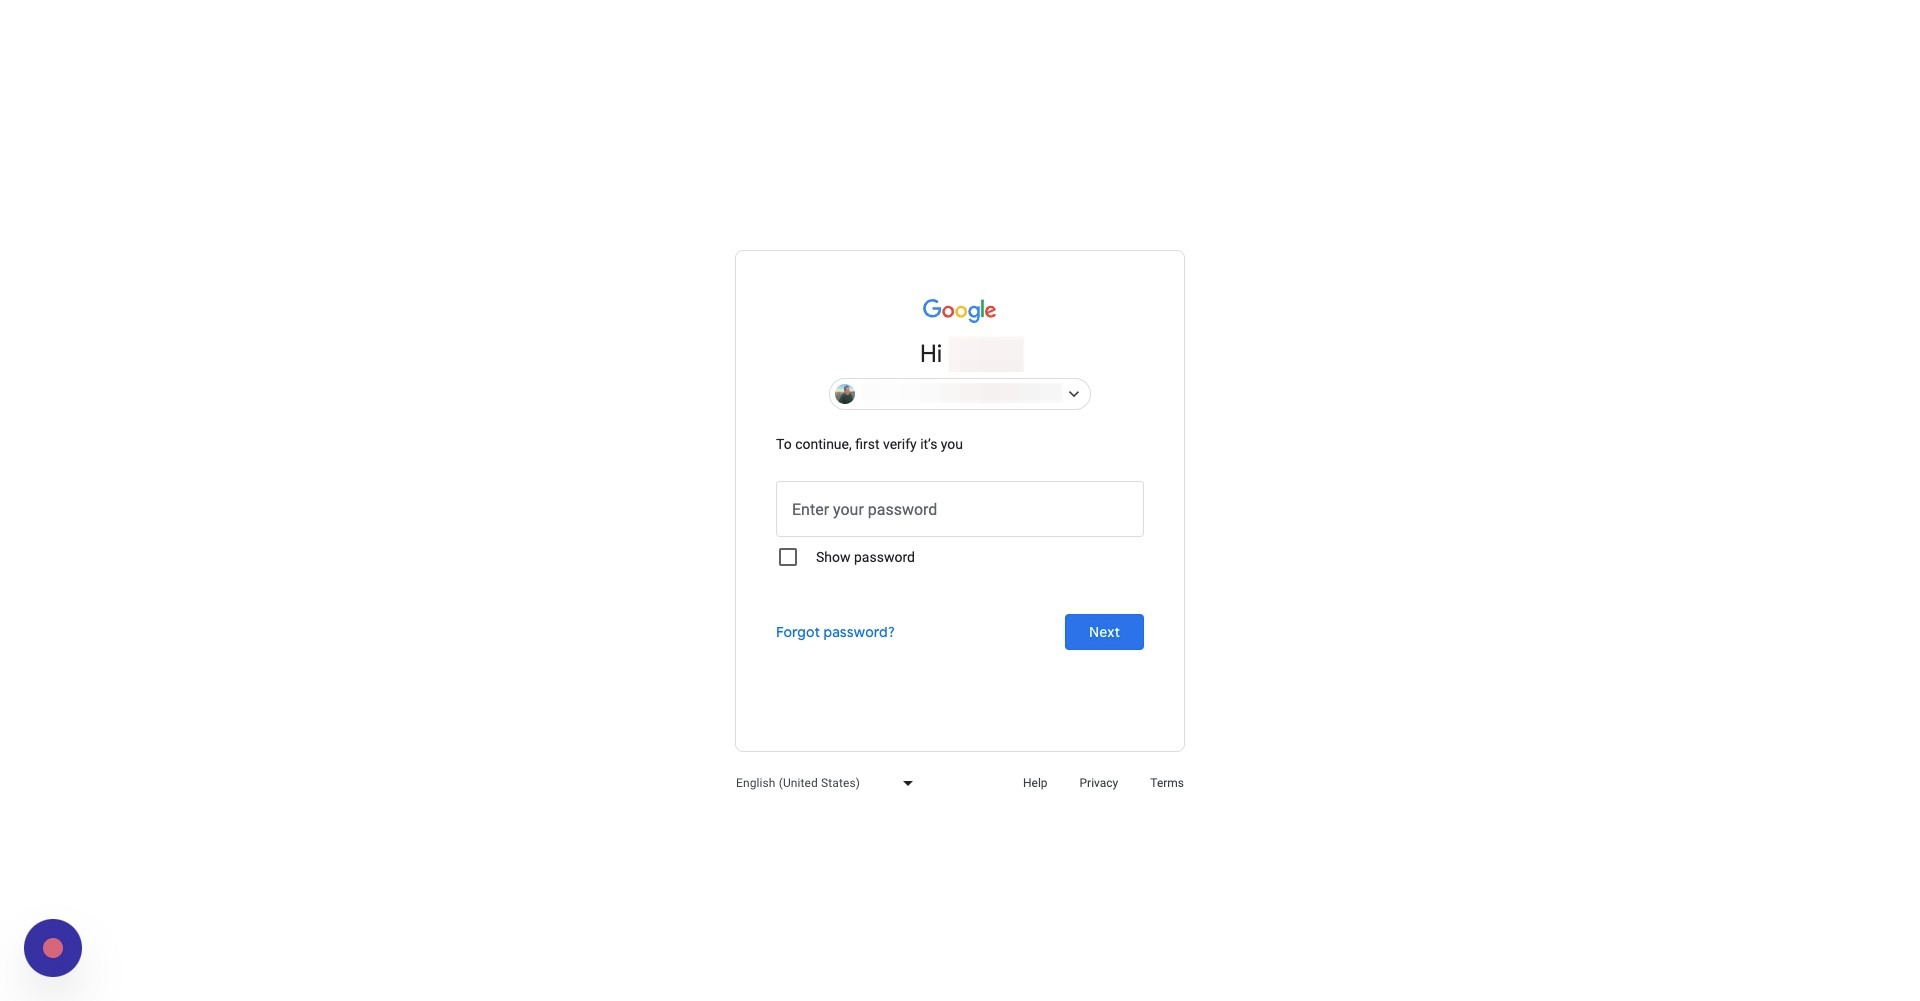
Step 13
After you enter your password, click next
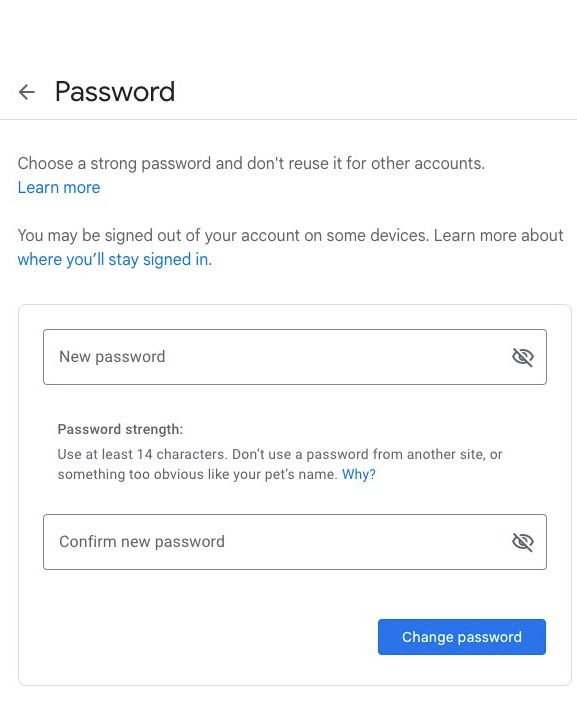
Step 14
Enter and re-enter your new password. Once you've made a strong, unique password, click change password
Enabling Two-Factor Authentication
Step 15
Go back to your Google Account
Step 16
Click security
Step 17
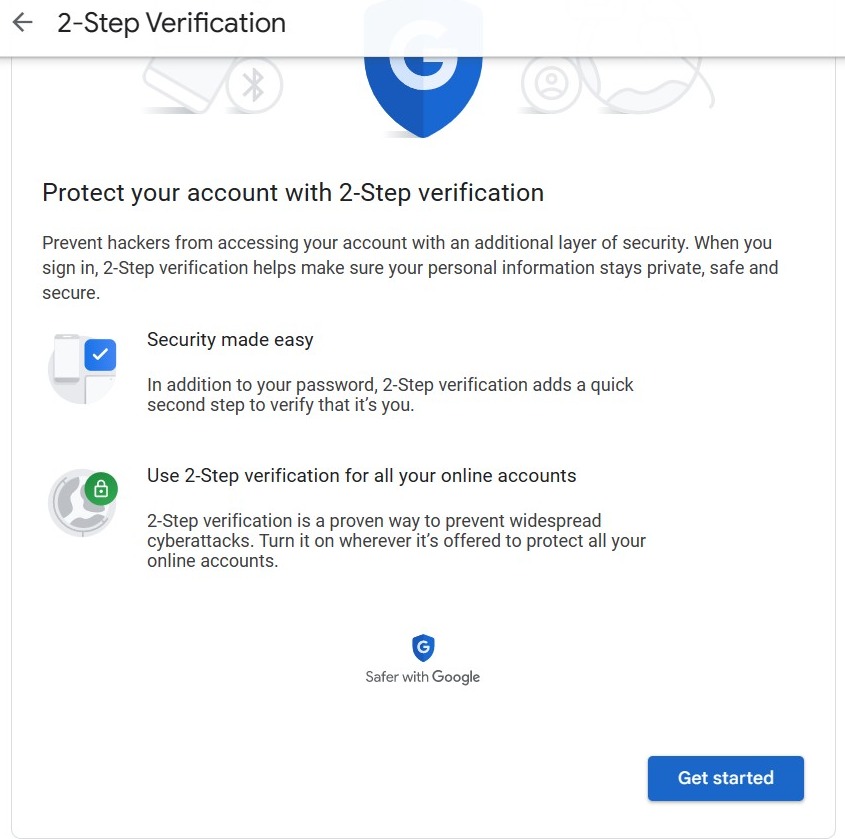
Click 2-Step Verification

Step 18
Click get started
Step 19
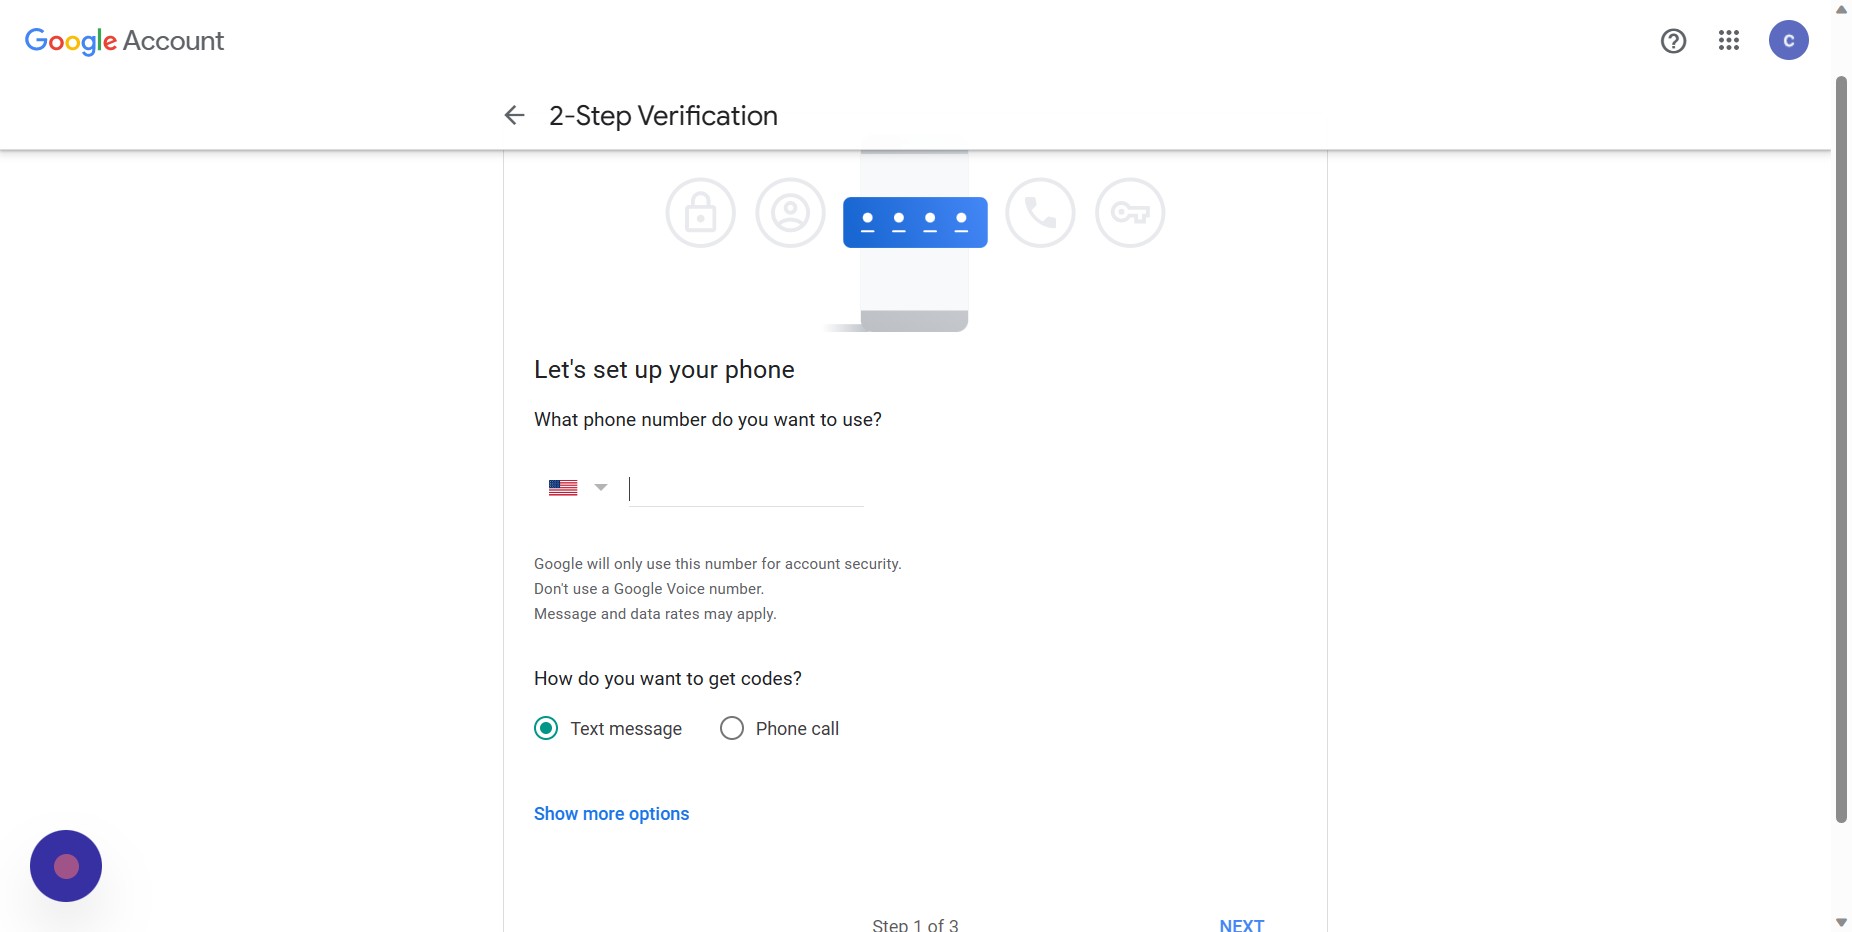
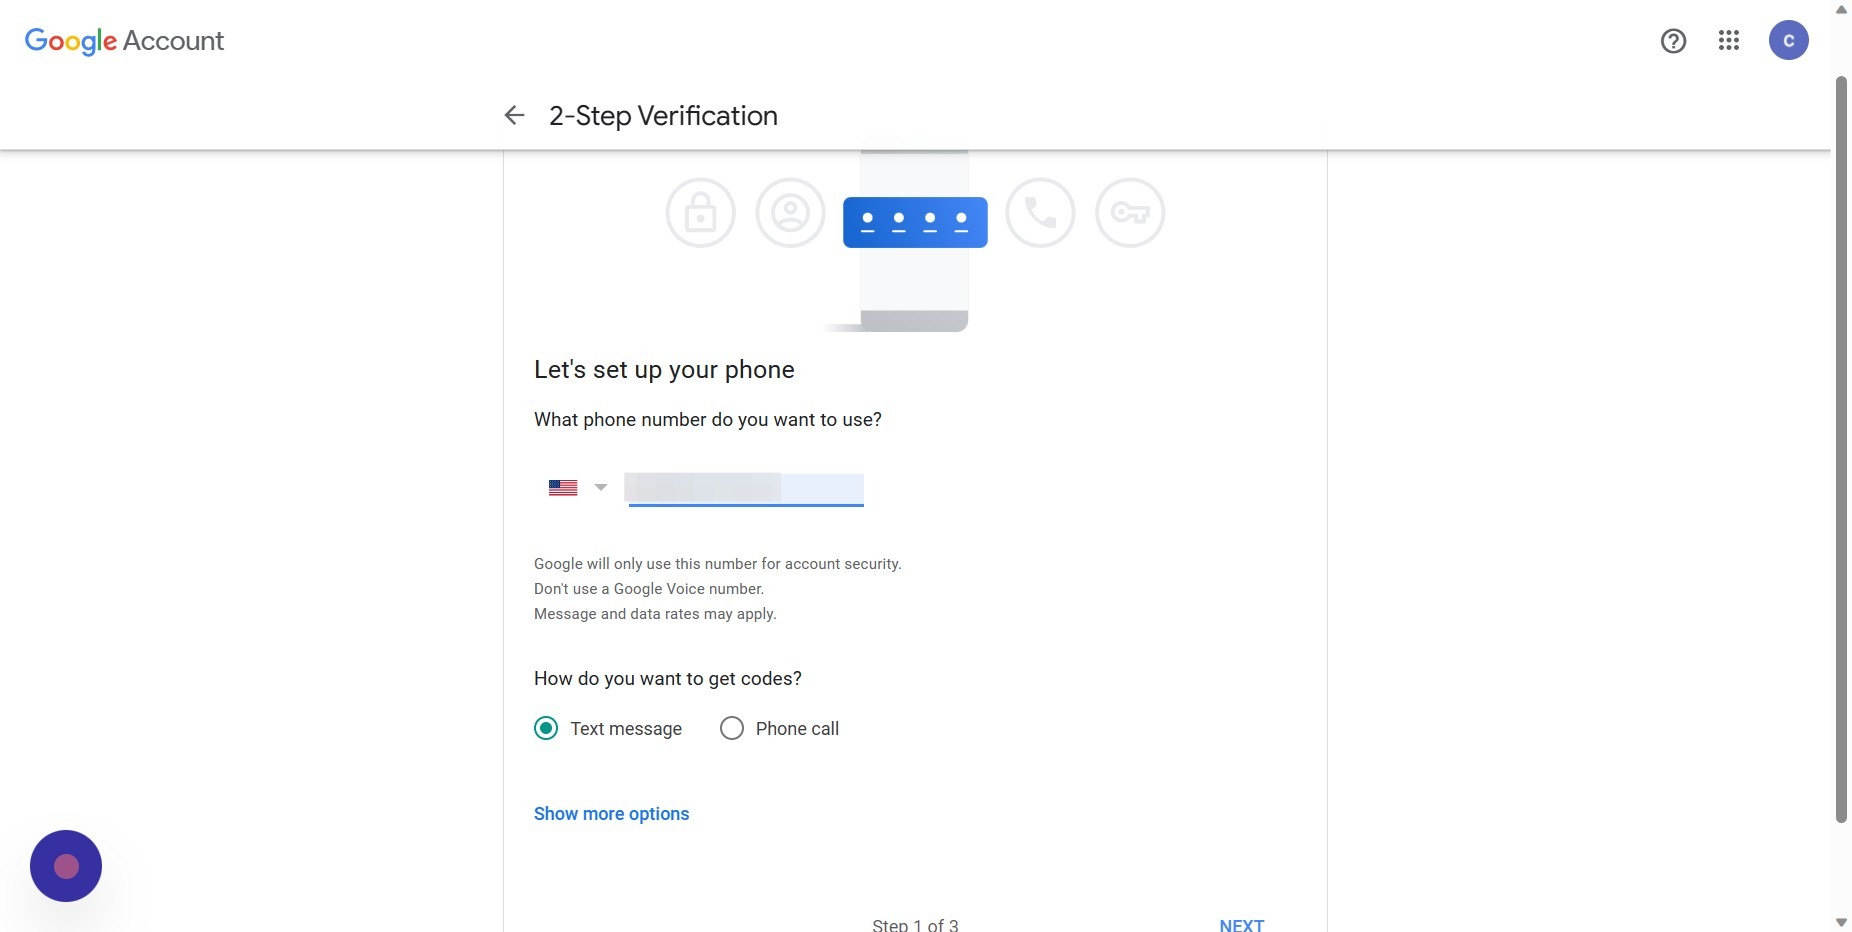
Enter your phone number
Step 20
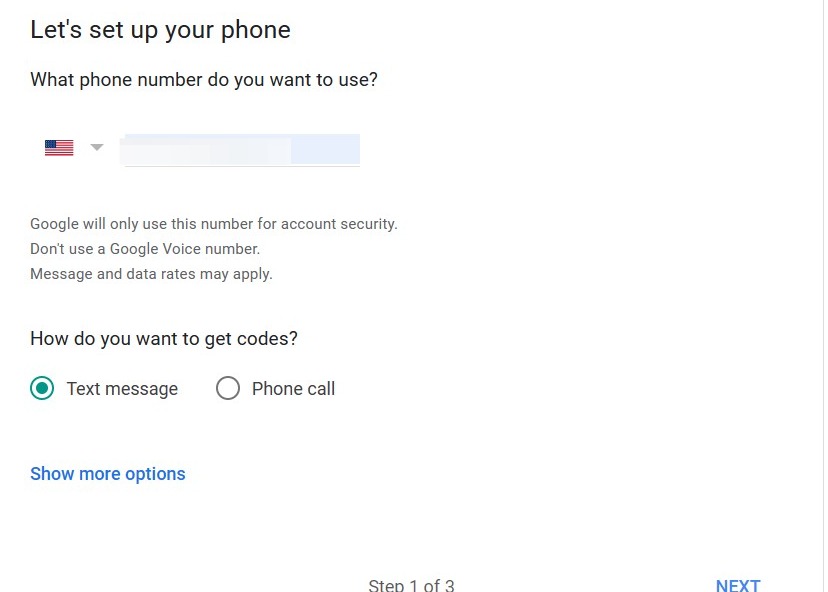
Select the method for enabling two-factor authentication
Step 21
Click next
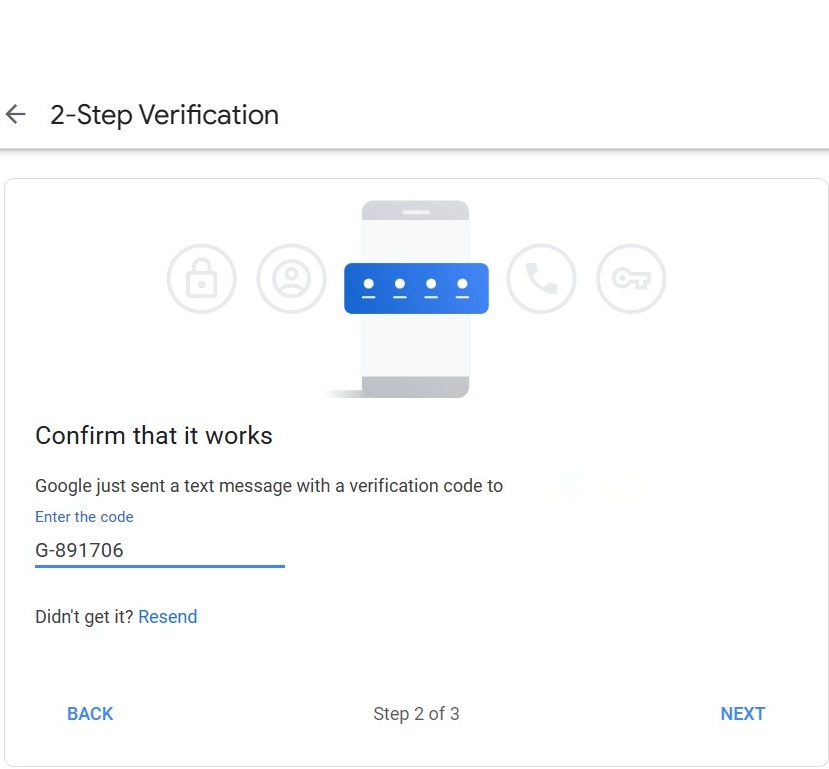
Step 22
Enter the code you receive from the text message
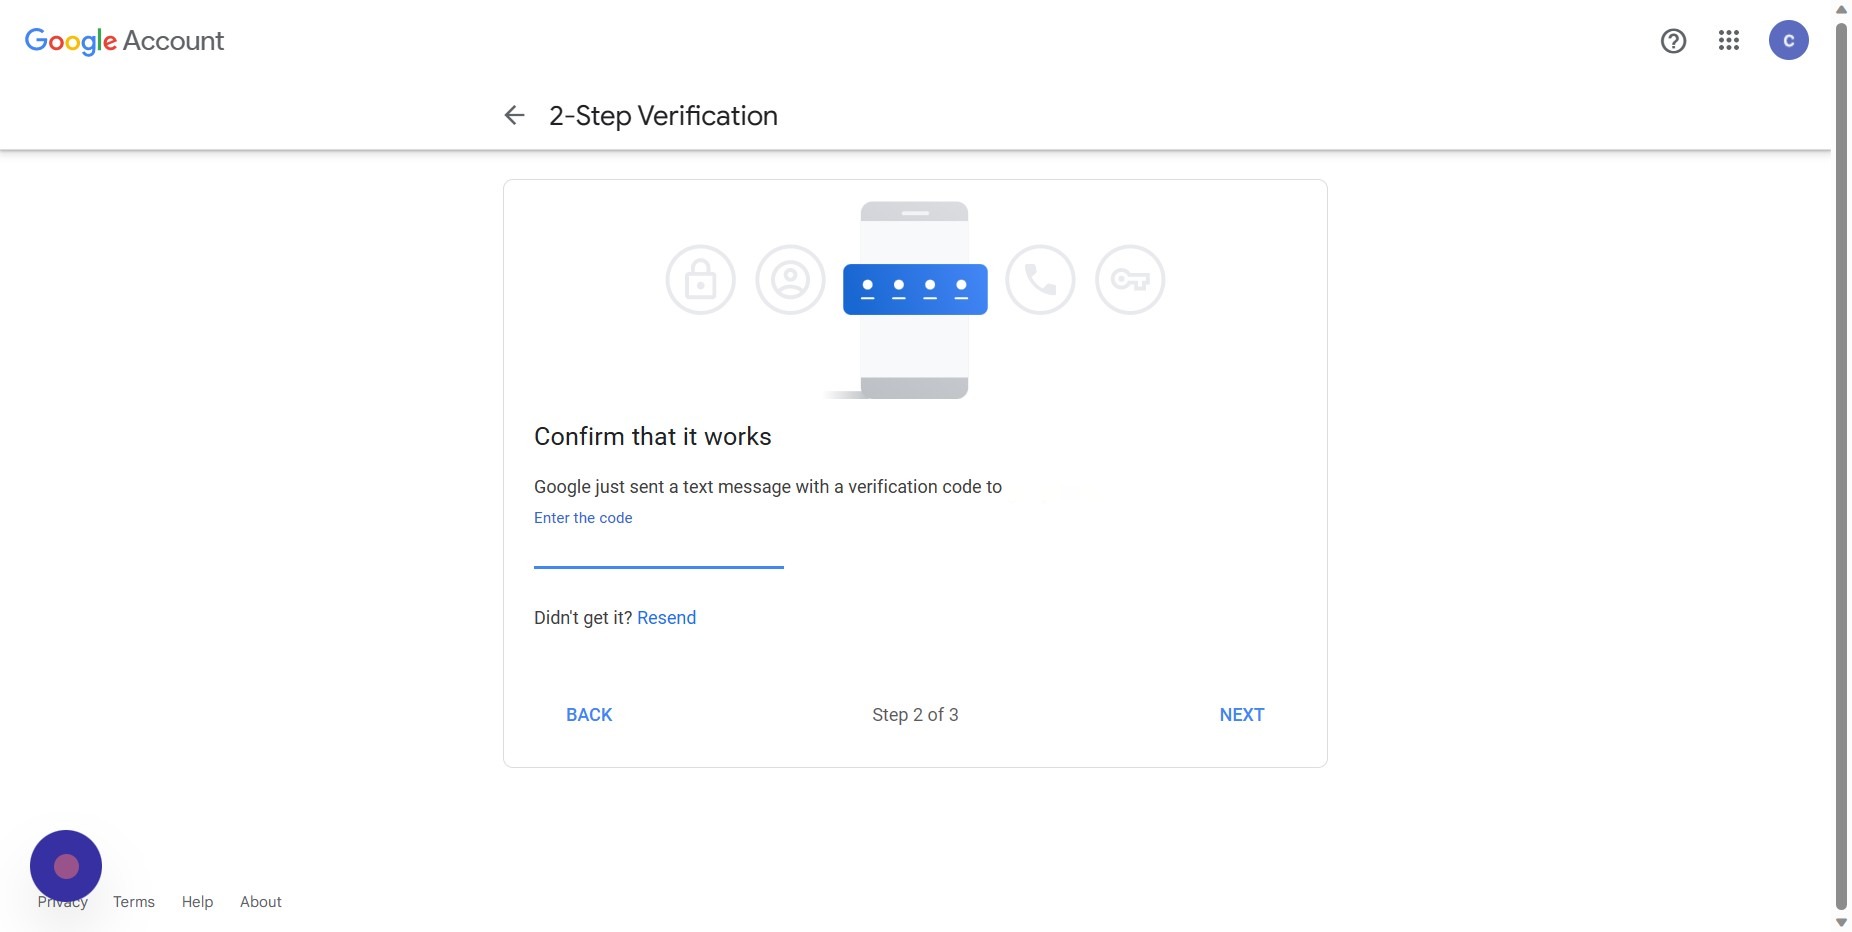
Step 23
Click next
Step 24
Click turn on
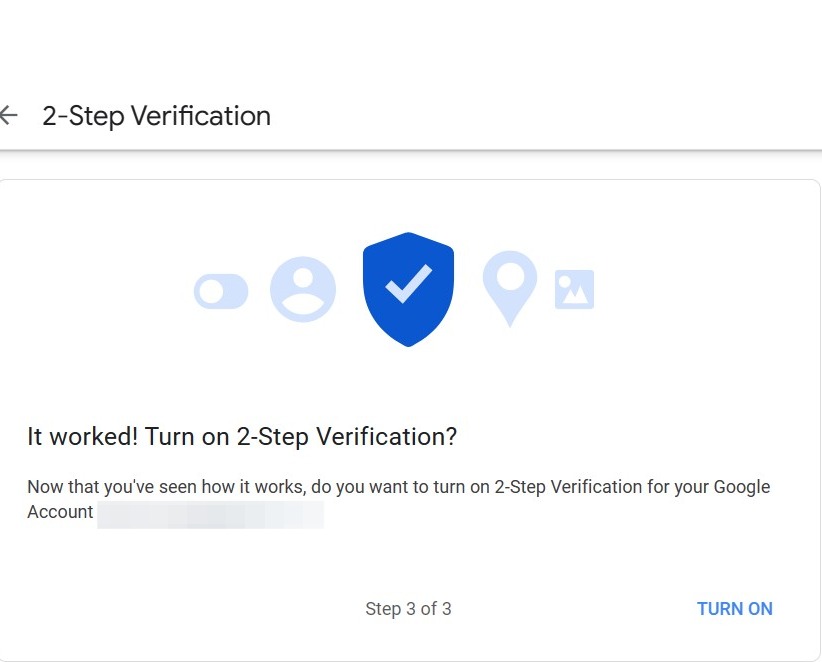
Step 25
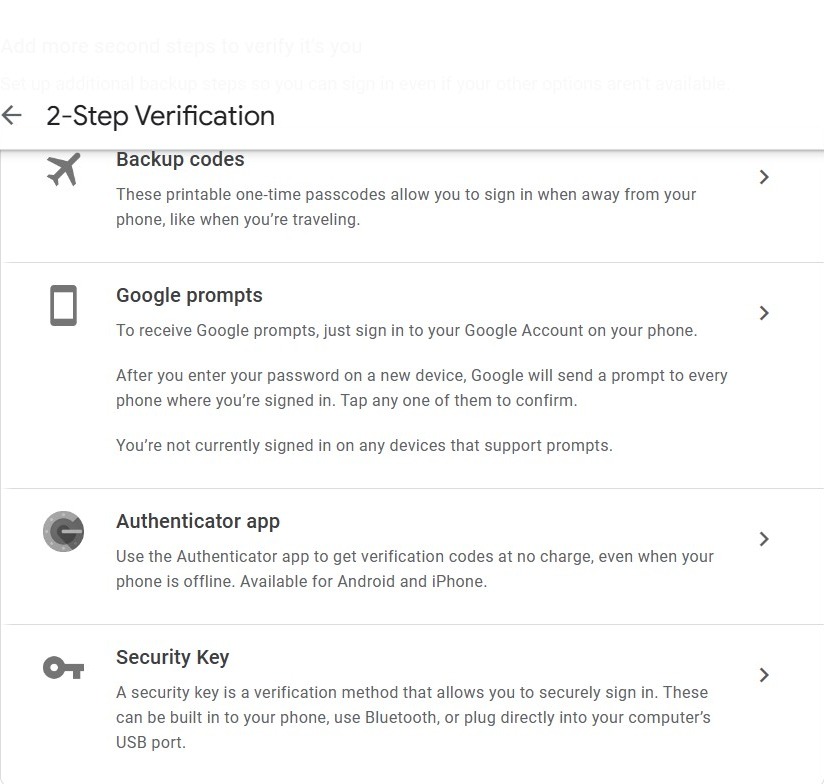
Two-factor authentication is now enabled. However, BlackCloak recommends adding an authenticator app as your primary method for two-factor authentication. Go back to the 2-step verification section under security
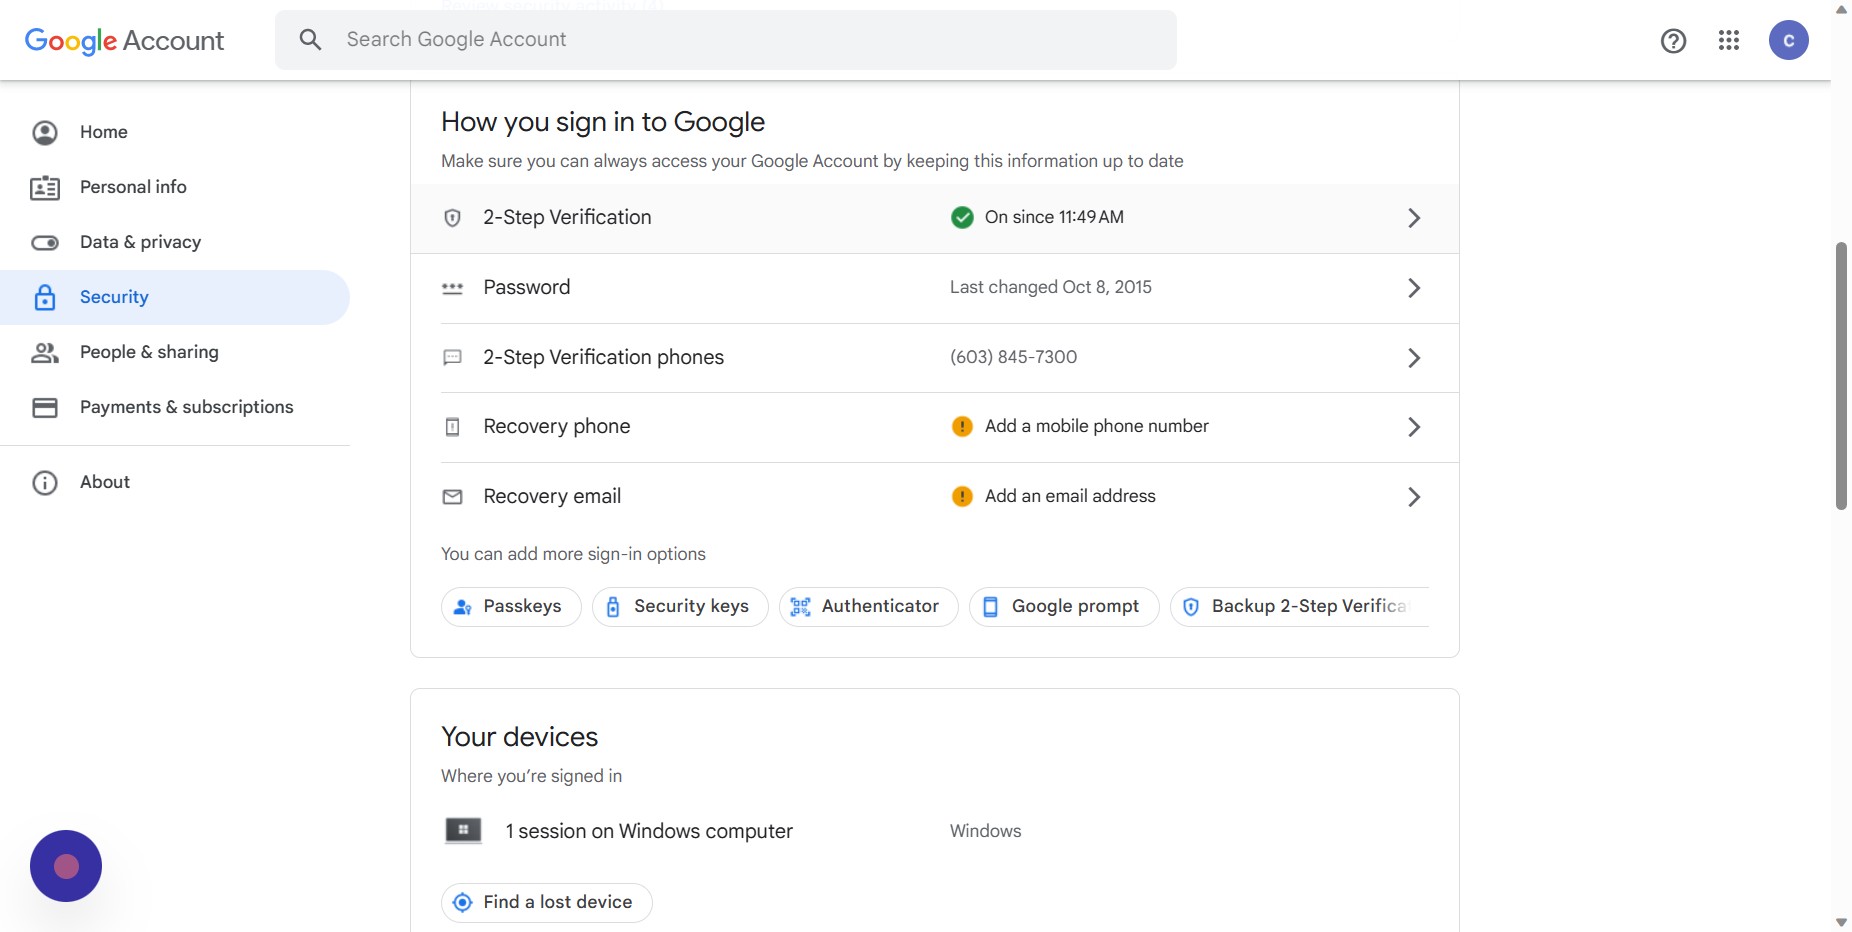
Step 26
Click authenticator app
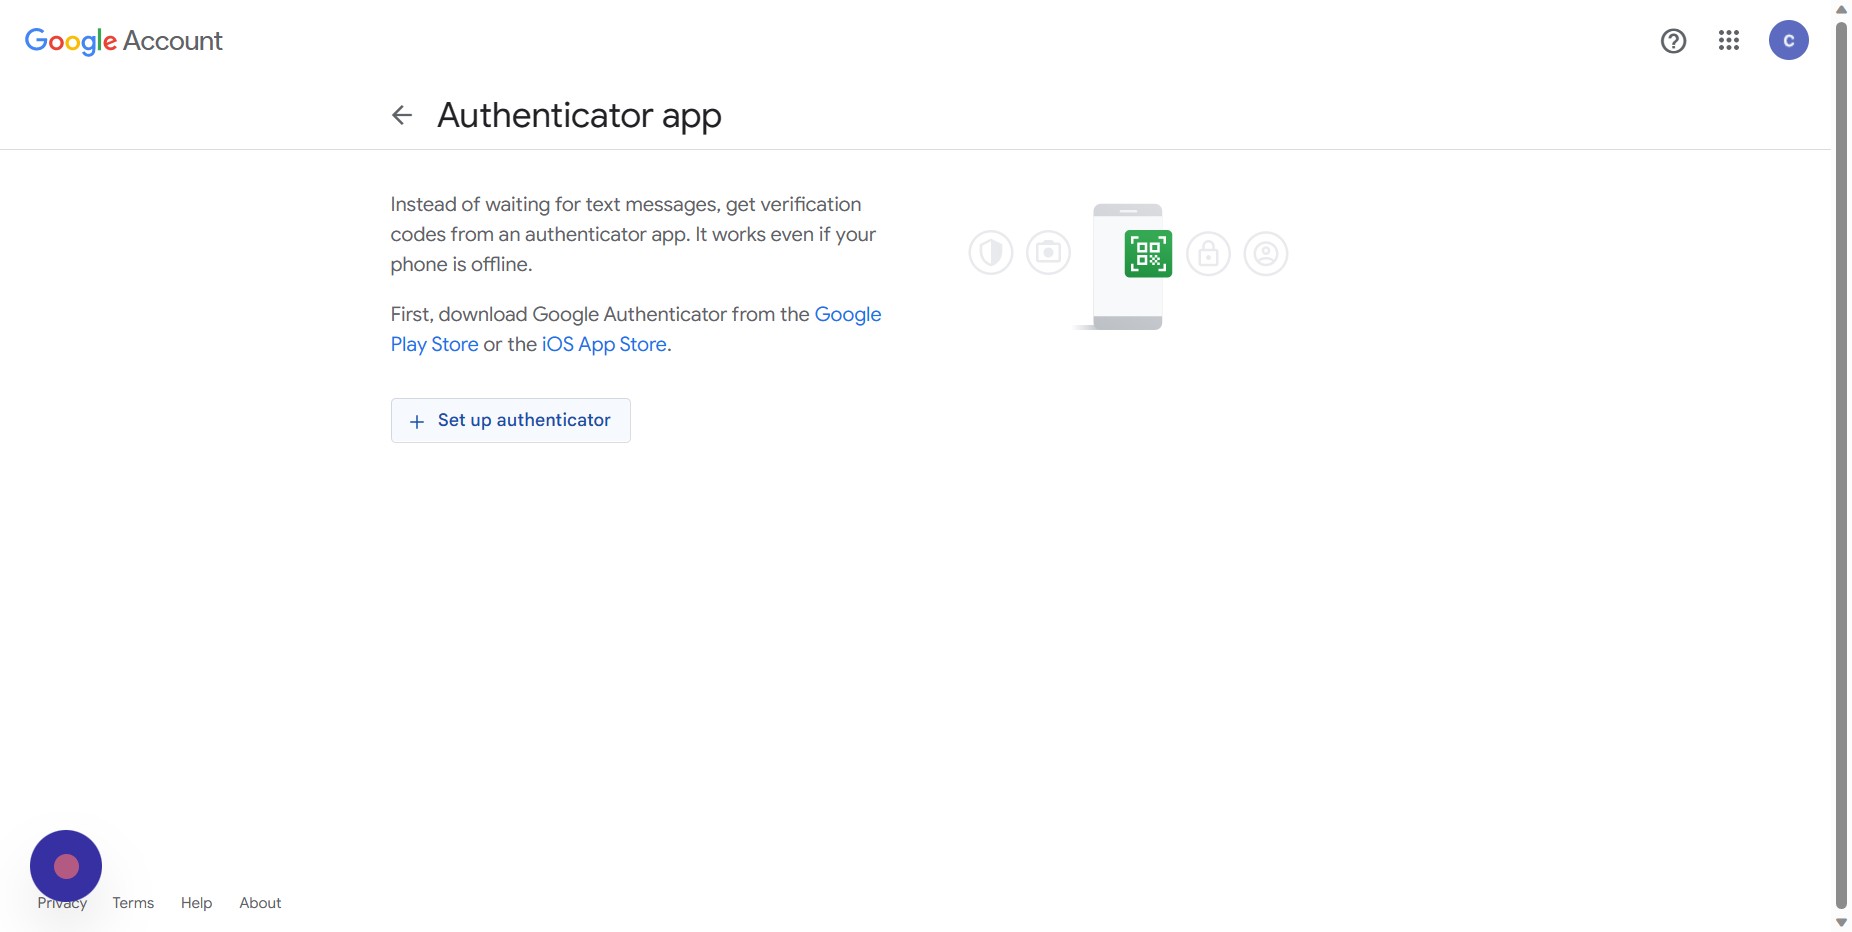
Step 27
Click Set up authenticator
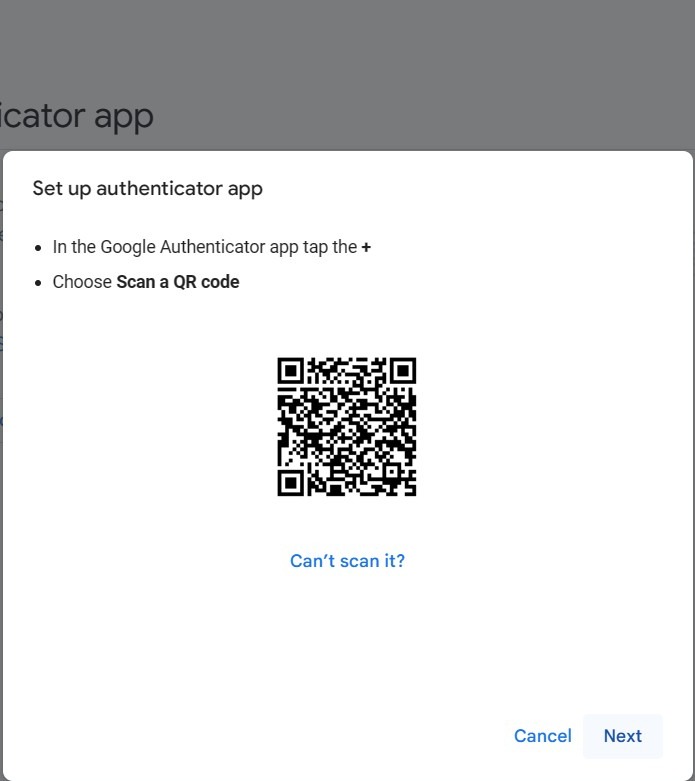
Step 28
Follow the steps on this screen and click next
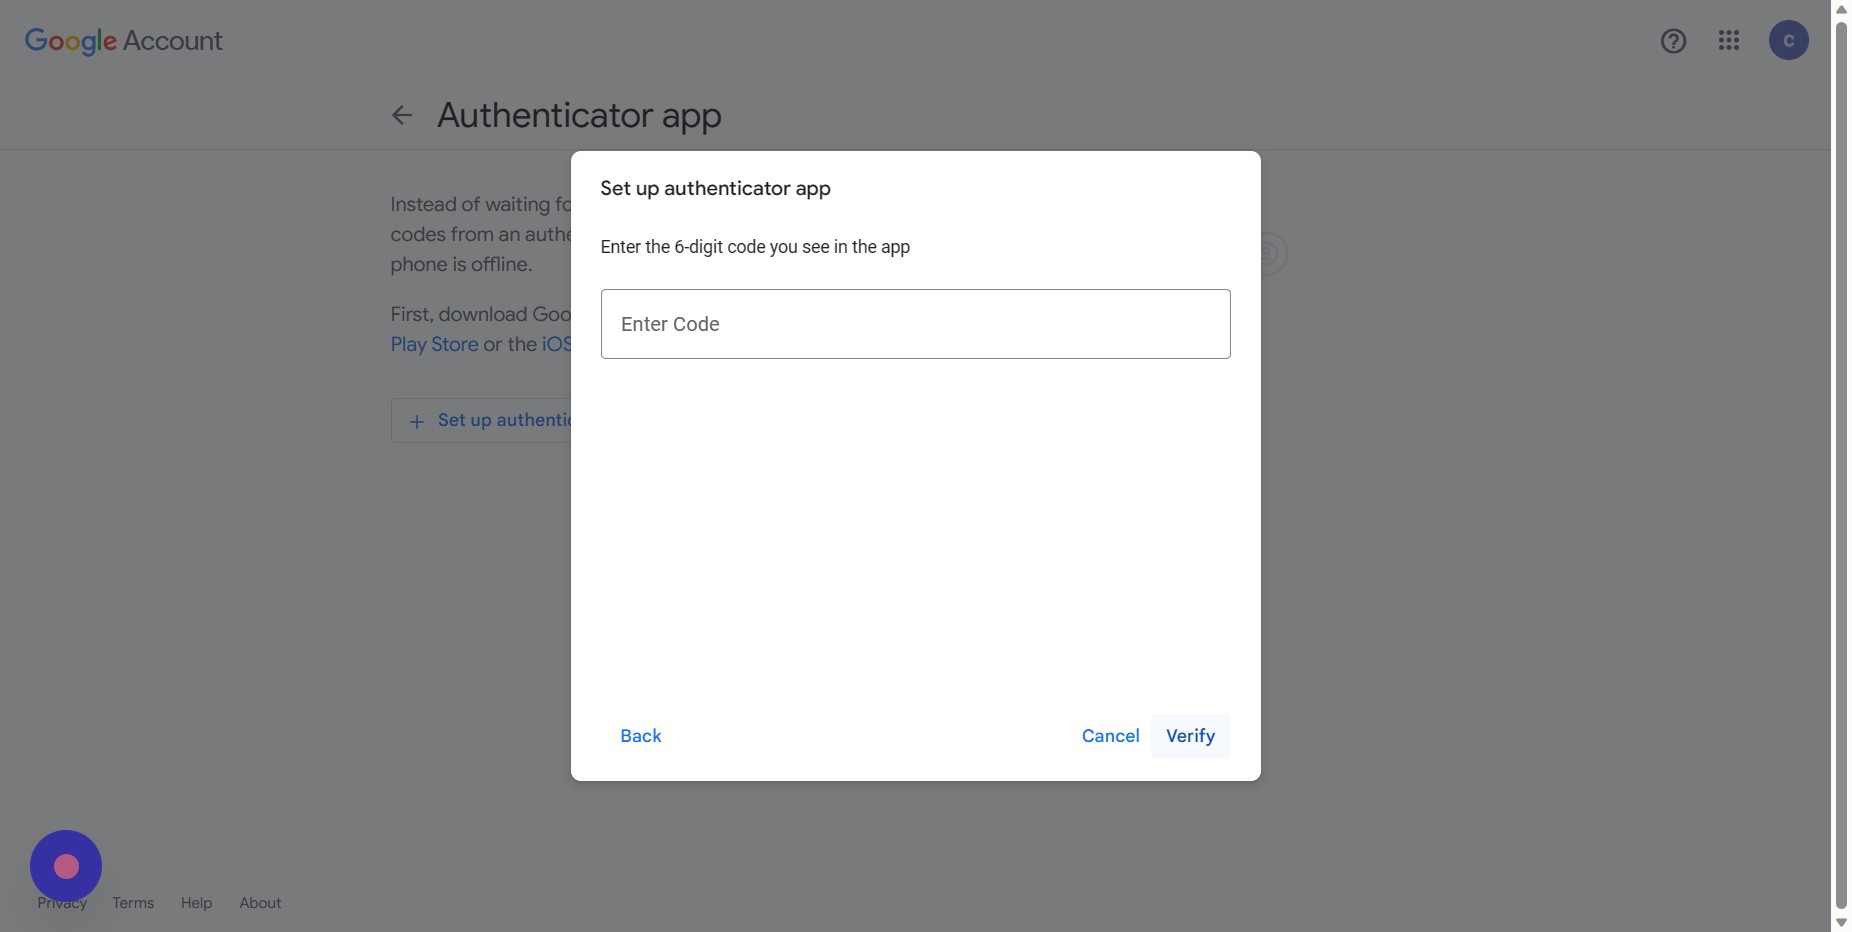
Step 29
Enter the six digit code produced by the authenticator app and click verify to complete the process
Finding Authorized Logins
Step 30
Go back to your Google Account
Step 31
Click security

Step 32
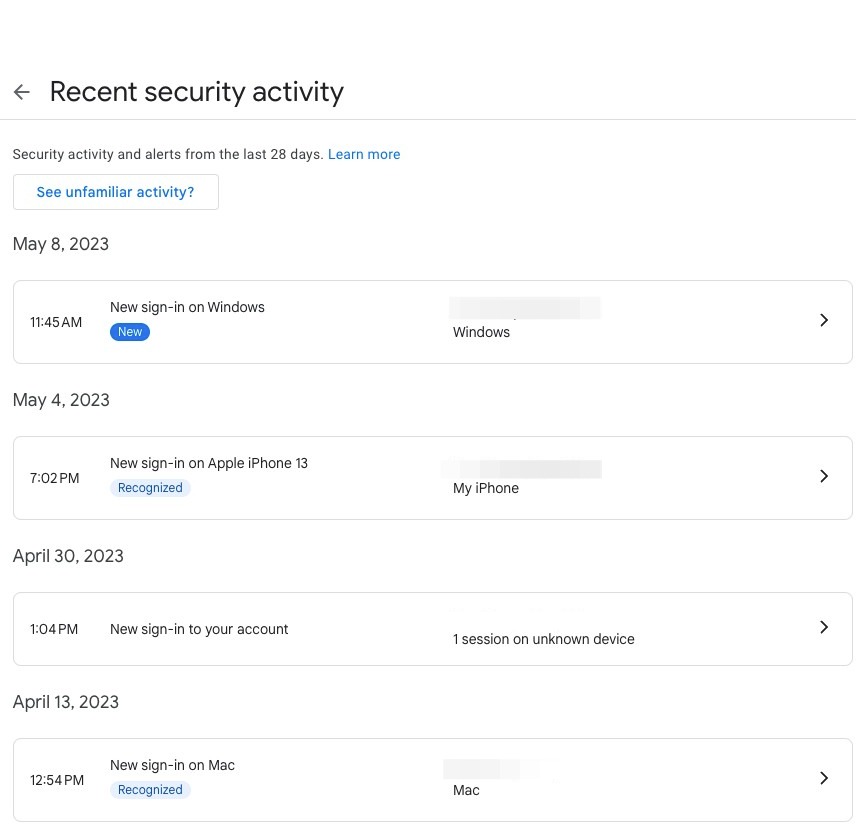
Click review security activity

Step 33
Here, you can see all of your recent logins. If you do not recognize a login, Google recommends changing your password as soon as possible
Adjusting Profile Privacy Settings
Step 34
Go back to your Google Account
Step 35
Click data & privacy
Step 36
Scroll down and click profile

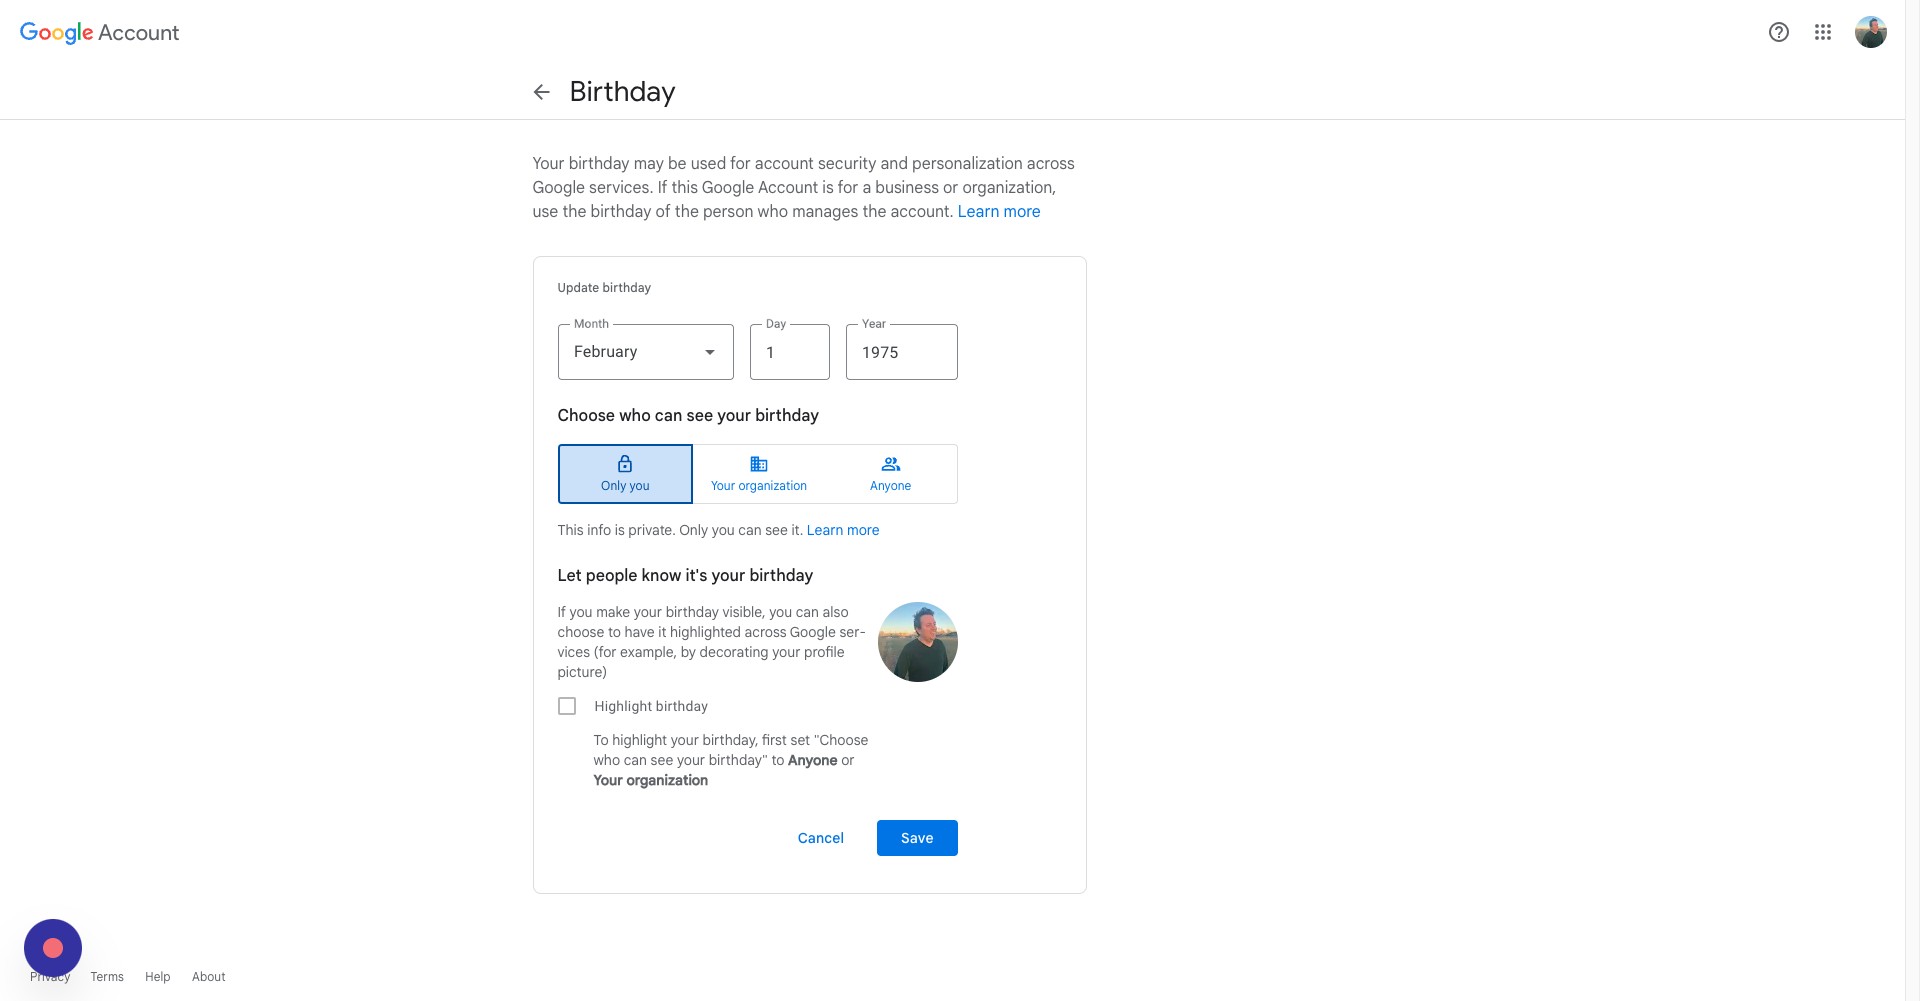
Step 37
On this page, you'll be able to adjust who can see what pieces of your profile. Click on one of these fields
Step 38
Here, you can choose whether everyone can see this piece of information, only people within your organization, or just yourself
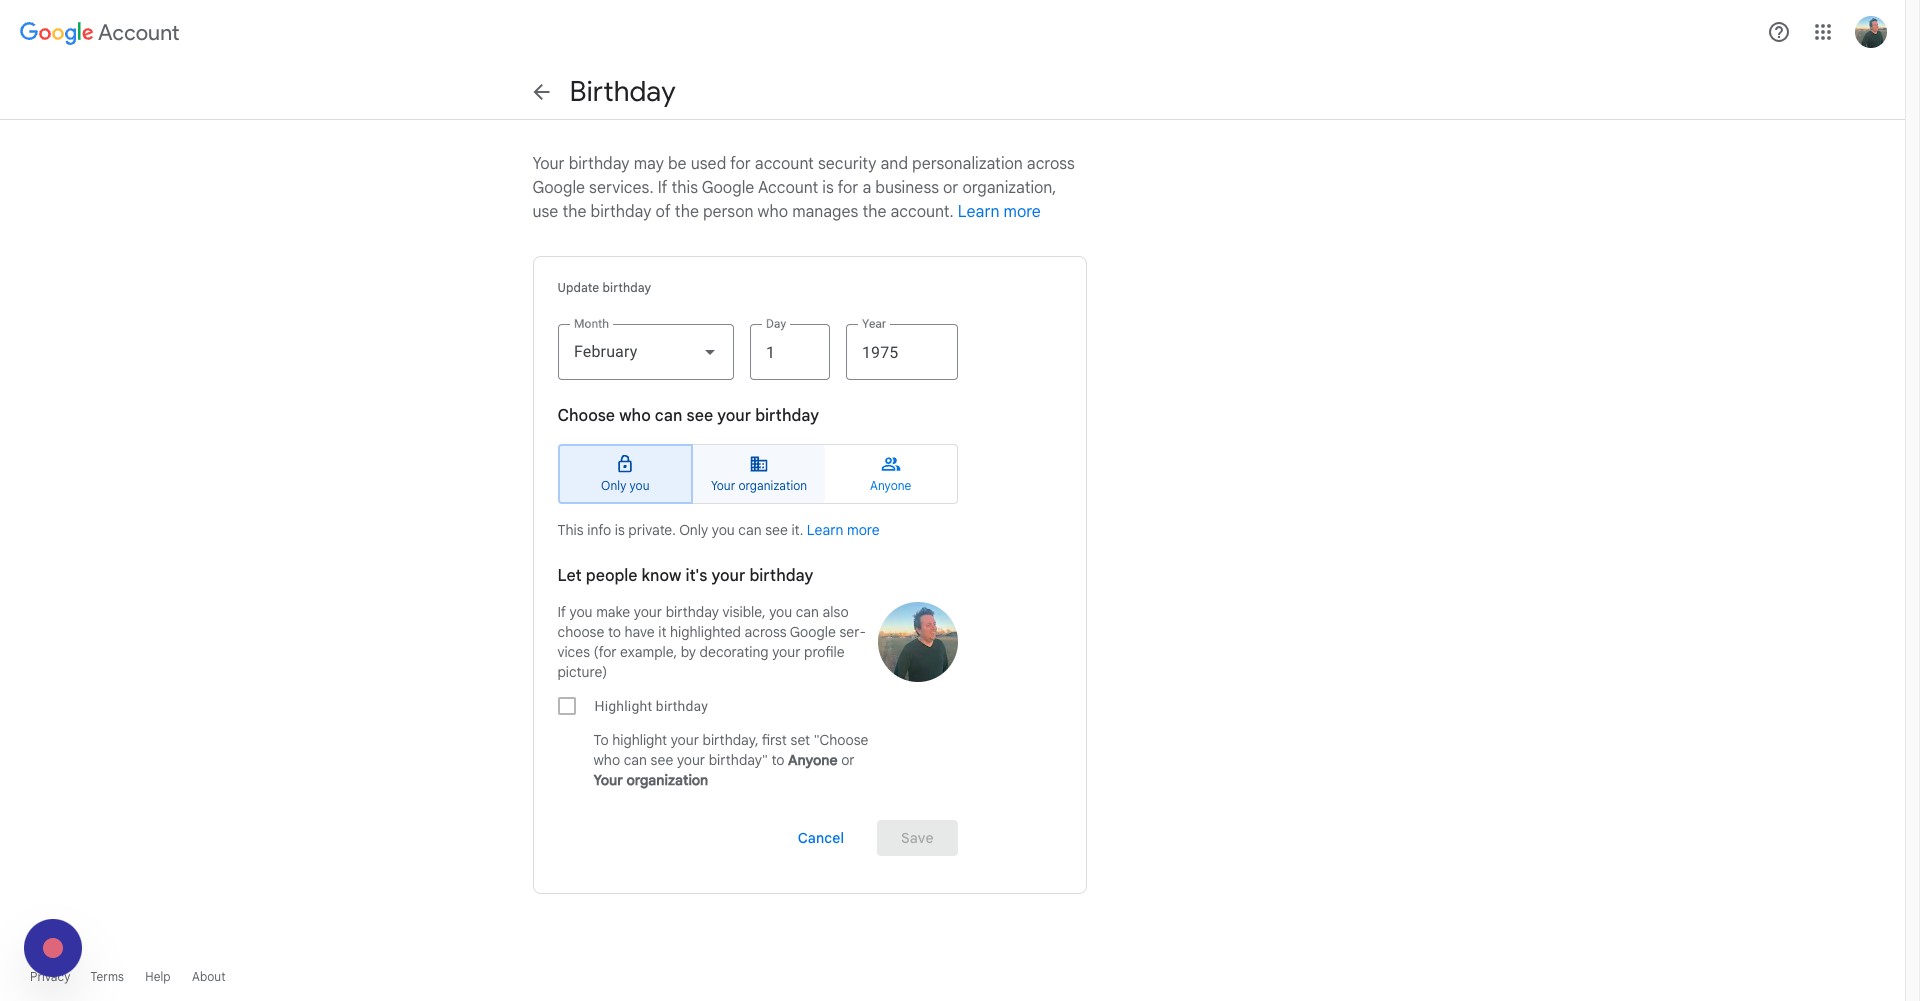
Step 39
Once you've made your selection, click save
Reviewing Key Privacy Settings
Step 40
Go back to your Google Account
Step 41
Click Take Privacy Checkup
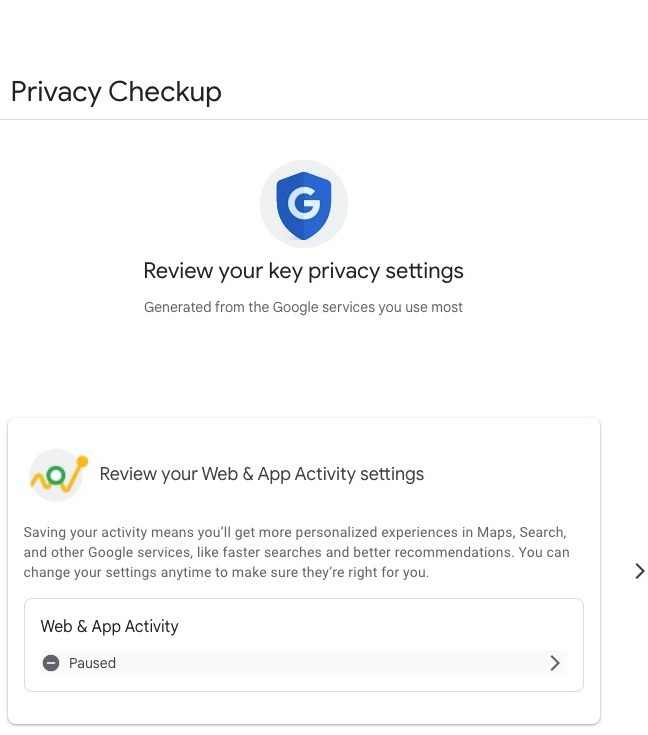
Step 42
First, you'll be asked to review your web & app activity settings. Click here
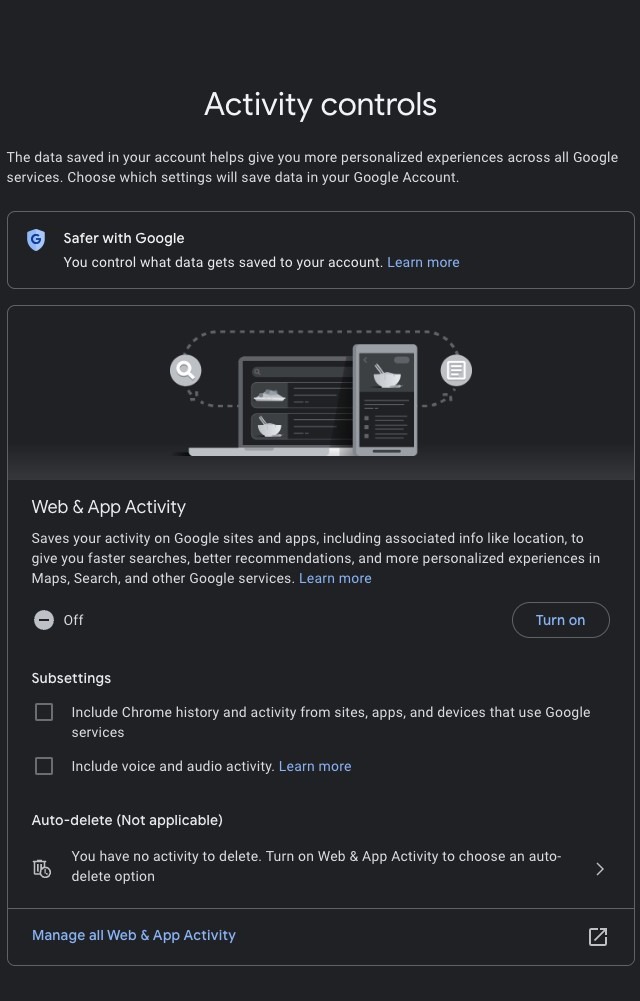
Step 43
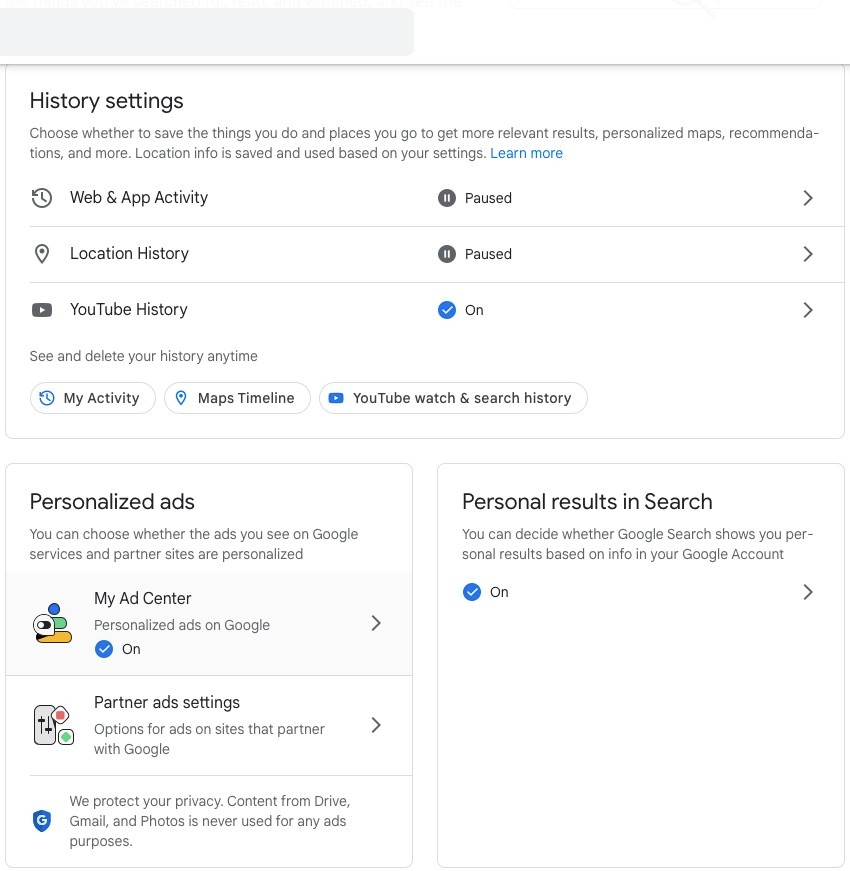
Here, you will have the choice to allow Google to use your activity within its services to give you faster searches and a more personalized experience when you use Google's services. You can also include your Chrome history and voice and audio activity for a more personalized experience
Step 44
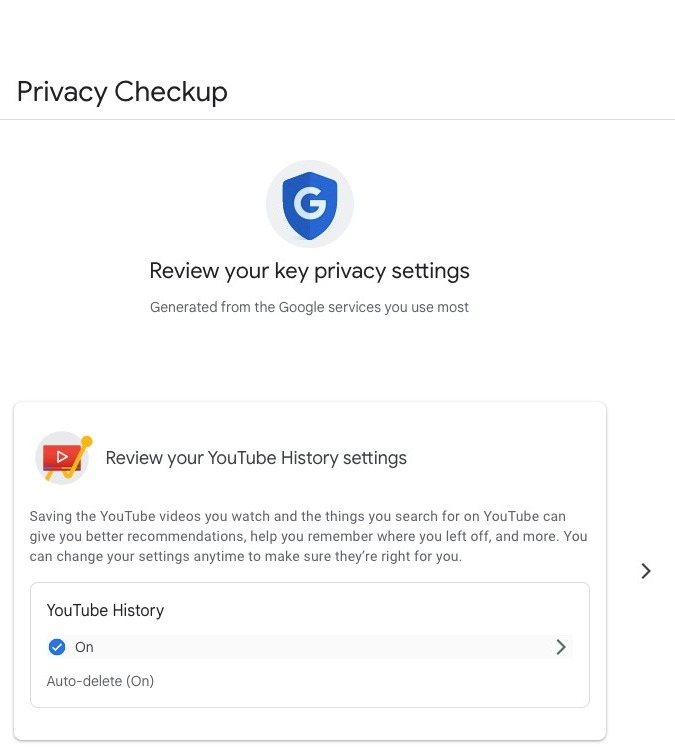
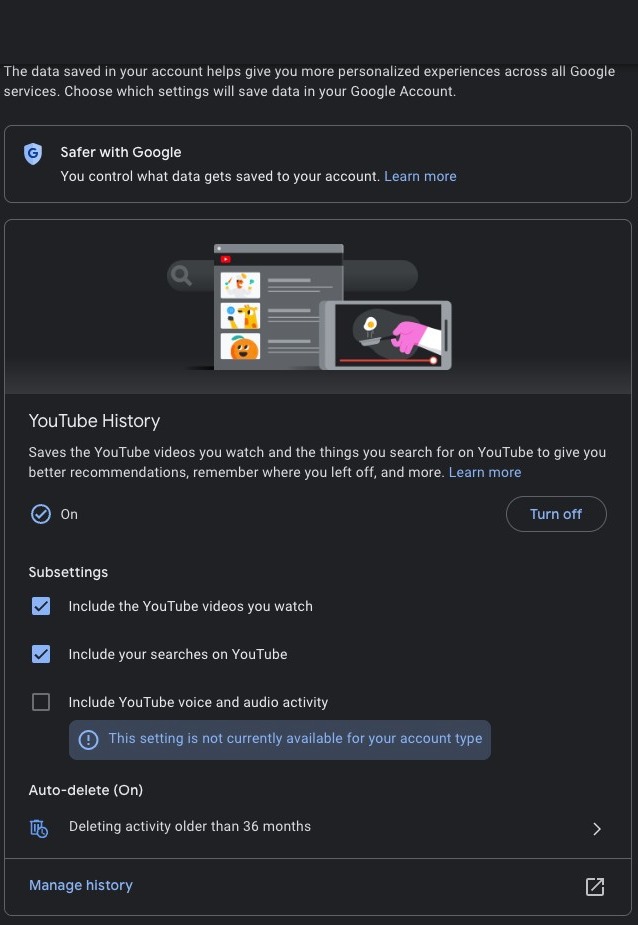
Next, you will be able to adjust your YouTube history settings. Click here
Step 45
On this page, you can choose whether Google saves the YouTube videos you watch to give you better recommendations
Step 46
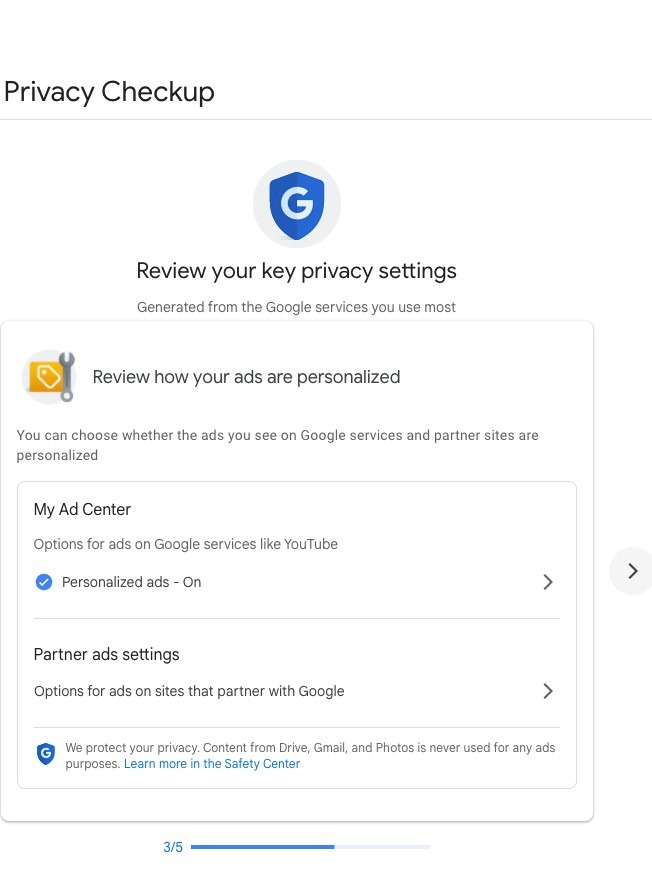
The next section covers ad settings. We will cover these later on in this guide
Step 47
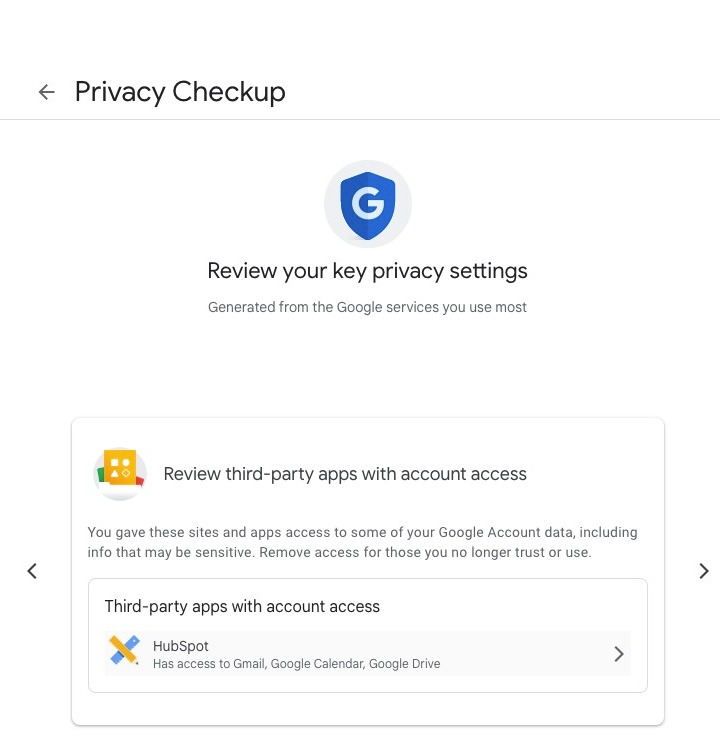
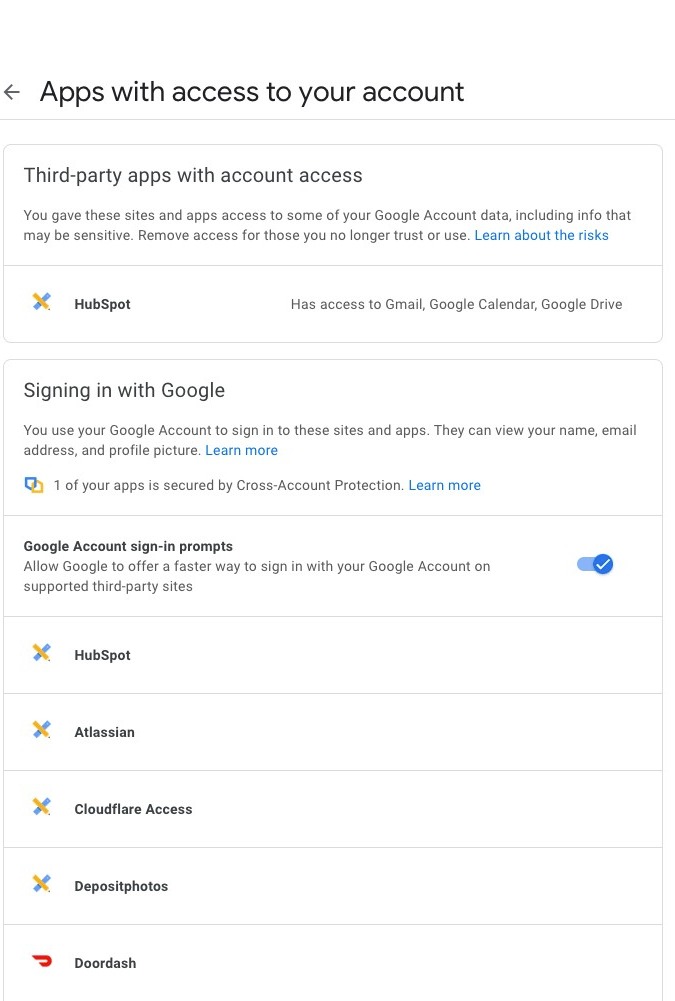
The next set of privacy settings allows you to view the third-party apps you've granted account access. Click here
Step 48
Here, you can see all the apps your Google Account is tied to
Step 49
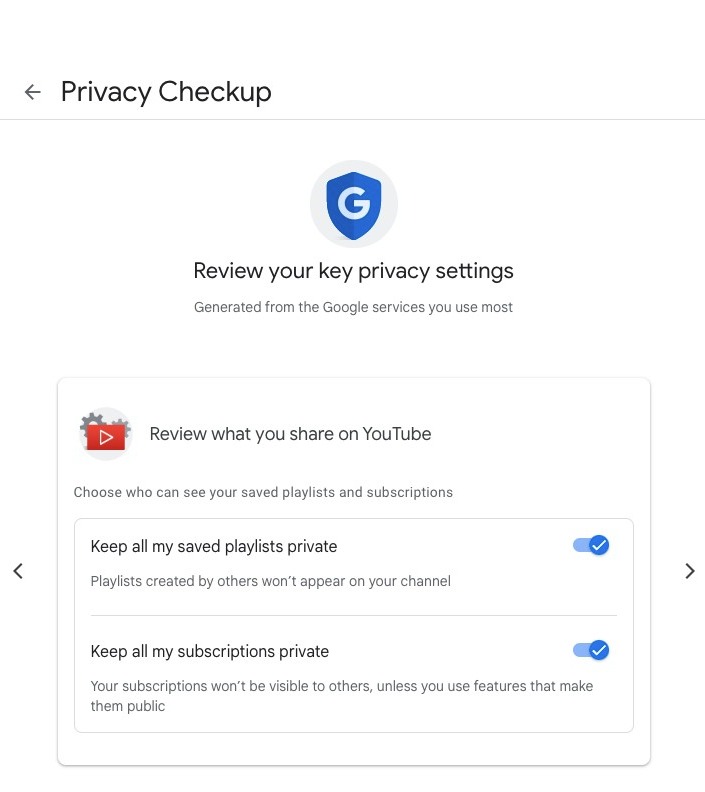
The last set of privacy settings allows you to keep your playlists and subscriptions private on YouTube
Adjusting Ad Preferences
Step 50
Go back to your Google Account
Step 51
Click data & privacy
Step 52
Scroll down and click My Ad Center
Step 53
Here, you can see what information Google uses for ads. To adjust your settings for personalized ads, click here

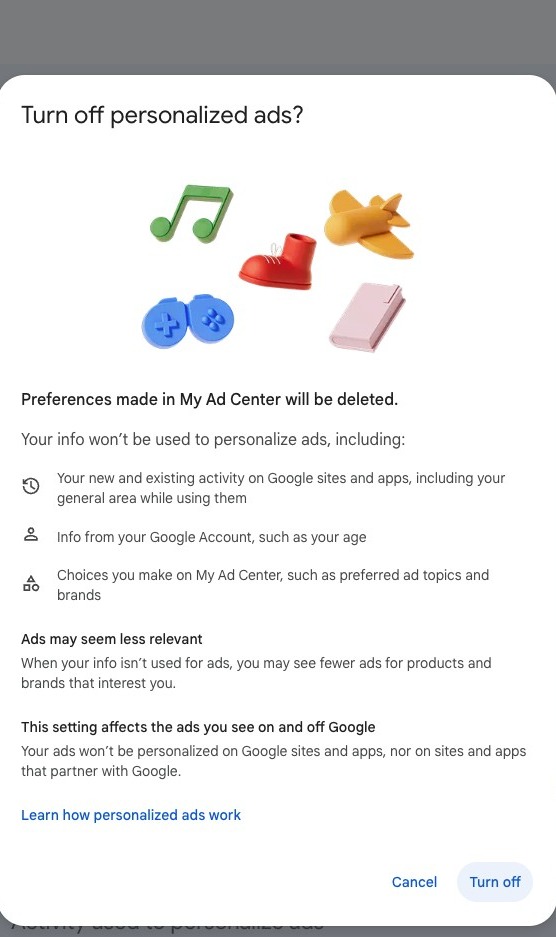
Step 54
Click turn off if you do not wish to receive personalized ads
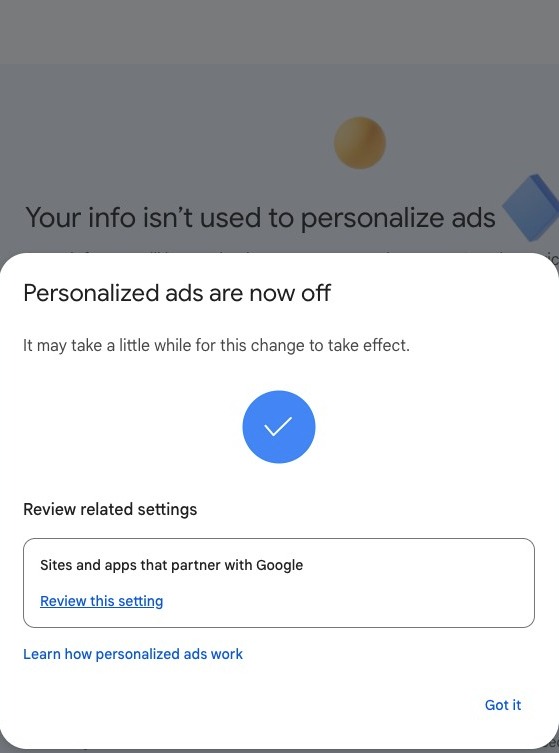
Step 55
After you turned off personalized ads, you can review your settings for sits and apps that partner with Google. Click here
Step 56
Click here if you want to receive personalized ads when you visit sites and apps that partner with Google

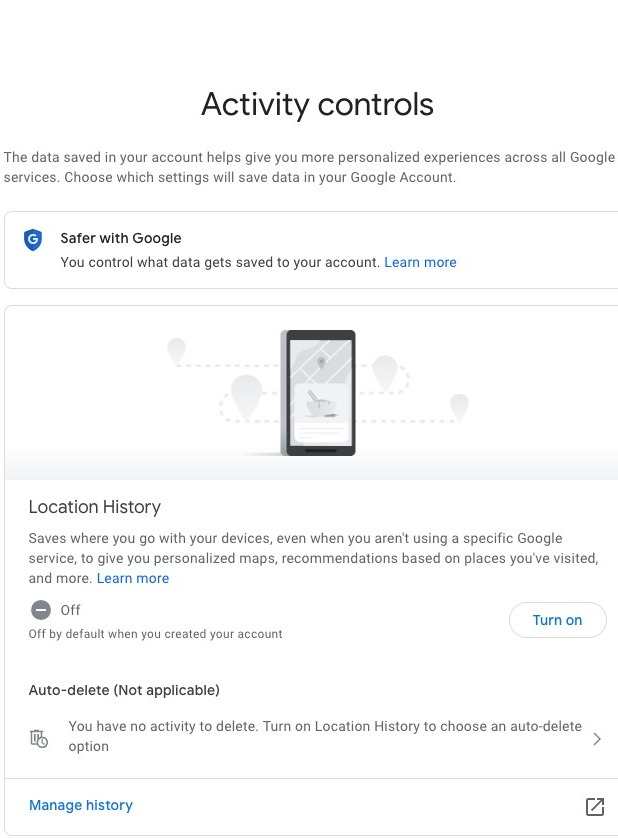
Adjusting Location Settings
Step 57
Go back to your Google Account
Step 58
Click data & privacy

Step 59
Scroll down and click location history
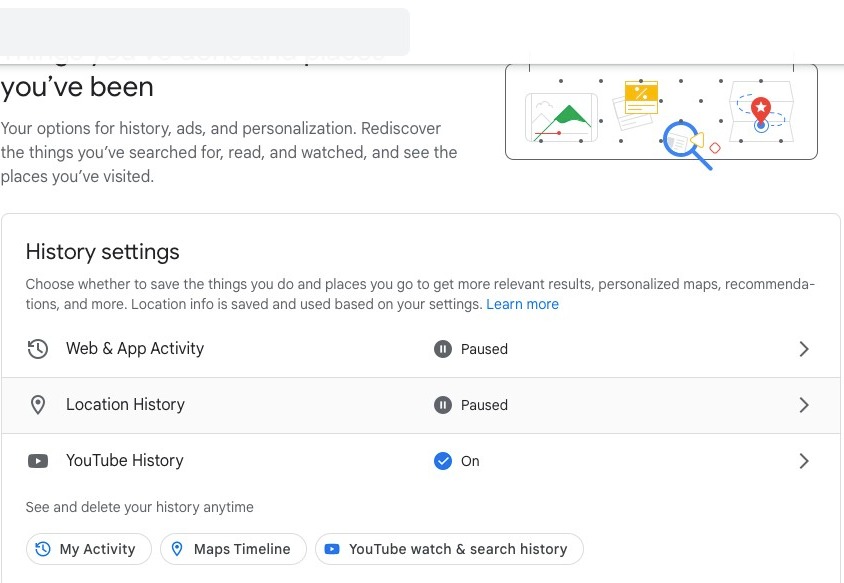
Step 60
Click here if you wish to turn off location services. Note: Location services are turned off by default when you create a Google account